
What is Terraform?
Terraform is an infrastructure as code tool, allowing you to build, change, and version infrastructure. Your infrastructure will be defined within the “code” of your Terraform script.
You then gain the benefits of having your infrastructure as code versus manually creating it directly in the cloud. The main benefit being version control. For example, you can see a history of changes and revert to a previous time, if necessary.
Why FlexDeploy and Terraform?
FlexDeploy can bring automation and additional efficiencies to your infrastructure management. For example, CI and Webhook capabilities can be taken advantage of such that when someone makes a change to the script, the Terraform plugin can apply the changes immediately.
You can use FlexDeploy’s pre-deploy workflows to require a person to approve any changes. Most use cases for Terraform can also reap the benefits of FlexDeploy’s automation capabilities.
Terraform Plugin Operations
The Terraform plugin has 3 operations: Plan, Apply, and Destroy. These operations correspond directly with their Terraform CLI command.
- The Plan operation takes your Terraform script and makes a plan of exactly what it’s going to do (E.g., every resource it will create). It will make this plan viewable in reports and in the logs.
- The Apply operation takes a script and creates all of the resources defined. A back-end state manager can be used, otherwise local state is used.
- The Destroy operation will destroy everything created using the Apply operation, even over multiple applies.
Example
To demonstrate FlexDeploy’s Terraform capability, let’s consider the following use case.
Let’s say you need a fairly simple setup of one instance on Amazon Web Services (AWS). The Terraform snippet for that would look something like this:
terraform {
  required_providers {
    aws = {
      source  = "hashicorp/aws"
      version = ">=3.44.0"
    }
  }

  required_version = ">= 0.15.4"
}

provider "aws" {
  access_key = "${{AWS:FDAWSACCT_ACCESS_KEY}}"
  secret_key = "${{AWS:FDAWSACCT_SECRET_KEY}}"
  region     = var.region
}

resource "aws_instance" "example" {
  ami           = "ami-09e67e426f25ce0d7"
  instance_type = "t2.micro"

  tags = {
    Name = "ExampleInstance"
  }
}

variable "region" {
  type = string
}

output "hostname" {
  value = aws_instance.example.public_dns
}
The terraform block tells Terraform that the AWS provider is required and that the Terraform version must be above 0.15.4. The provider “aws” block is configuring how we want the provider to authenticate (we’ll touch more on this later) and also what region you want this to be created in. The resource block defines an AWS instance using that ami (which is Ubuntu 20.04) and the t2.micro type.
Then we are taking in a variable called region as an input for the AWS region, and we are outputting the host name for the AWS instance.
Pre-Deploy Workflow Plan
Next we are going to create a pre-deploy workflow.
In this workflow we’ll use the Plan operation to preview what our script is going to do. This will create a human task in FlexDeploy and the changes will not be deployed until this task is approved. This is a great use case for pre-deploy workflows since there are situations when you want to review changes before applying them.
Before we add steps to the workflow, let’s add one variable: type Boolean called CHANGE_EXISTS. We also need to set a review group that will review this workflow before approved. I used HaydenTestGroup.

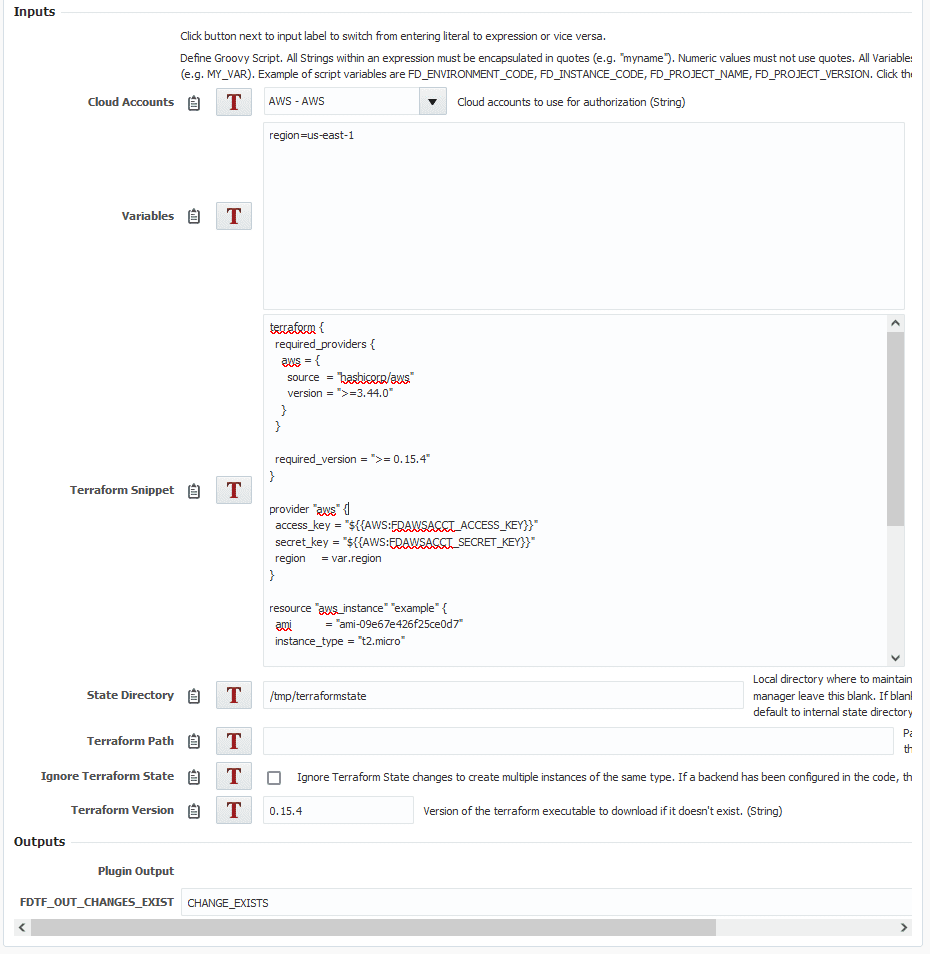
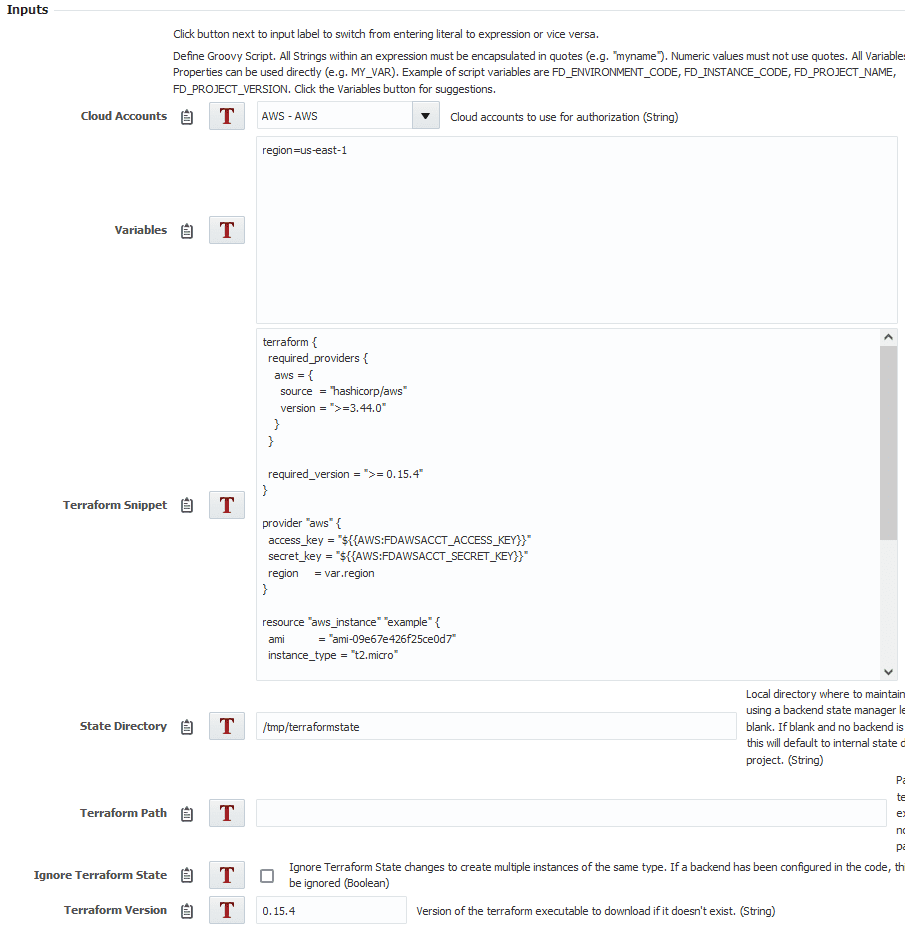
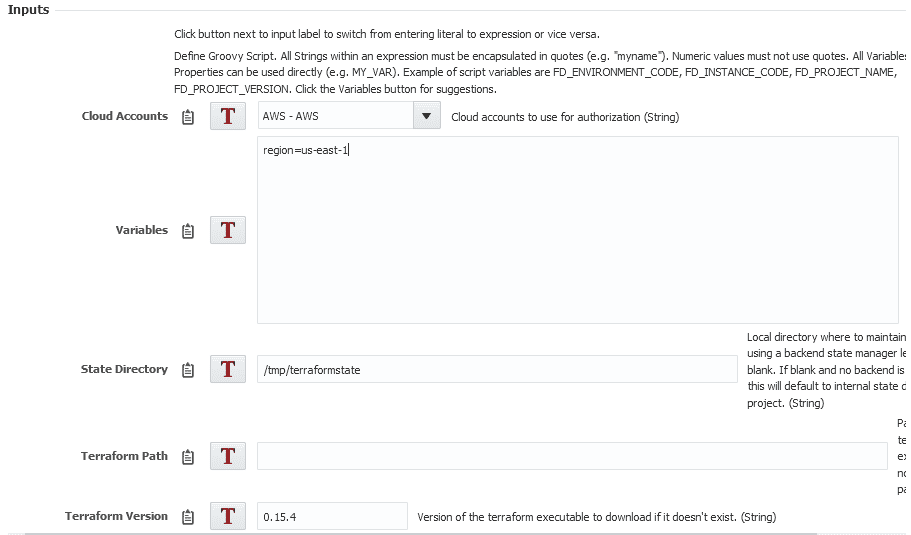
The first step for the pre-deploy workflow will run the Plan operation. You’ll need to select which cloud account you’re going to use.
Now that we have the account selected, let’s set our region using the input. The name of the input comes first, then an equal sign and then the input itself. The only input we need is for the region so we are going to put the following:
region=us-east-1
Next we can add our script from above. For this example I’m just going to put the script in as a the Terraform snippet input. For a production workflow, keep your script in source control, and then clone it down and place it as an artifact with your build workflow.
Now let’s talk about authentication.
When you select a cloud account FlexDeploy will allow it to be replaced using the format ${{INSTANCE_CODE:PROPERTY_NAME}}. The code is set in the cloud account configuration and the property name can be copied from there as well. In my case the account code is AWS. You’ll need to change the authentication details to use the account code for your account.
So if your account code was HAYDENAWS the authentication would need to look like this:
provider "aws" {
  access_key = "${{HAYDENAWS:FDAWSACCT_ACCESS_KEY}}"
  secret_key = "${{HAYDENAWS:FDAWSACCT_SECRET_KEY}}"
  region     = var.region
}
Similarly any properties in FlexDeploy can be replaced using property replacement. All you need to do is put the code inside of a dollar sign and two sets of braces like this:
${{FD_INSTANCE_NAME}}
and the value of that property will be replaced there.
The state directory we could leave blank and allow the plugin to choose one for us. Instead — so it will be a little easier to destroy — I’m going to set it to /tmp/terraformstate.
The path can be left empty, and we’ll set Ignore State to be false.
For the version, we want to put any of the 0.15 versions, so I will put ‘0.15.4’.
Next for the output FDTF_OUT_CHANGES_EXIST we want to put the variable we created earlier here called CHANGE_EXISTS. This means that CHANGE_EXISTS will be set to the same value as FDTF_OUT_CHANGES_EXIST.
The planning step should look like this:
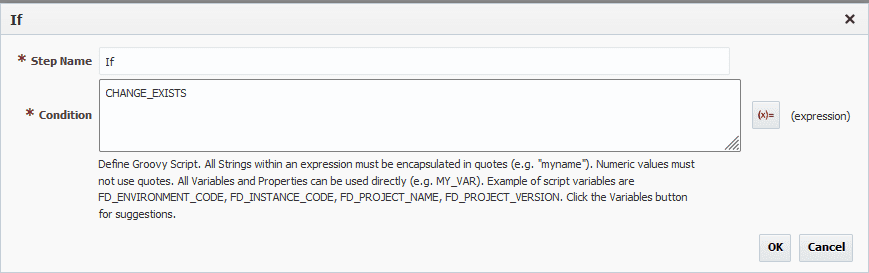
Now we’re done with the planning step, and we can add an if statement. The condition will simply be CHANGE_EXISTS.
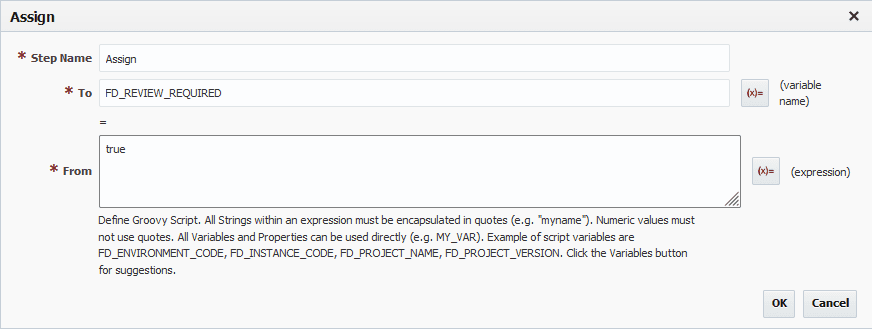
Inside of that “If”, we want an assign. This assign will set FD_REVIEW_REQUIRED to true. This will require that a human task be approved before going ahead with the deploy.
The overall workflow should like this:
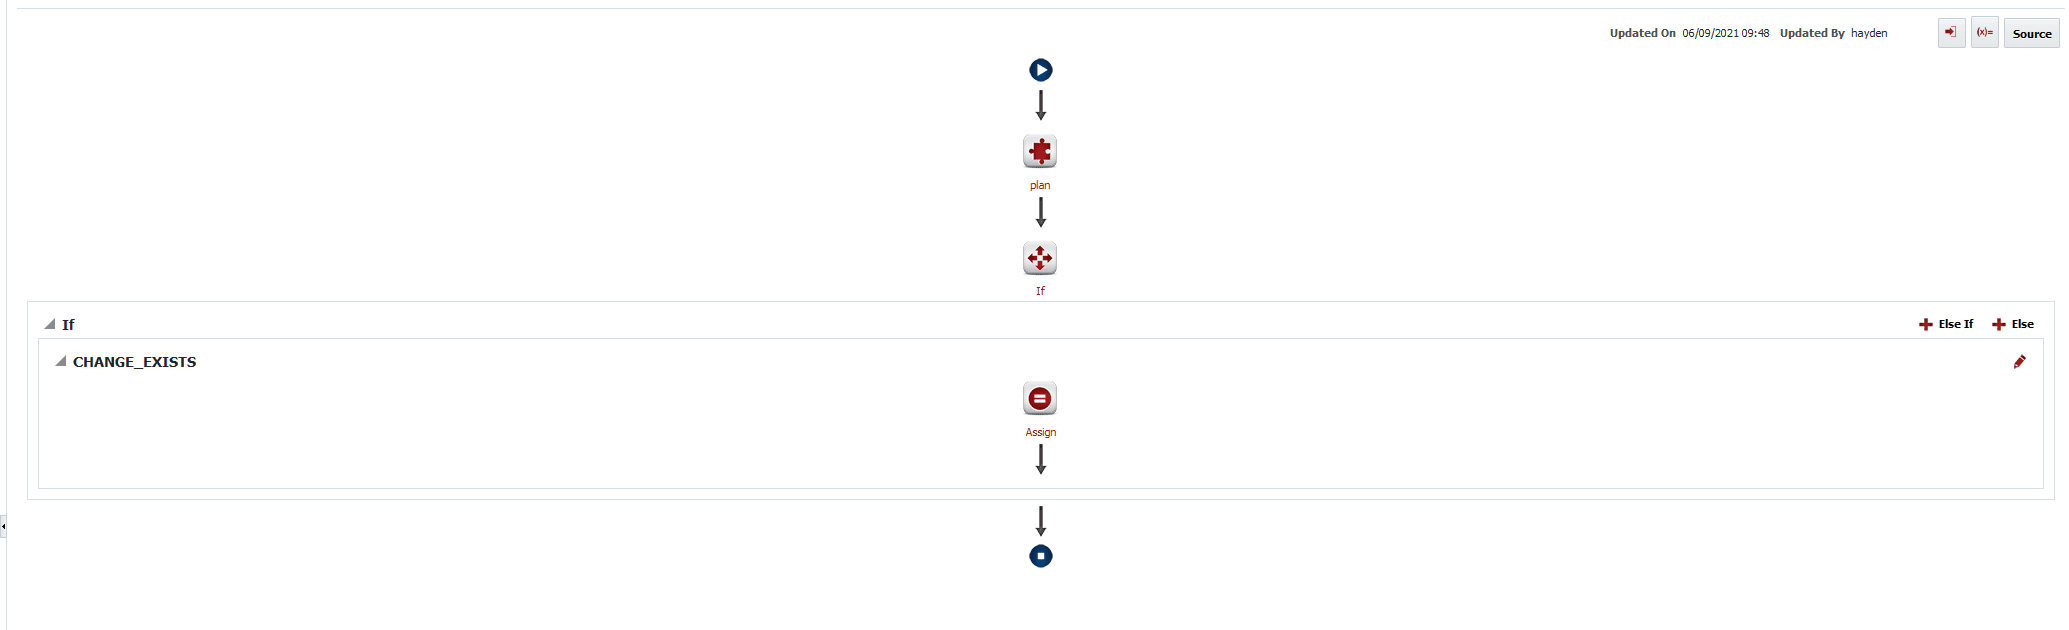
In plain language, we are executing the plan, then checking if any changes were made, and if they require someone to review them before continuing.
Deploy Workflow
Now it’s time to create a deploy workflow.
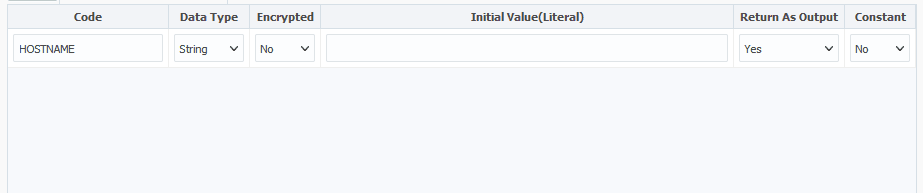
Let’s start by adding a variable called HOSTNAME as an output for our instance’s hostname. Make it string type and make sure it’s set as an output.
The first step is going to be the Apply operation. This will be the same as the Plan operation, so select your cloud account, add your region input, and put in your Terraform snippet with the correct account code. Set the state directory to /tmp/terraformstate. Leave the path empty, and Ignore Terraform State unchecked. Set the Terraform version the same as before.
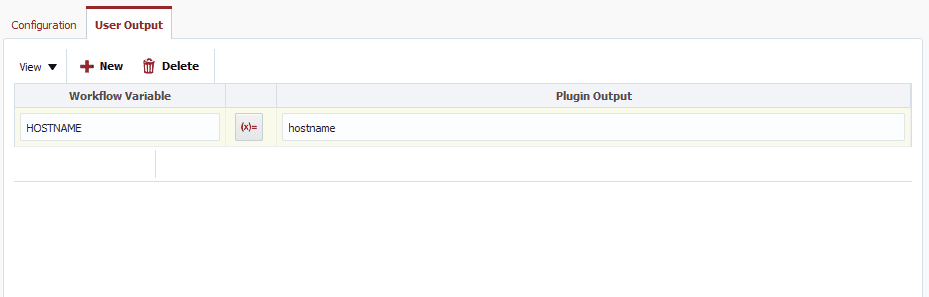
Now we’ll want to add a user defined output for the hostname. Add HOSTNAME for the workflow variable and hostname for the plugin output.
We are ready to run the project now.
Once the pre-deploy workflow runs, we can look at the plan and approve.
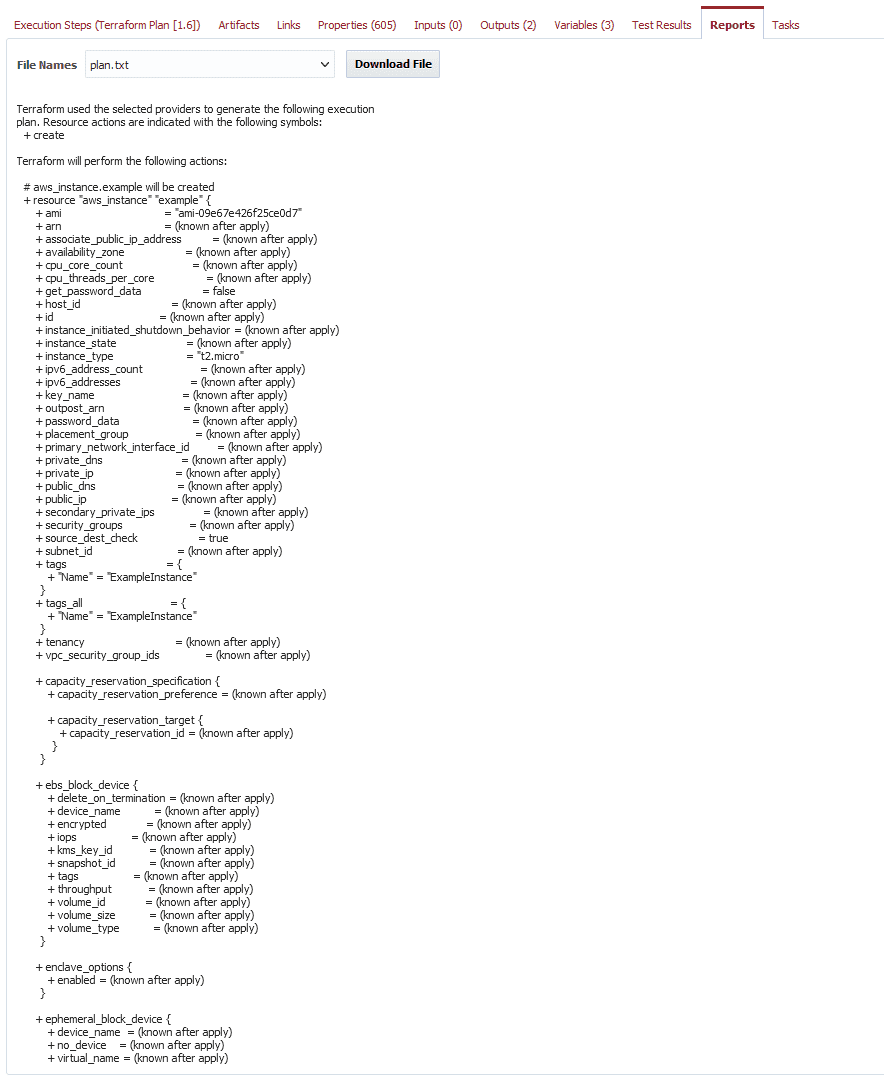

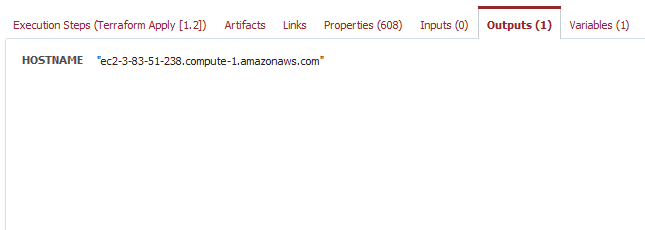
The actual deploy will start after it is approved. Once that is complete we can see the hostname show up as an output.
Destroying
Now that the instance is created, it needs to be destroyed since we don’t need it for anything right now. We’ll just use a utility project and workflow for this, since destroying wouldn’t be part of a normal workflow. One use case where you may want to actually destroy would be if a script was for one particular environment, and you are now done with that environment.
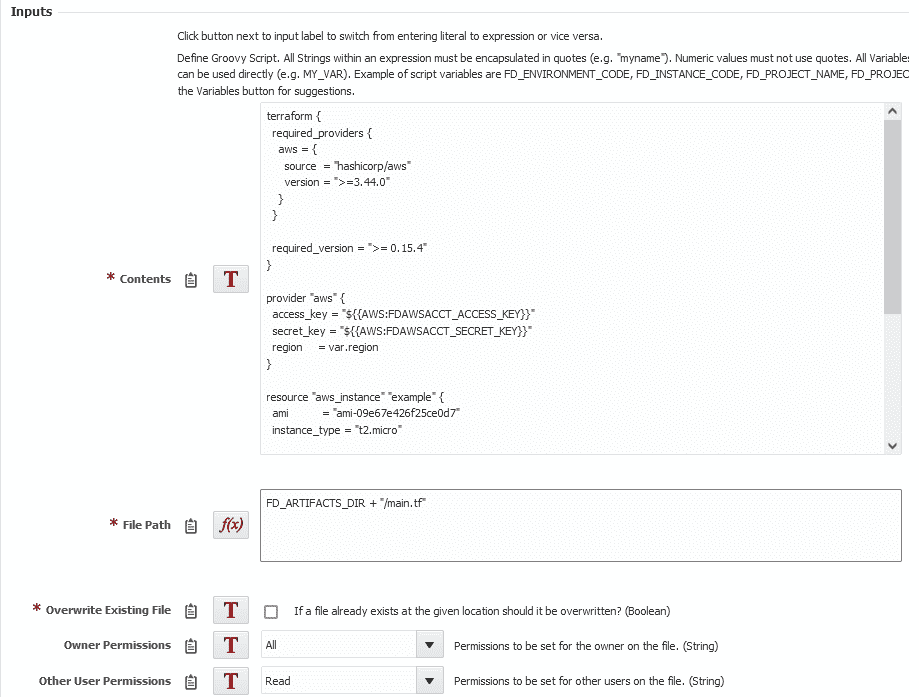
Currently the Destroy operation doesn’t support snippets so we’ll use the file plugin to write our script to the Artifacts directory. Add the createFile operation, set the Contents to the script, click the T button next to File Path to switch to an expression, and then enter FD_ARTIFACTS_DIR + “/main.tf”.
Next add the Destroy operation. Choose the correct cloud account, set the region input to us-east-1, state directory to /tmp/terraformstate, and version to 0.15.4.
Now execute the workflow and the instance will be destroyed.
Conclusion
Combining Terraform and FlexDeploy creates a unique opportunity to leverage the capabilities of both. In this example we showed how a simple script could be planned, approved, applied, and eventually destroyed. With a little more configuration, more complex use cases can be achieved with FlexDeploy’s customization and automation capability.
Learn more about FlexDeploy’s support for Terraform in this on-demand webinar.