In this tutorial, I’ll be teaching you how you can install Node.js on windows, mac or linux in under 15 minutes.
Node is an open-source runtime environment for javascript. It is a cross-platform environment providing its support for Mac, Windows and Linux. It runs Chrome’s V8 javascript engine, outside the browser, and because of this, it is very powerful.
It runs in a single process, without creating a new thread for every request. Node JS
How Does a Node App Look?
|
1 2 3 4 5 6 7 8 9 10 11 12 13 14 |
const http = require('http'); const hostname = '127.0.0.1'; const port = 3000; const server = http.createServer((req, res) => { res.statusCode = 200; res.setHeader('Content-Type', 'text/plain'); res.end('Hello World'); }); server.listen(port, hostname, () => { console.log(`Server running at http://${hostname}:${port}/`); }); |
How to Install Node.js?
These tools are required for developing a Node.js application on any platform.
- Node JS
- Node Package Manager or NPM*
- A text editor or an IDE
*NPM gets installed automatically when you install Node on your system.
Installation on Windows and MAC
To download node, you just need to visit the node’s official website and download the LTS version of node.
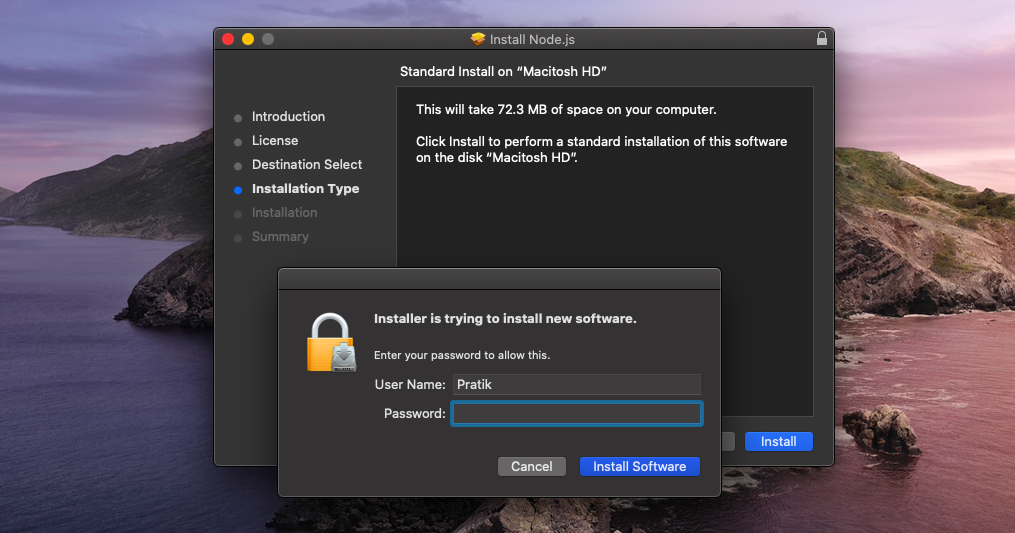
Once, downloaded, you’ll see an installer similar to this.

Hit install it as you install any other application on your Windows or Mac. Enter your system password if prompted.
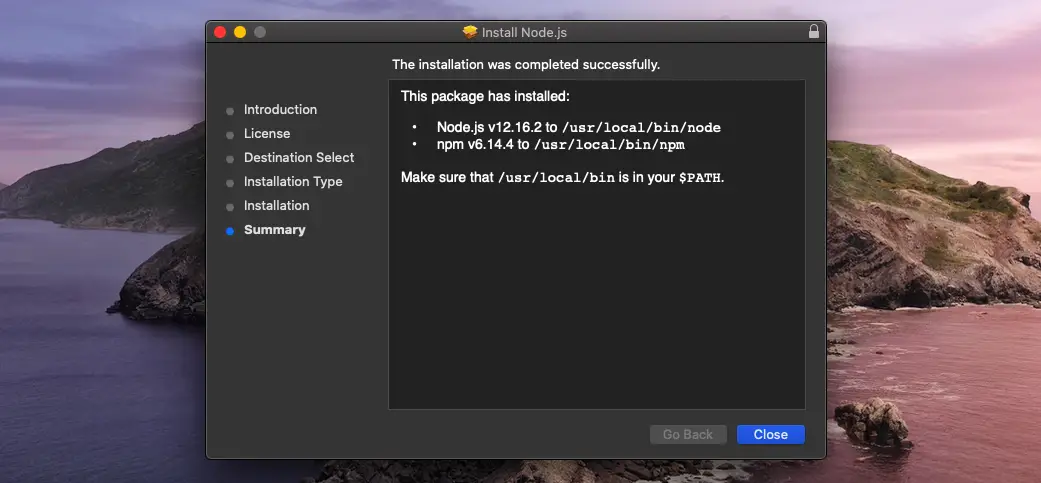
And once done, the installer will prompt you a success message. You can now go ahead and delete the installer.
Installation on Linux
To install Node on your Ubuntu machine, run the following command:
|
1 |
curl -sL https://deb.nodesource.com/setup_10.x | sudo -E bash - sudo apt-get install -y nodejs |
Once you download Node, the NPM or Node Package Manager automatically gets installed as it also ships with the node.
Installing the Text Editor
The next thing is to install a text editor which will help you in writing code. The one which I personally use is Visual Studio Code by Microsoft.
You can download it from here: https://code.visualstudio.com/
Once you are done with the text editor, the next thing which you can do is to check whether the path of the Node is correct or not.
Testing Nodejs and NPM installation
You can check your node installation just by running a small node command which will show you the version installed. Just open your cmd or PowerShell and paste the below command. This will show the version of node installed on your computer.
|
1 2 |
node -v v12.16.0 |
Similarly, you can check the version of npm installed on your computer. Just paste the below node command to check the version.
|
1 2 |
npm -v v6.13.4 |
Running Your First App
Here you are all set up, let’s try to run a small node server. Open VS Code and create a new file and save it as app.js
Now paste the following code.
|
1 2 3 4 5 6 7 8 9 10 11 12 13 14 |
const http = require('http'); const hostname = '127.0.0.1'; const port = 3000; const server = http.createServer((req, res) => { res.statusCode = 200; res.setHeader('Content-Type', 'text/plain'); res.end('Hello World'); }); server.listen(port, hostname, () => { console.log(`Server running at http://${hostname}:${port}/`); }); |
Now save the code and hit Ctrl + ~
This will open an integrated terminal of vs code in the same directory and from here you can directly run your js code.
Simply run the following command and hit enter.
|
1 2 |
node app.js Server running at http://127.0.0.1:3000/ |
You can now visit http://127.0.0.1:3000/ to check your node app running.
Well, this was all about setting up your system for js development. If you stuck into any kind of error, don’t forget to google it and try to debug it on your own.
This will teach you how to debug on your own as someone might have faced a similar problem earlier.
If you still don’t find any solution for your problem, you can ask your doubt in the comment’s section below and we’ll get back to you.