
Go is an open-source programming language backed by Google that makes it easy to build simple, reliable, and efficient software. Go was built for developing distributed systems that C and Java have limitations around, which has made it increasingly popular. That, combined with Go’s efficiency with network servers and its friendly syntax makes it a great choice for developing networked applications.
In this tutorial, I will demonstrate how to deploy a demo Go application to Heroku using an automated CI/CD pipeline. You ready? Let’s dig in.
Prerequisites
To follow this tutorial, you will need:
- Basic knowledge of programming
- Go installed on your system (you can find an installation guide here){: target=”_blank”}
- An account on Heroku
- A CircleCI account
- A GitHub account
With all these installed and set up, you can begin the tutorial.
Building a simple API with Go
Begin by creating a very simple mock API with two endpoints. One endpoint for the API root, /, and another endpoint, /register, that receives some user data, and echoes it back in a success response formatted in json.
You will be creating this API using Go and Gin. Gin is a standard web framework for Go similar to Express.js for Node.js or Django for Python.
Create a folder with the name go-registration-api and go to the root of the folder:
mkdir go-registration-api
cd go-registration-api
Next, initialize the Go project by running:
go mod init go-registration-api
The go mode init command is similar to npm init in Node.js. It initializes the folder as a Go project named go-registration-api. This command also creates a go.mod file at the root of the project. This file is similar to package.json file in Node.js. It manages dependencies and many more project-level configurations.
Create your project entry file. At the root of the project, create the entry file named main.go. Paste in this code:
package main

import "fmt"

func main (){
    fmt.Println("It's Aliveeee!!!")
}
This is a simple “Hello World” Go application where we yell “It’s Aliveeee!!!” to the screen, waking up Frankenstein’s monster.
To run your code, open your Terminal. At the root of the project, run this command:
go run main.go
This code calls Go’s run command, and supplies it with the file you want to run. This will compile and run the code. It's Aliveeee!!! is printed on the CLI.
You probably don’t want to run go run main.go each time you want to run your application. To prevent this, create a makefile file. Create a file named makefile at the root of the project (no file extension). This file will help you proxy some of the commonly used Go CLI commands with simpler ones. Enter this into the makefile:
dev:
	go run main.go
Note: Makefiles require that you use tabs. The second line above is tabbed once.
This creates a proxy dev command for go run main.go. Run:
make dev
This gives you the same result as running go run main.go. It serves as your command for running the Go project in development mode.
Building the API
Now you can begin building our mock API. First, install the Gin framework. Run:
go get -u github.com/gin-gonic/gin
This downloads all the packages required for operating with Gin. A go.sum file is created at the root of the project. This file works like the package-lock.json in Node.js. It keeps track of the exact version of all the packages being installed in the project.
Once Gin is installed, replace all the code in main.go:
package main
import "github.com/gin-gonic/gin"
func main() {
r := gin.Default()
r.GET("/", func(c *gin.Context) {
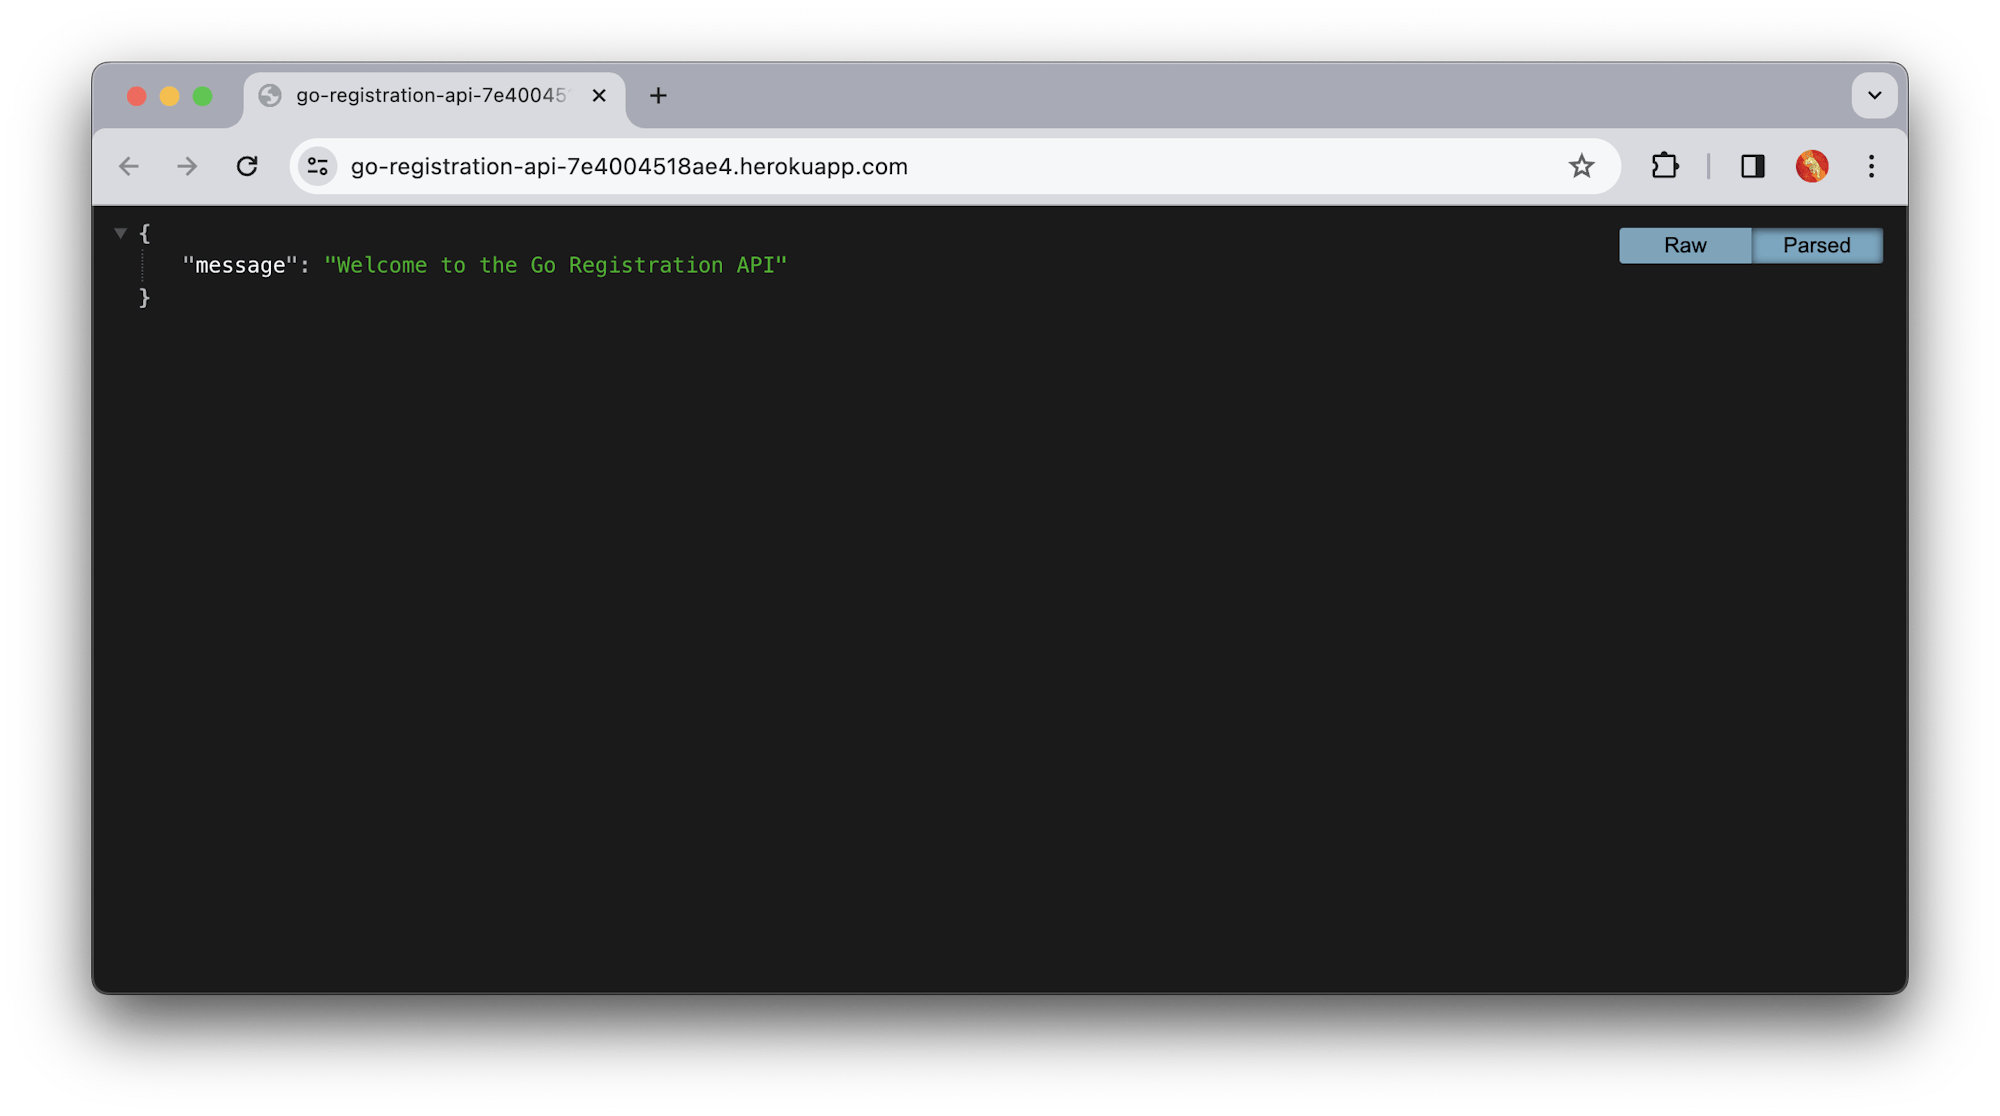
c.JSON(200, gin.H{
"message": "Welcome to the Go Registration API",
})
})
r.POST("/register", func(c *gin.Context) {
fullname := c.PostForm("fullname")
phone := c.PostForm("phone")
email := c.PostForm("email")
c.JSON(200, gin.H{
"status": "success",
"message": "User details successfully posted",
"fullname": fullname,
"phone": phone,
"email": email,
})
})
r.Run()
}
This code starts by importing the gin package. Then, in the main function, it creates a new gin with this line:
r := gin.Default()
This command returns a router that includes helpful middleware for tasks like logging and recovery. There are two endpoints:
/: AGETendpoint that returns ajsonobject with a message welcoming the user to the API./register: APOSTendpoint that receives a user’s form data, and echoes it back in ajsonsuccess response.
Finally, it calls r.Run() to make sure that the application doesn’t exit, but keeps running.
Running the API endpoints
Time to test your mock API. Run the application by typing:
make dev
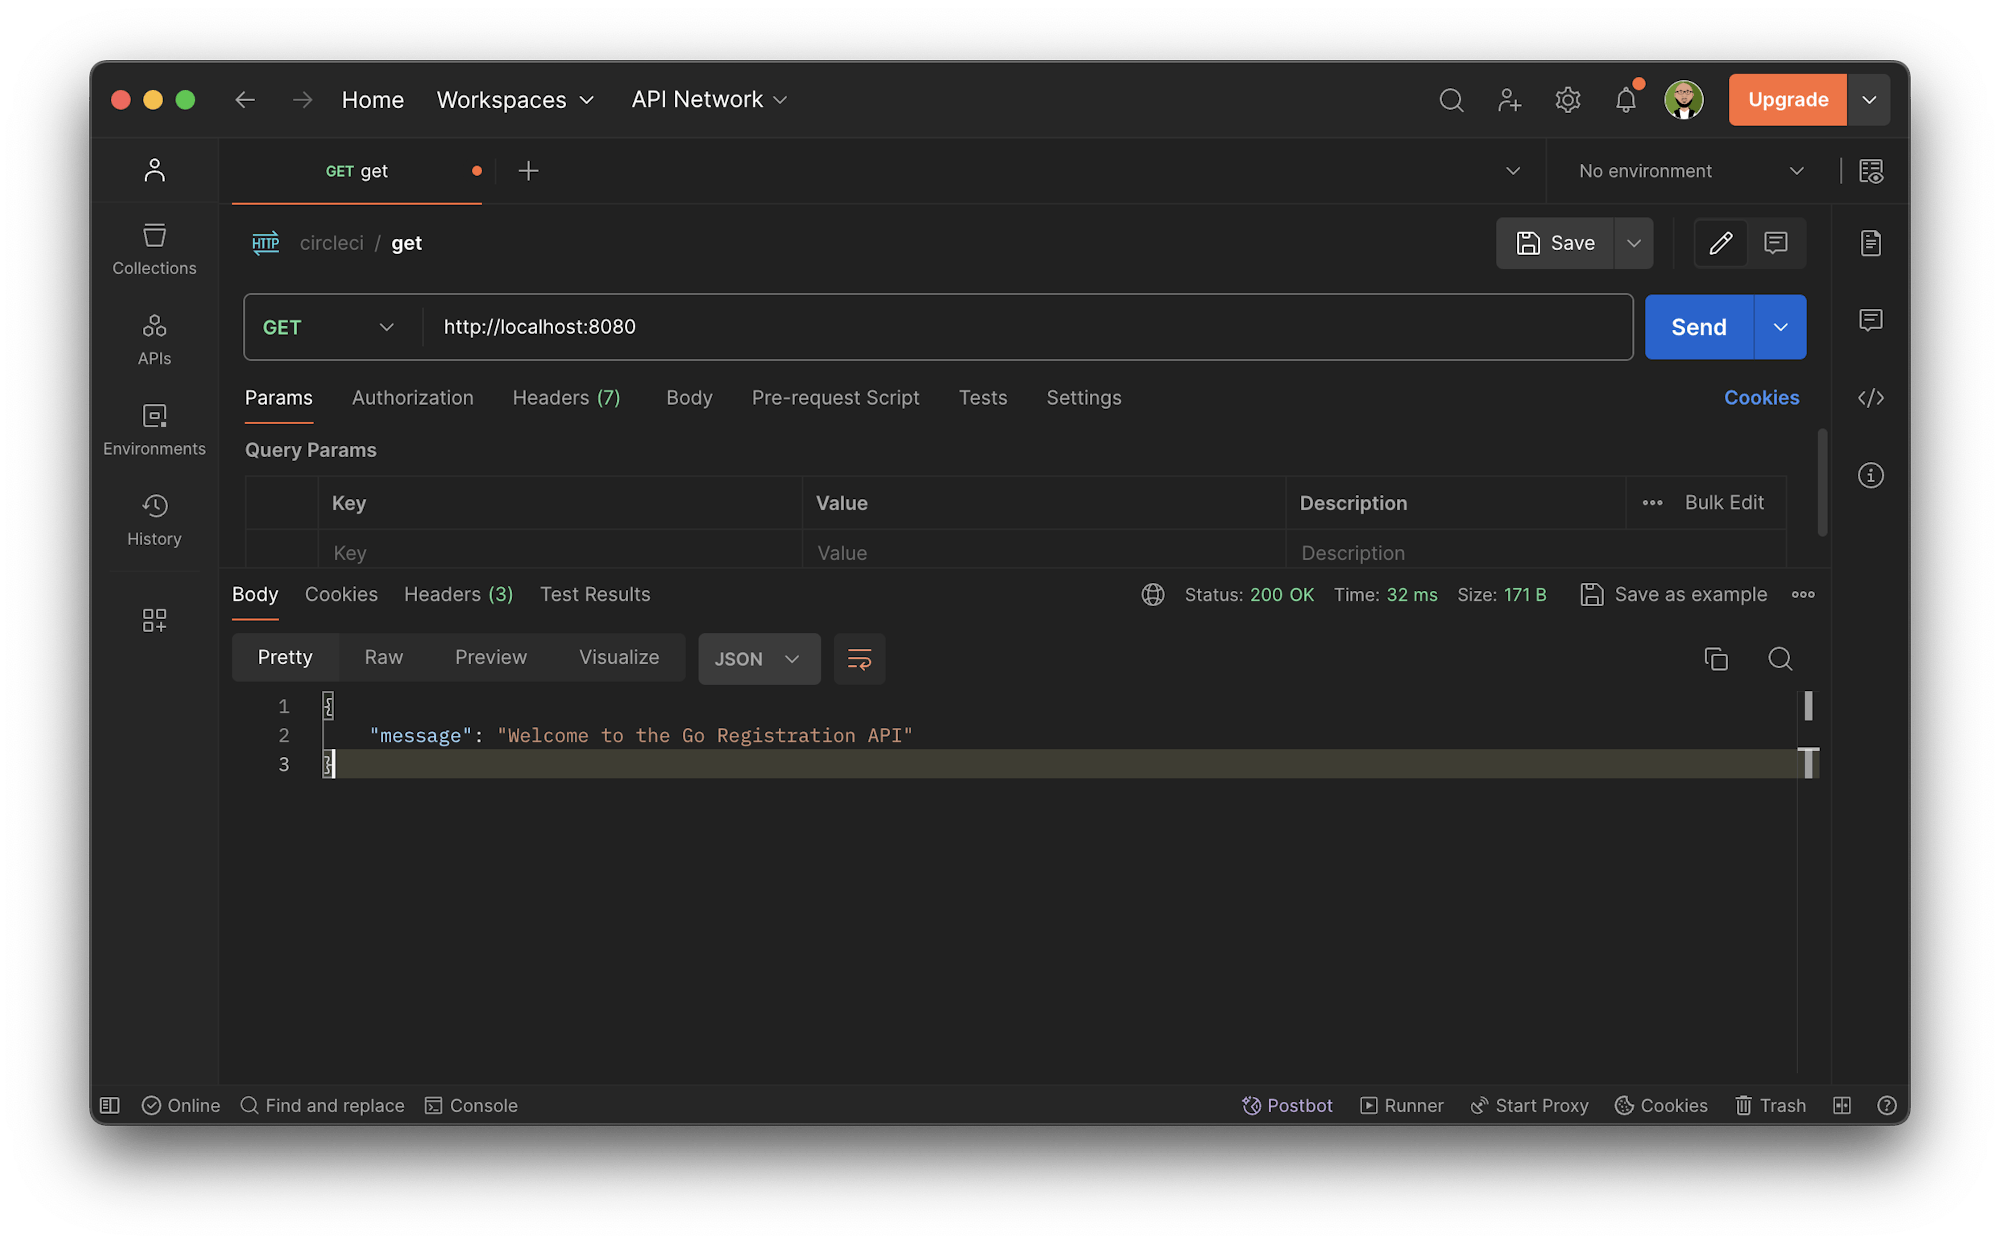
This boots up a local server to serve the application at http://localhost:8080.
Note: If the application was running while you were making the changes, shut down the app with Ctrl + C and restart it.
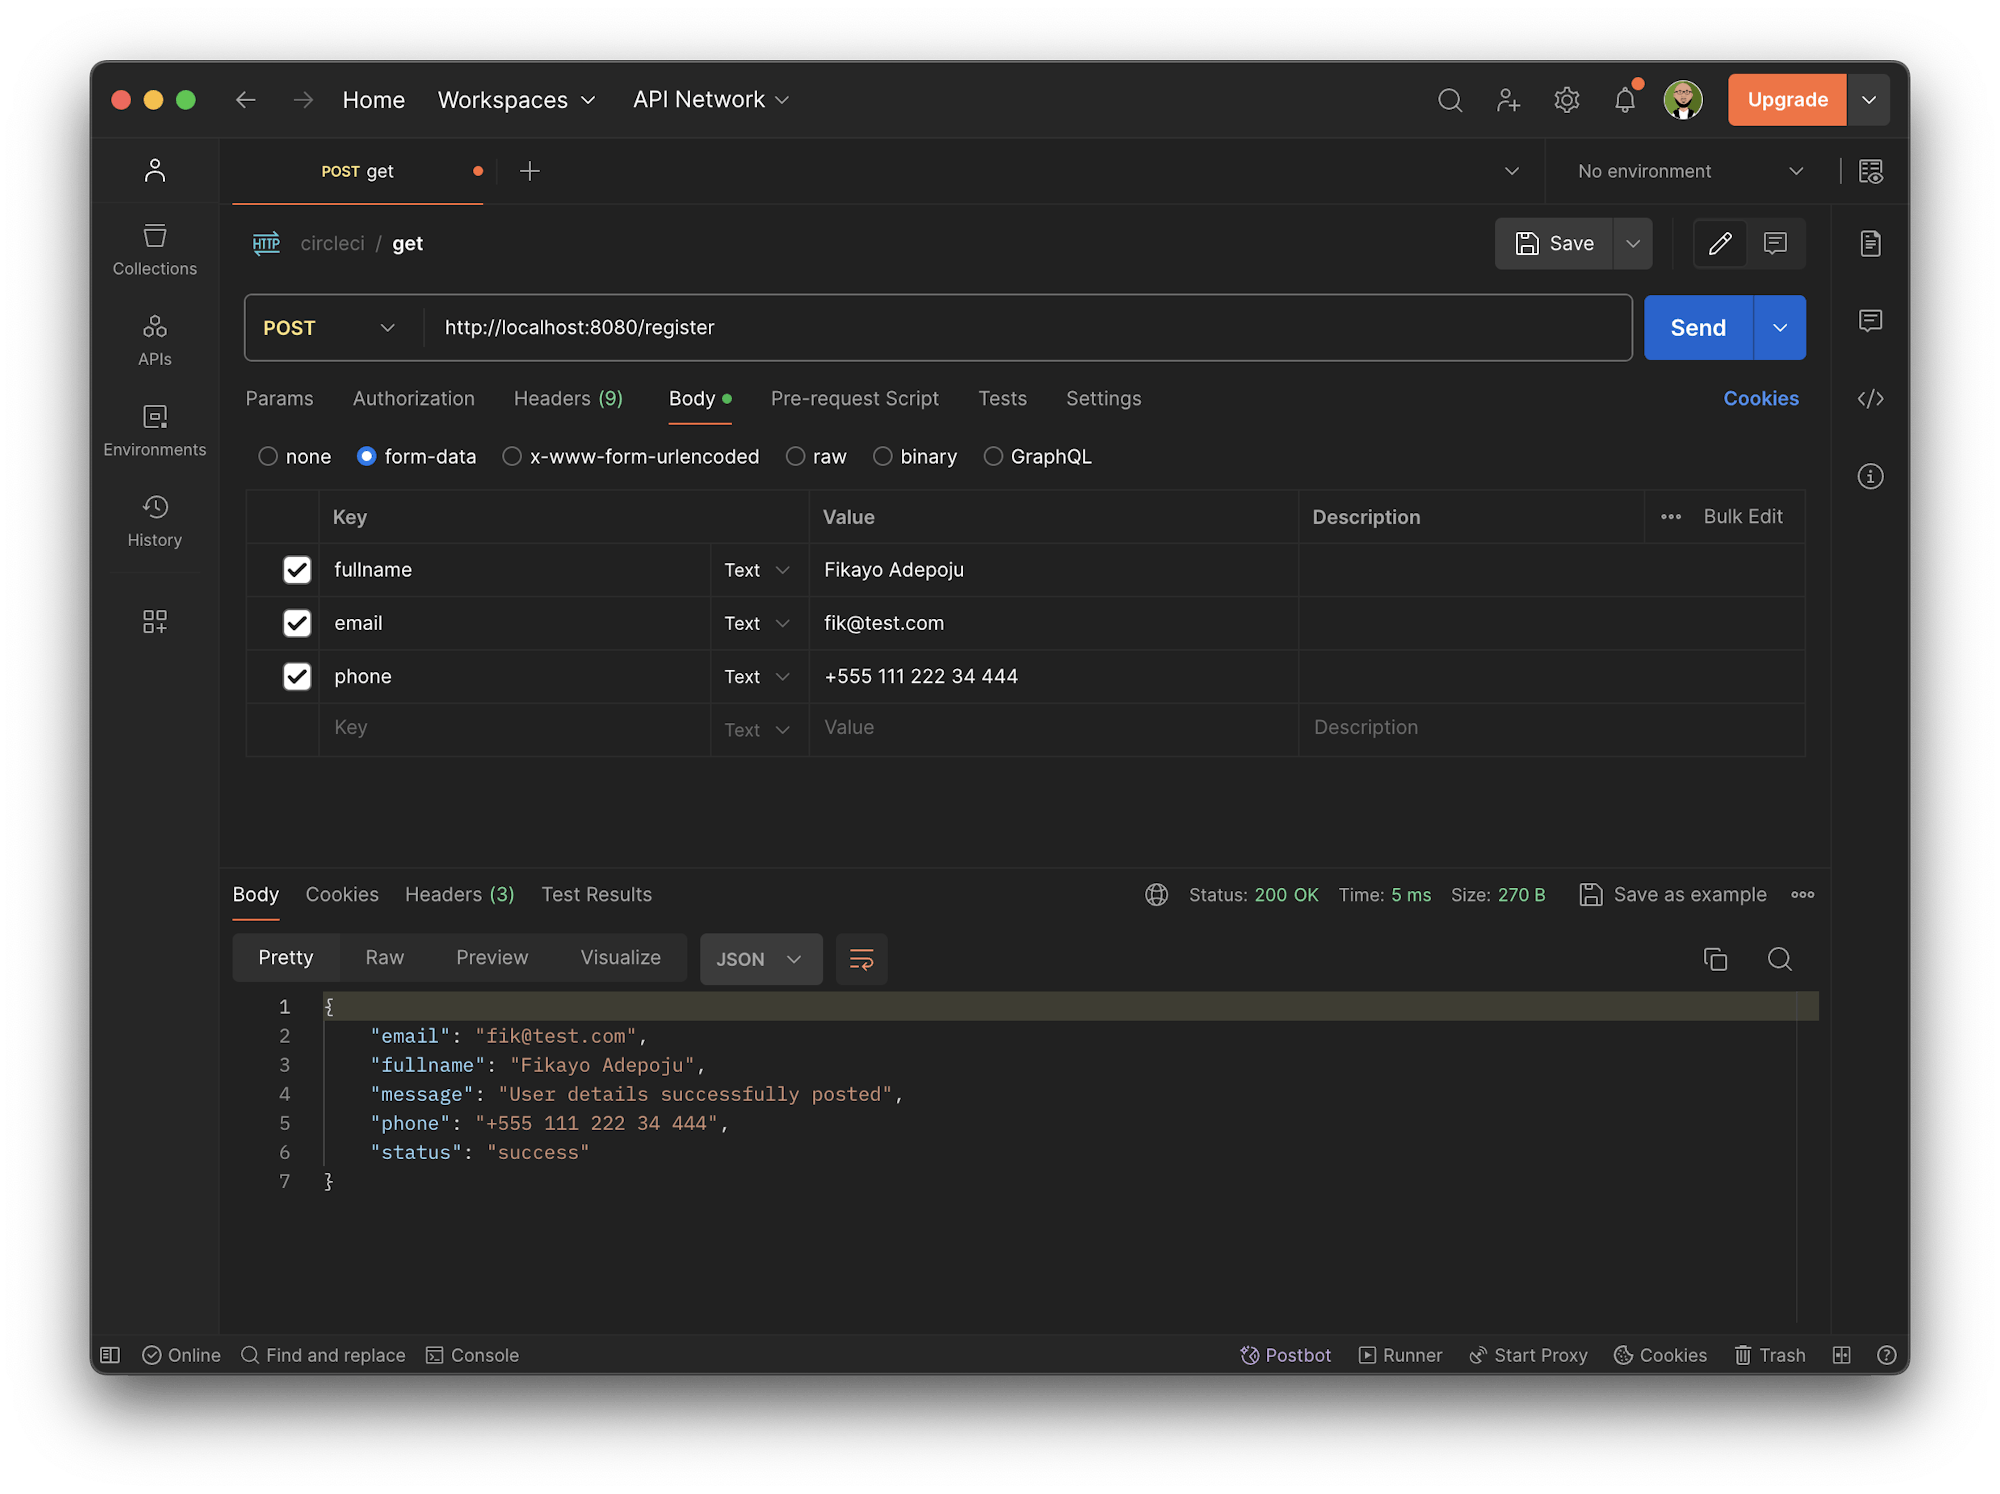
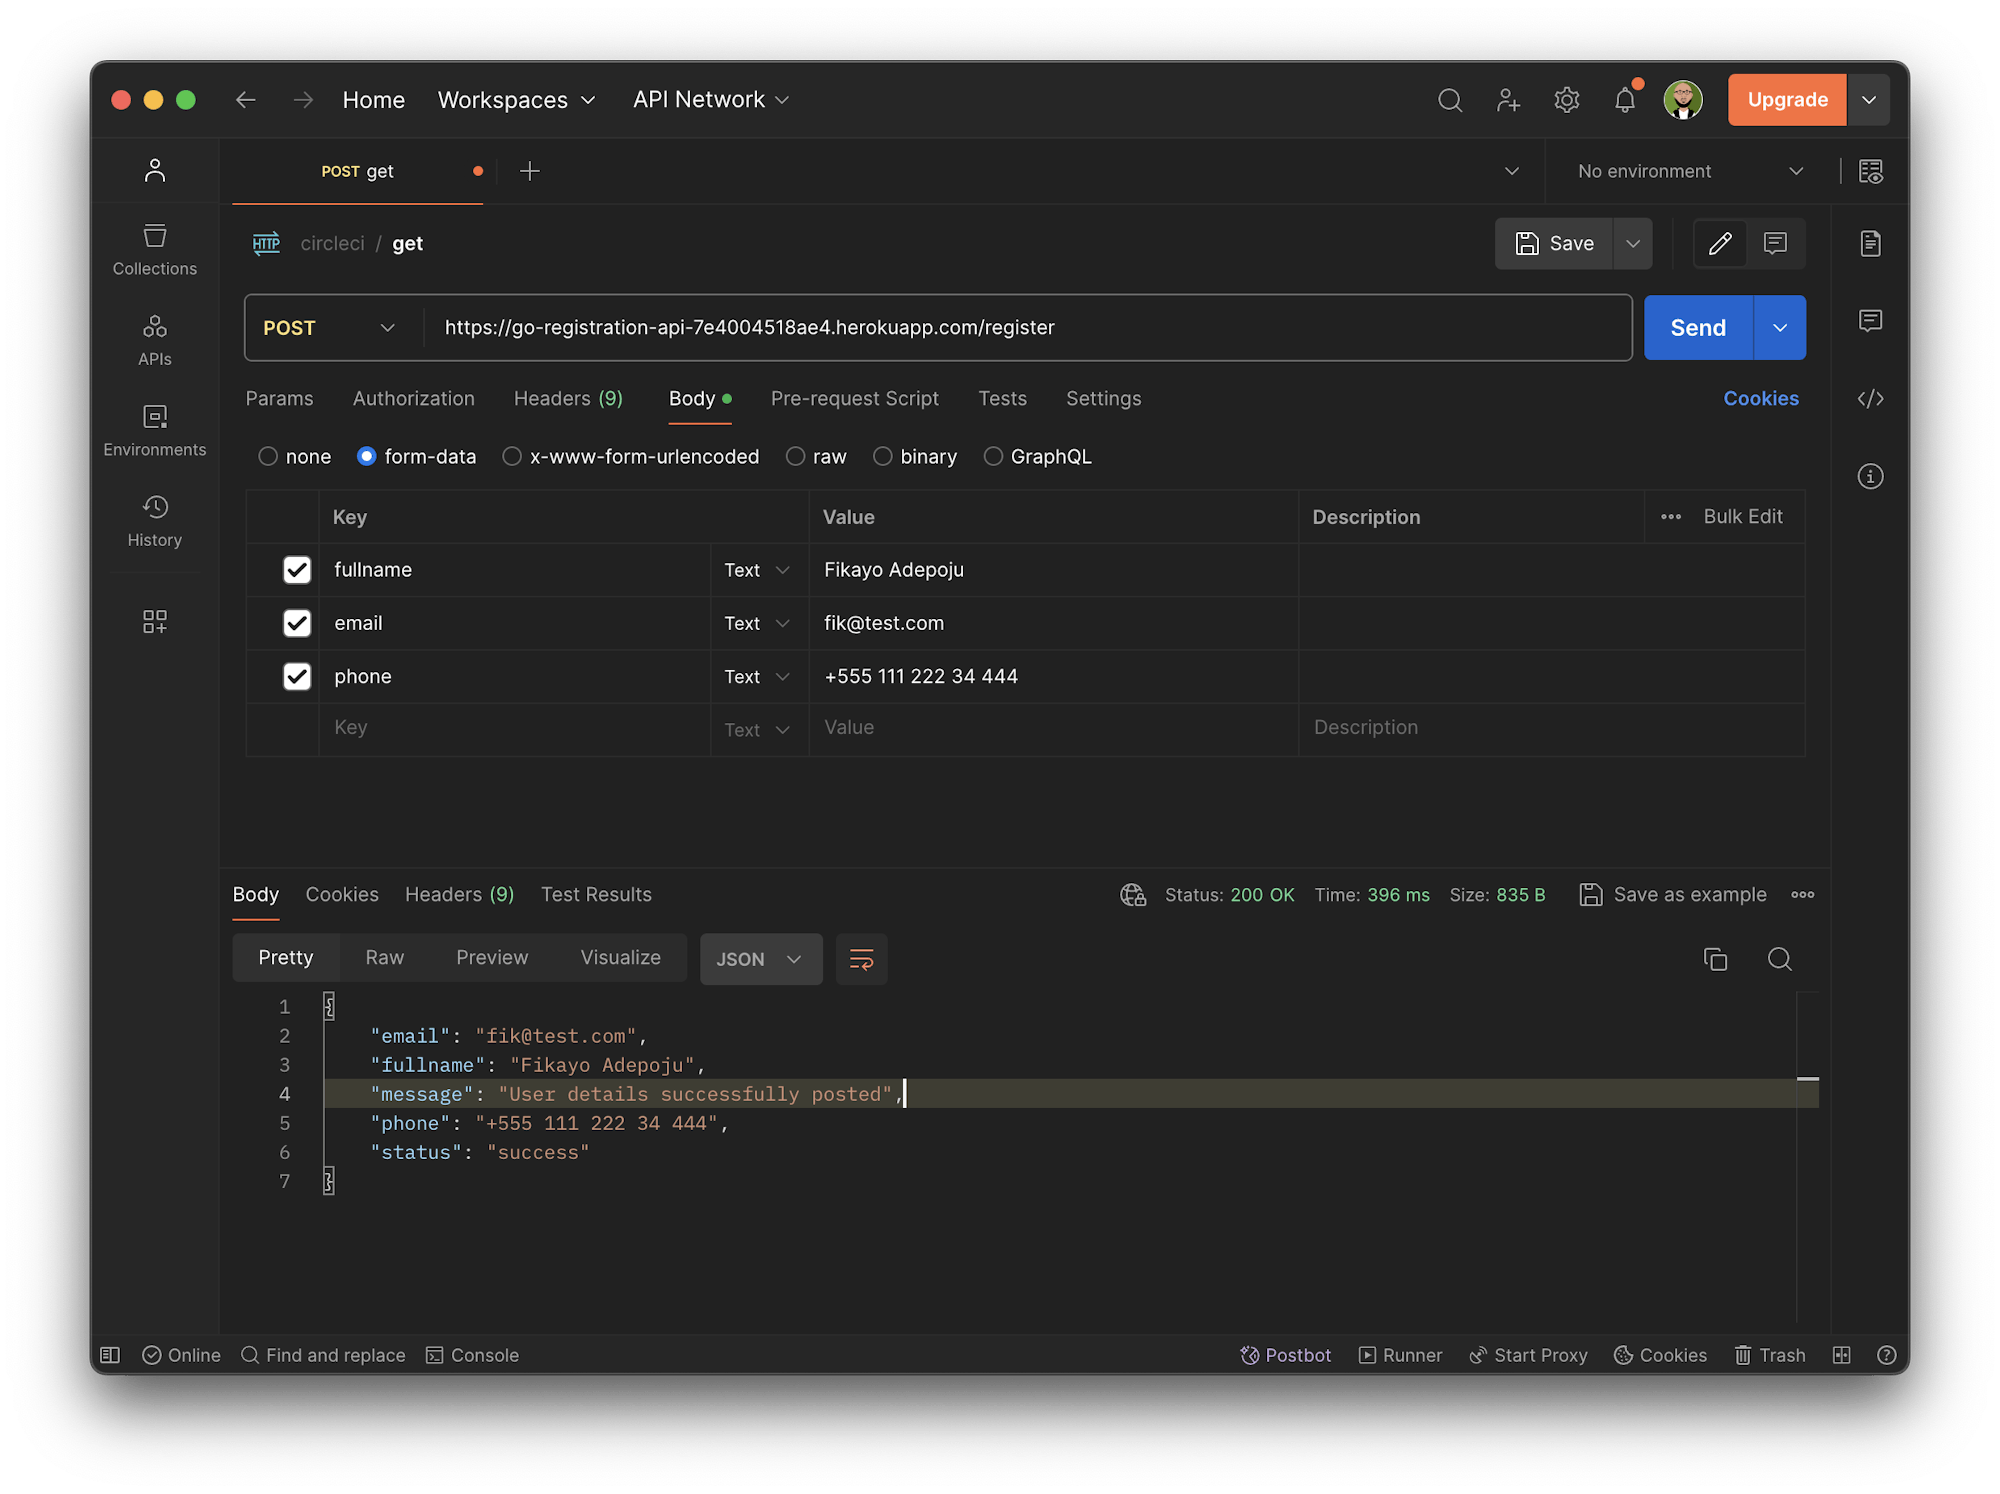
Using Postman to call the endpoints results in the following two screenshots.
Setting up a Heroku app for deployment
You need a hosting service to deploy your Go application; I chose Heroku for this tutorial. Set up a Heroku application by going to the Heroku dashboard and clicking New. Select Create new app and fill in the application name.
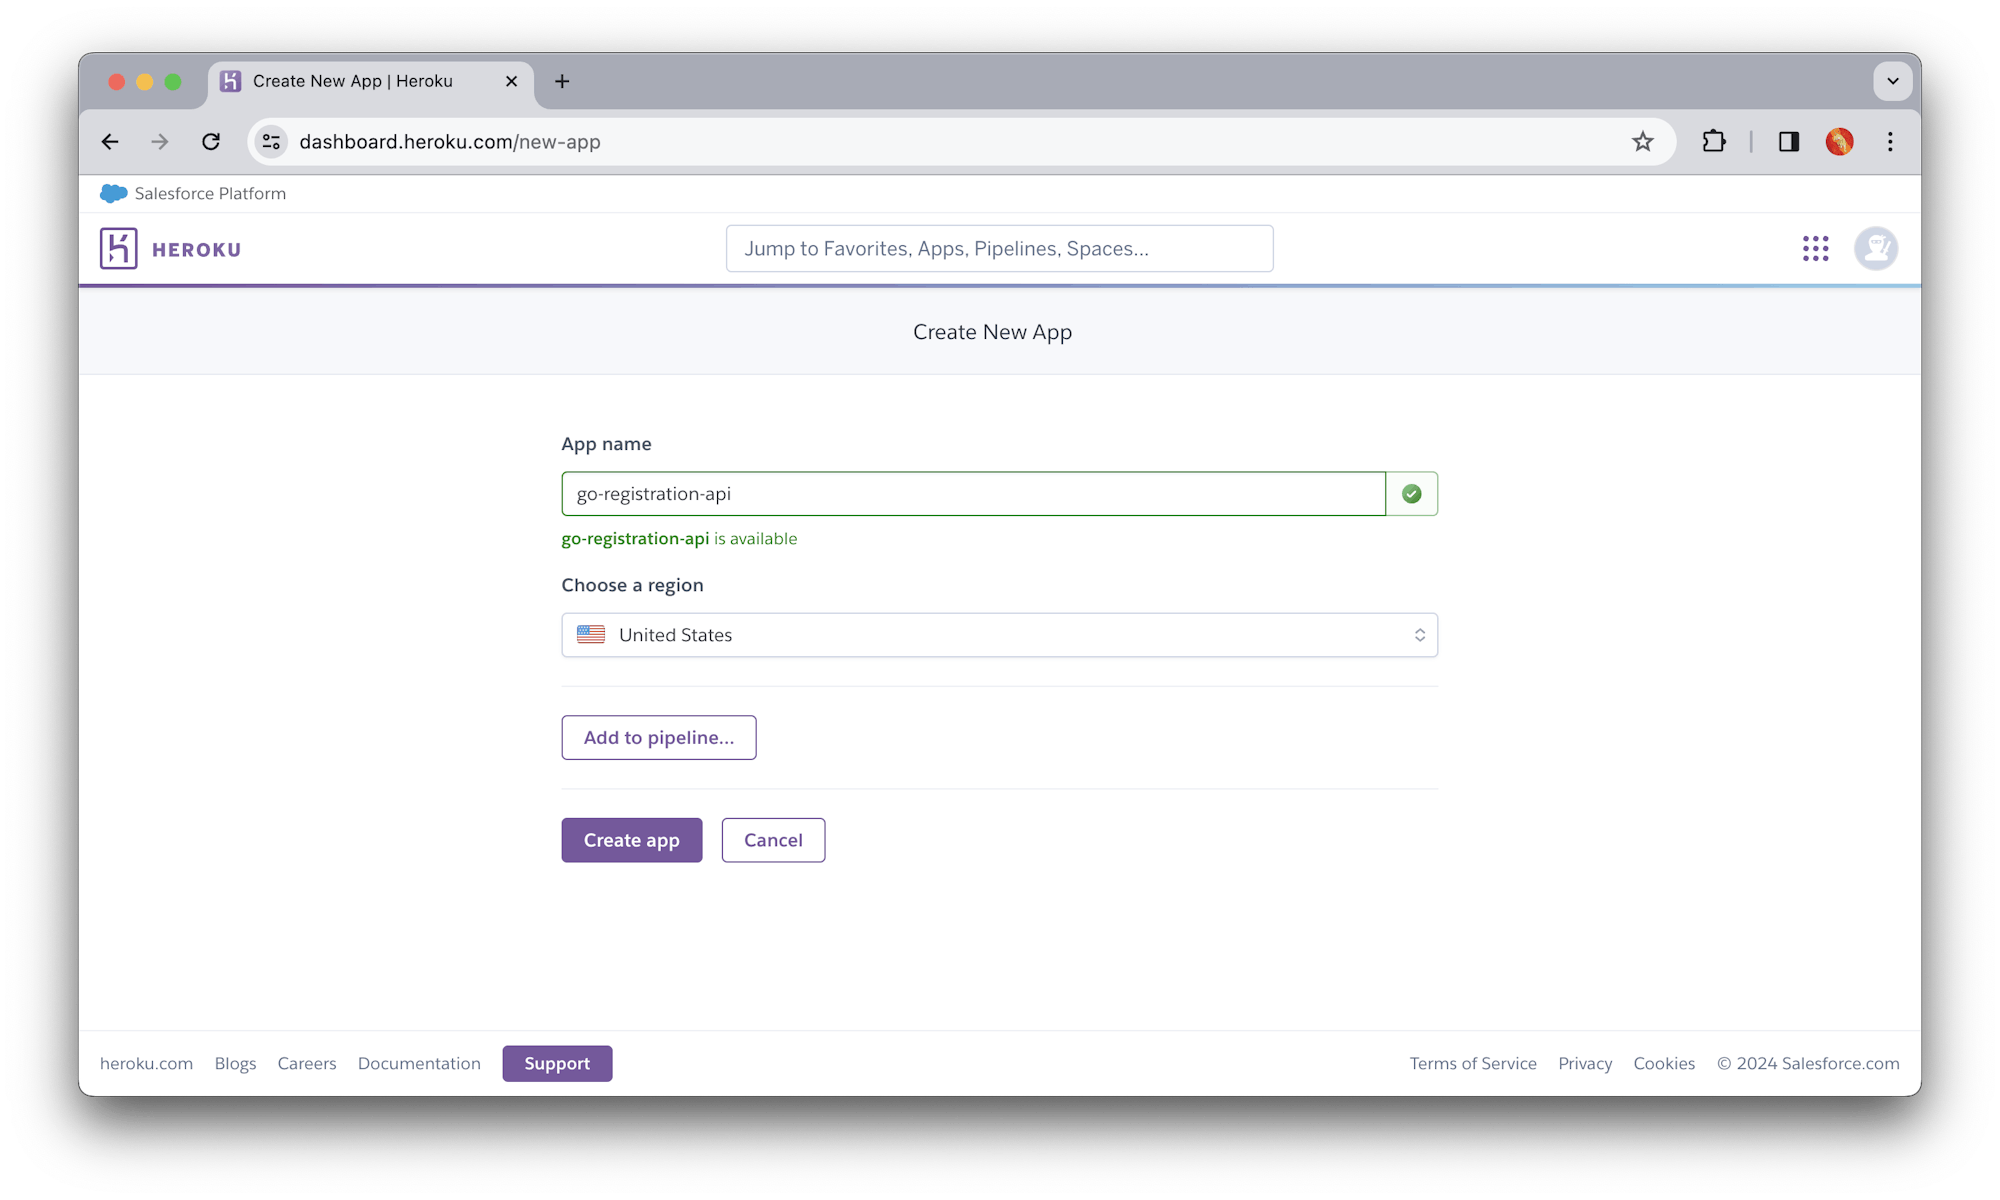
After creating the application successfully, you will be redirected to the application page. Remember your application name, in this case go-registration-api. You will need it later on in the tutorial.
Find your Heroku API key, located on your Account Settings page. Click your avatar at the top right of the webpage. Access Account Settings from the dropdown menu that appears.
Configuring automated deployment with CircleCI orbs
Now you need to get your Go application deployed, and make it truly “Aliveeee!!!”. First, create a Procfile file at the root of the project.
Create the Procfile file (with no file extension), and add the following command to the file:
web: bin/go-registration-api
Heroku runs the built version of our Go application, located in the bin directory.
Next, create a deployment pipeline configuration file to contain our configuration script. At the root of the project, create a folder named .circleci. Create a config.yml file within that folder. Inside the config.yml file, enter this configuration:
version: "2.1"
orbs:
  heroku: circleci/heroku@2.0
jobs:
  deploy:
    executor: heroku/default
    steps:
      - checkout
      - heroku/install
      - heroku/deploy-via-git
workflows:
  heroku_deploy:
    jobs:
      - deploy
You can deploy your application with only seven lines of code, using the power of CircleCI orbs. The configuration pulls in CircleCI’s Heroku orb. This orb abstracts a lot of boilerplate Heroku CLI commands, and provides an easy-to-use API for deploying applications.
Next, the config calls the heroku/deploy-via-git job. This job checks out code from the remote repository and deploys it to Heroku. It authenticates with Heroku using the environment variables you defined earlier.
Next, set up a repository on GitHub and link the project to CircleCI. Review Pushing your project to GitHub for instructions.
Now, log into your CircleCI account. If you signed up with your GitHub account, all your repositories will be available on your project’s dashboard.
Click Set Up Project next to your go-registration-api project.
You will be prompted to enter the name of the branch your configuration file is on.
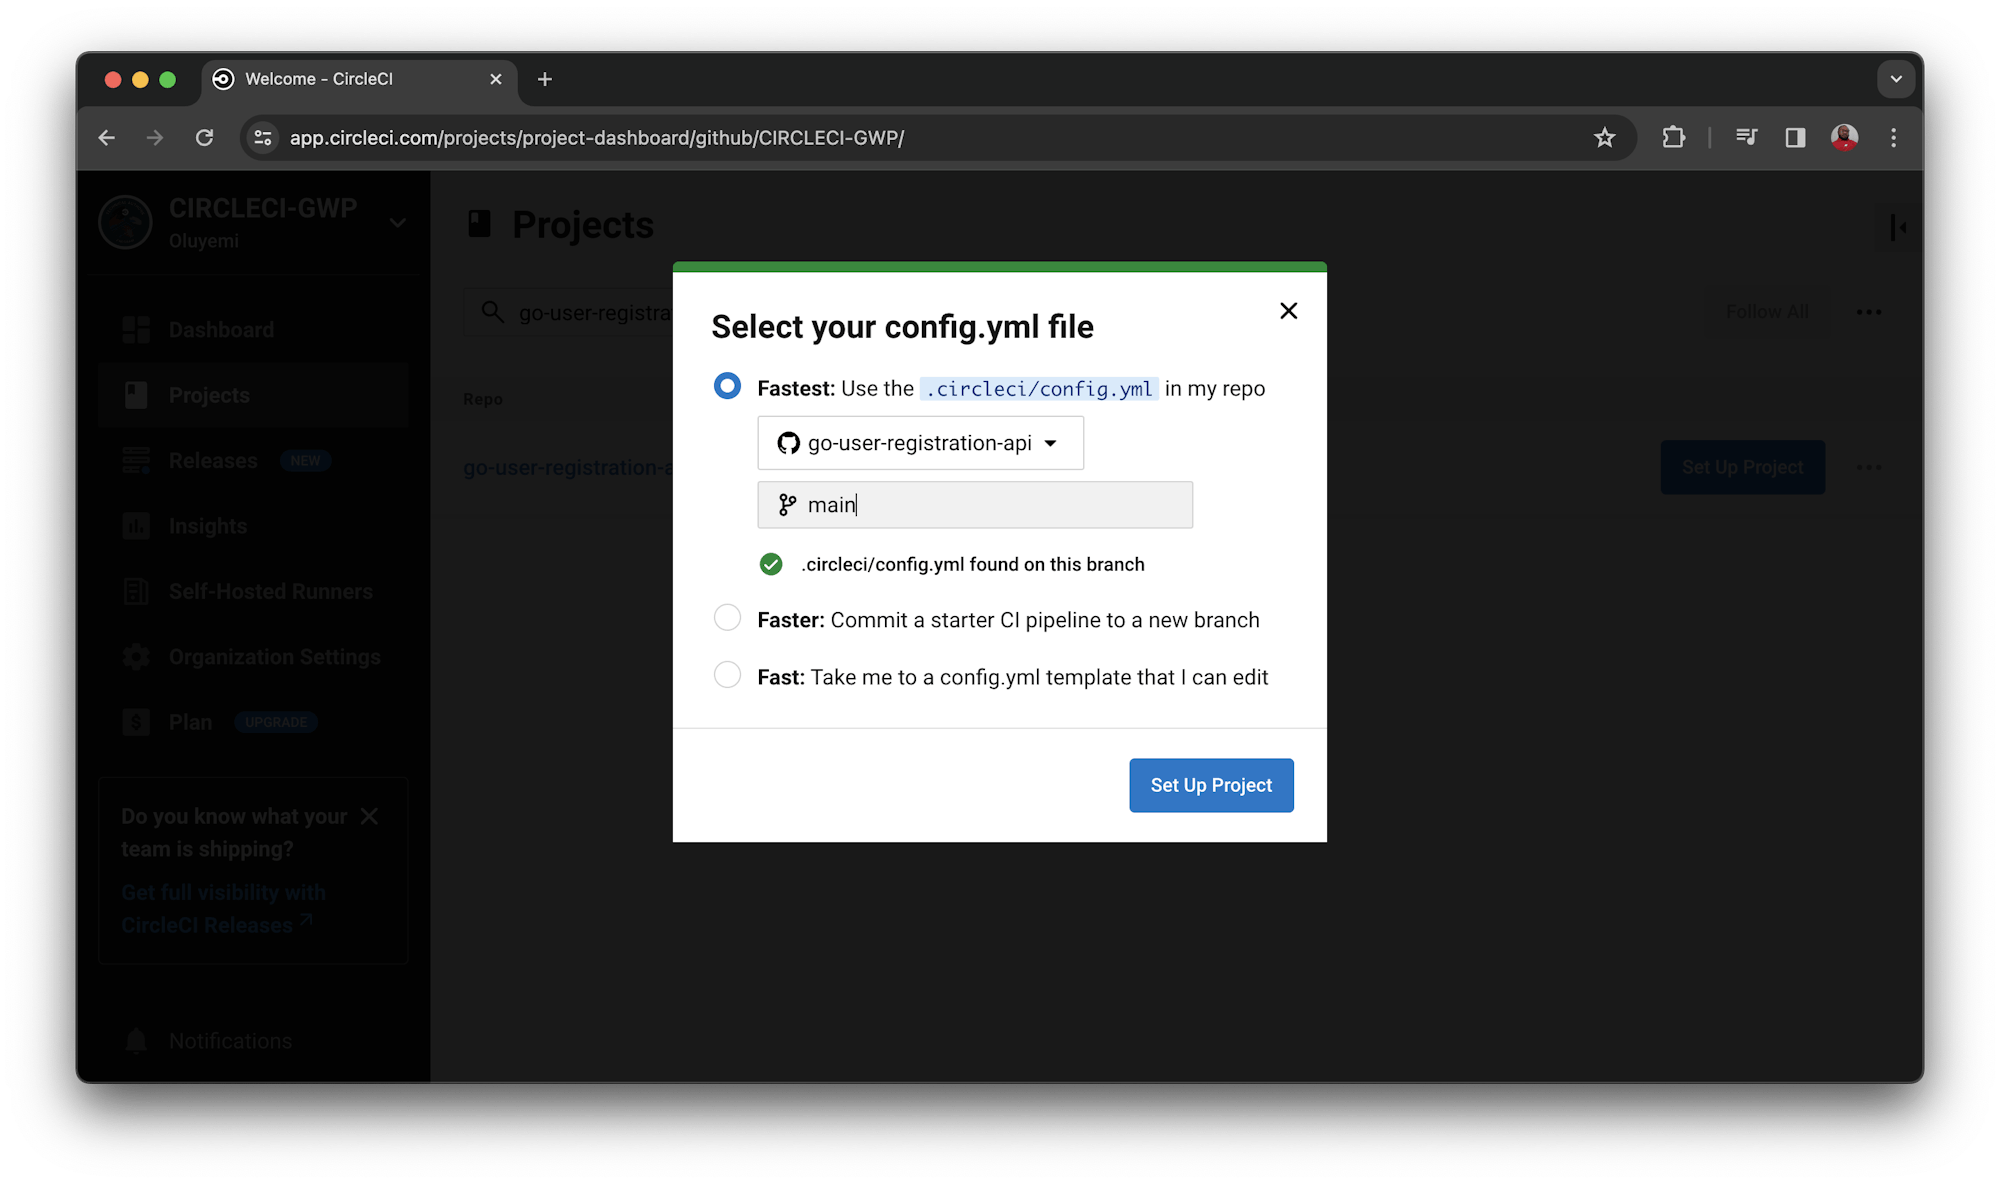
Click Set Up Project once you are done. This triggers your first workflow, which will fail.
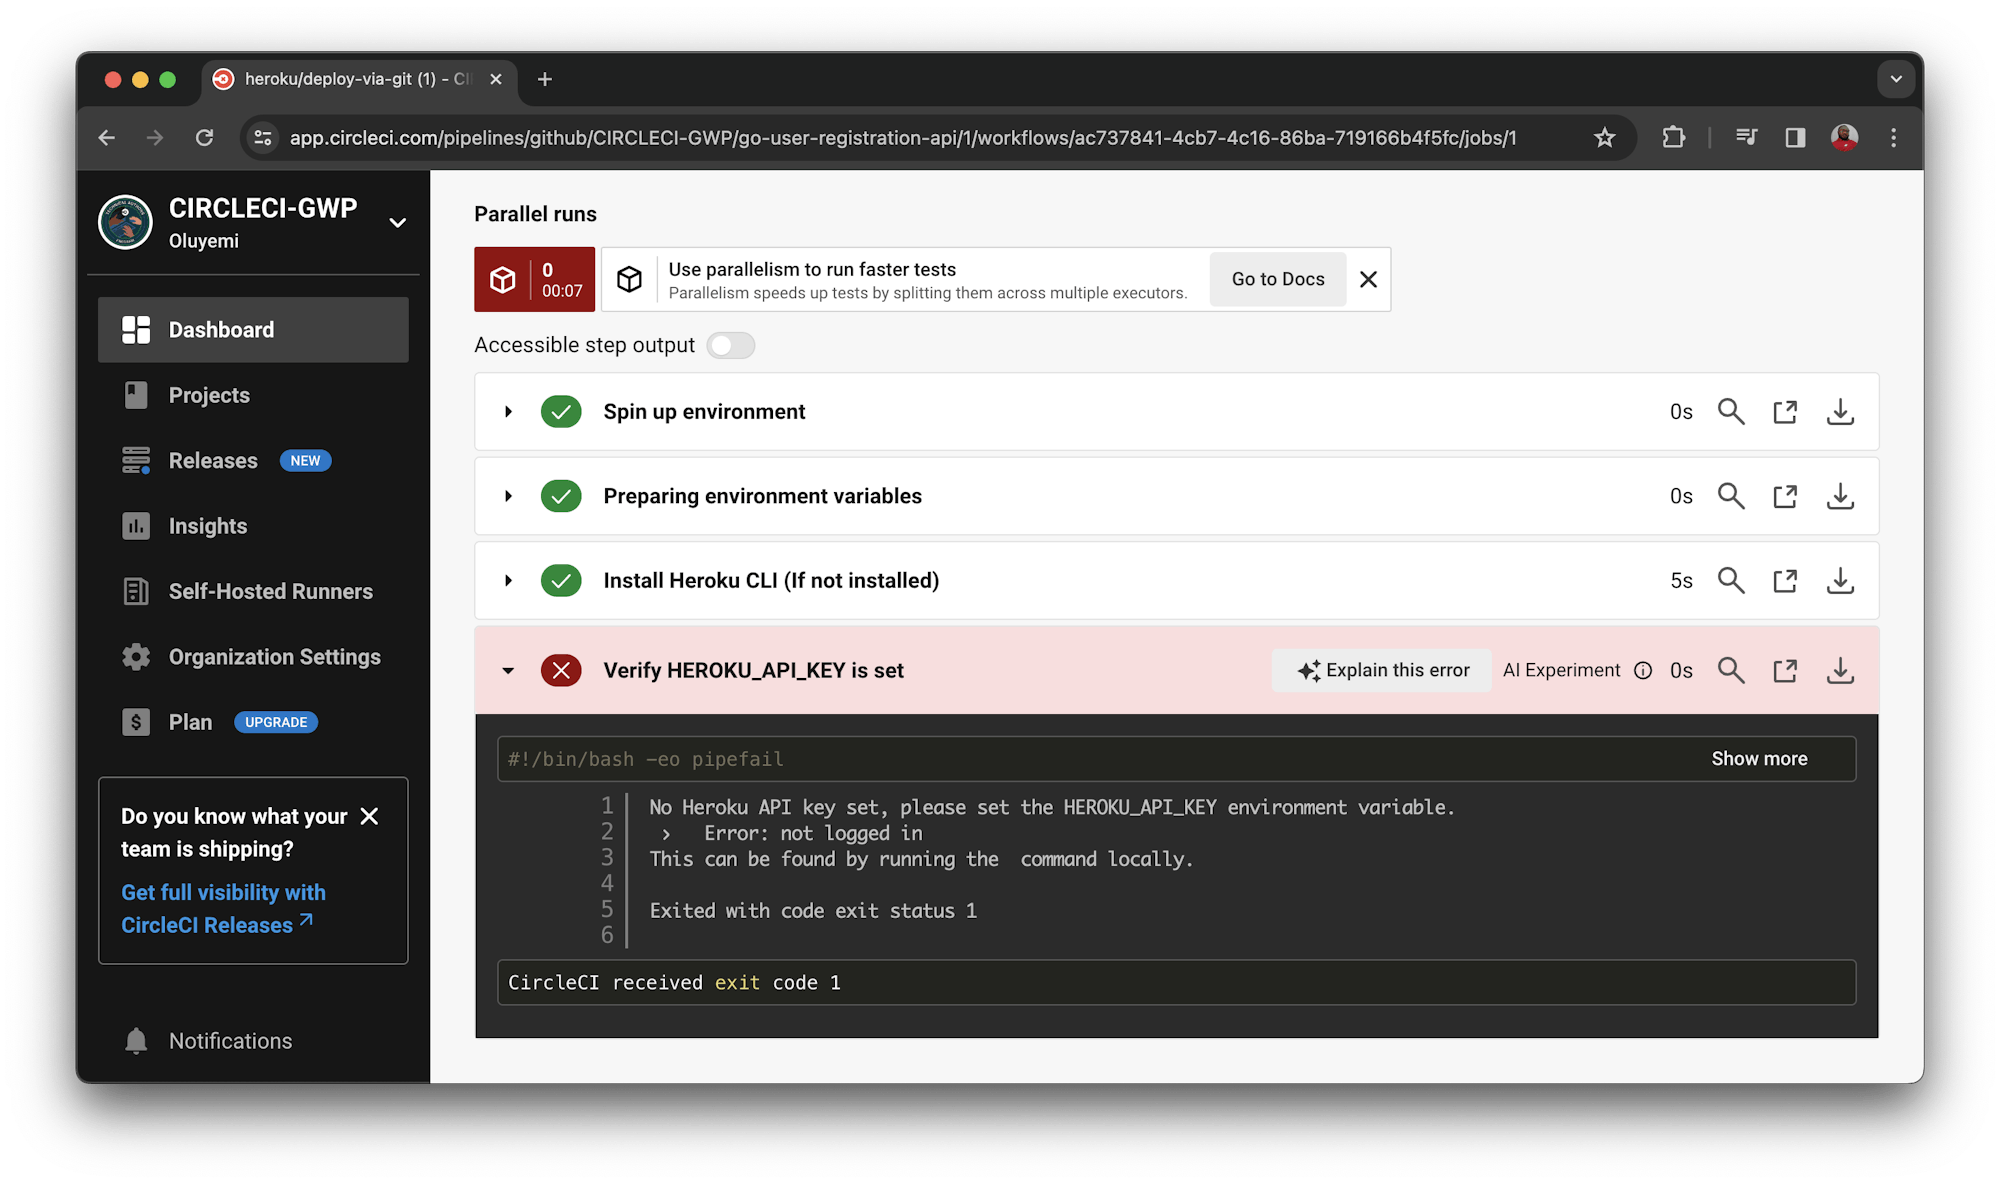
The deployment process fails because you have not provided your Heroku API key. To fix that, click the Project Settings button, then click the Environment Variables menu option. Add two new variables:
-
For
HEROKU_APP_NAME, add the app name you used in Heroku. The name will be eithergo-registration-apior a custom name if you created one. -
For
HEROKU_API_KEYenter the Heroku API key that you retrieved earlier from the account settings page.
Re-run your workflow from the start, and this time your workflow will run successfully.
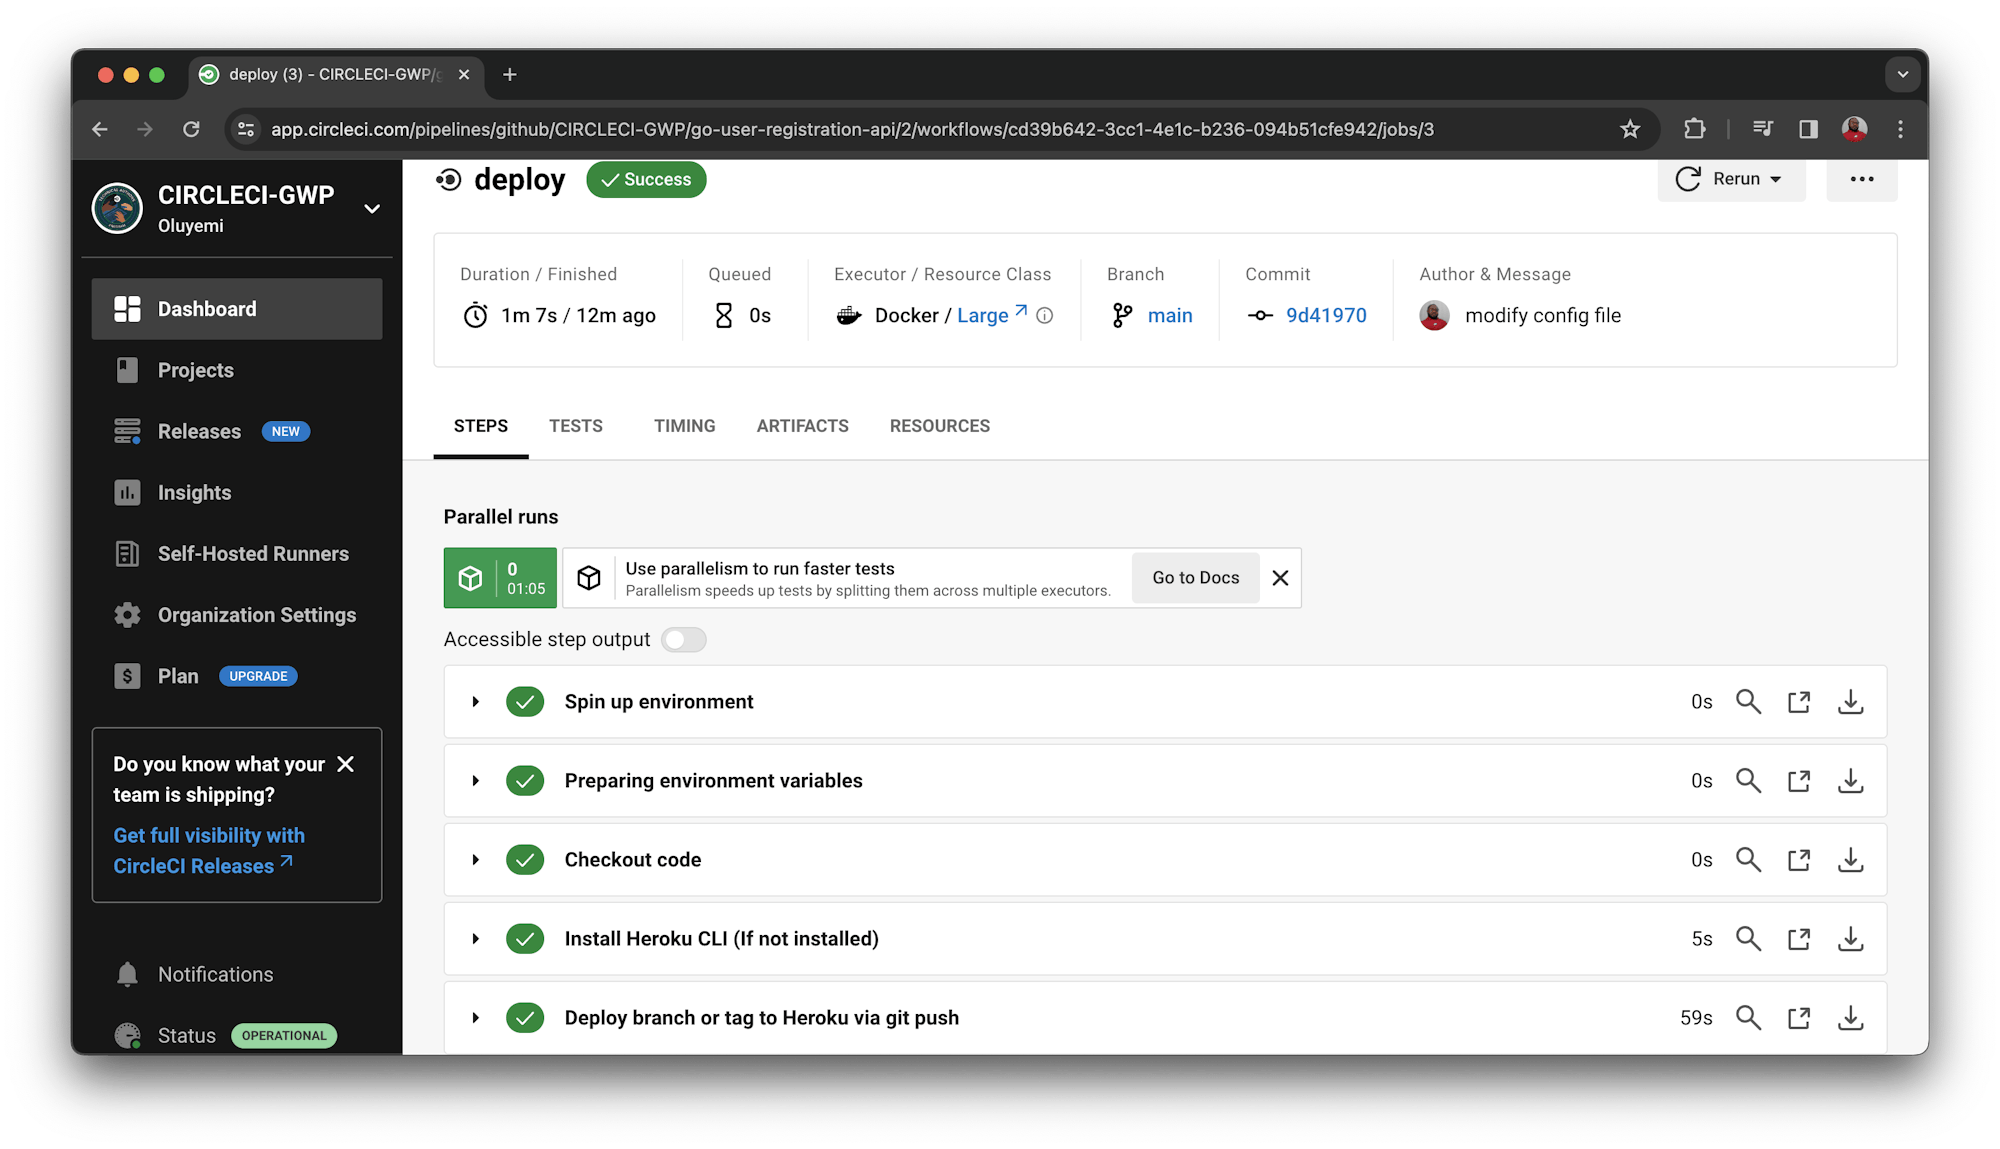
Click to review the details of the deployment.
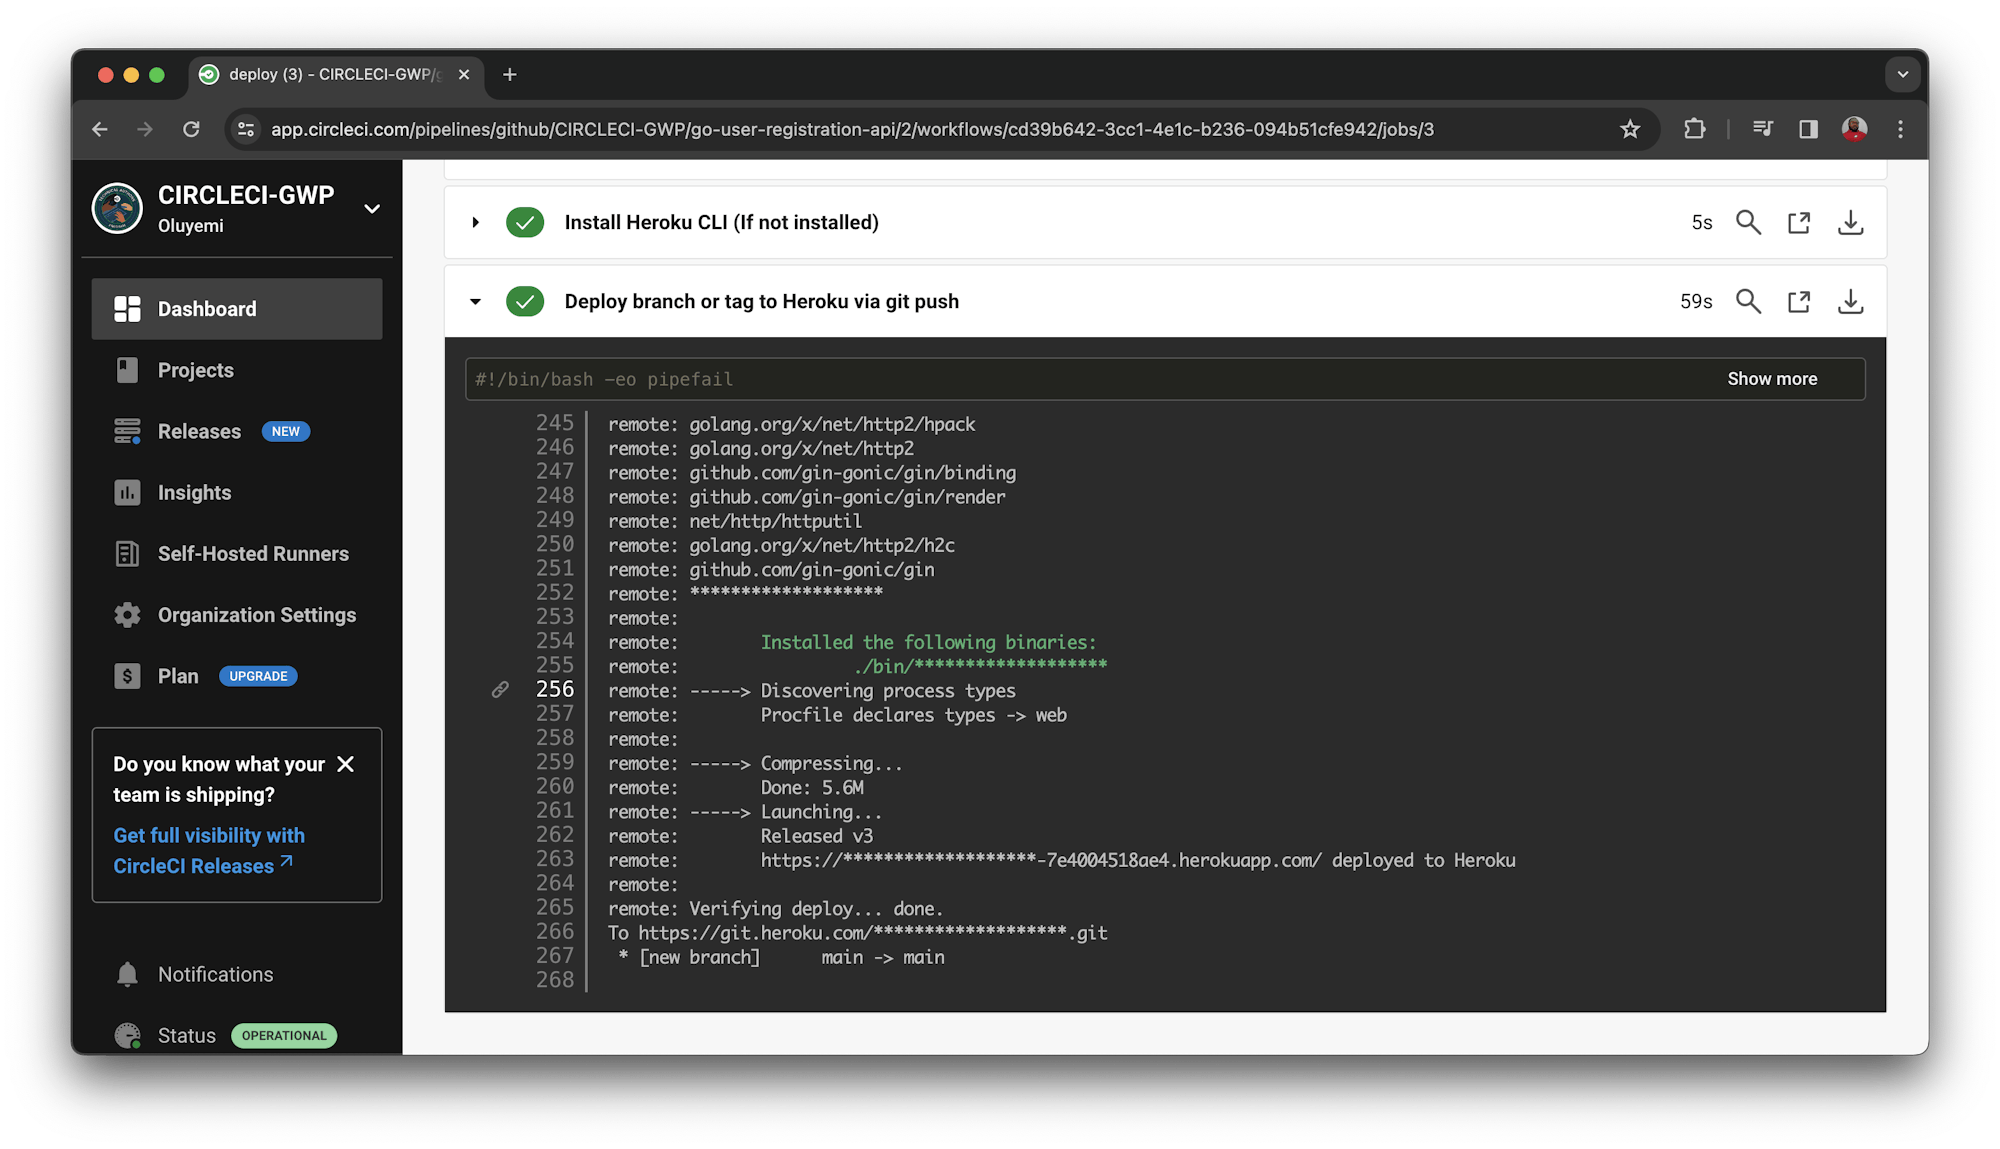
The status details are logged to show how Heroku detects the app as a Go application, installs dependencies, builds the project, and runs the command in your Procfile file.
Go to our application at https://go-registration-api-7e4004518ae4.herokuapp.com/.
You can also test the /register endpoint on the live application using Postman.
Conclusion
Go is a great option for developers who love the fancy features of newer languages and frameworks, but want the power and enterprise-grade features of C, Java, and C++. If you are bored or frustrated with Node.js, Python, and Ruby, why not give Go a try?
The complete source code for this tutorial can be found here on GitHub.
Happy coding!
Fikayo Adepoju is a LinkedIn Learning (Lynda.com) Author, Full-stack developer, technical writer, and tech content creator proficient in Web and Mobile technologies and DevOps with over 10 years experience developing scalable distributed applications. With over 40 articles written for CircleCI, Twilio, Auth0, and The New Stack blogs, and also on his personal Medium page, he loves to share his knowledge to as many developers as would benefit from it. You can also check out his video courses on Udemy.