AWS | Cloud | Cloud Engineering | Technology
Club Cloud Stories 
Jacco Kulman 25 Oct, 2021


Managing data pipelines can be a challenging task, especially when dealing with multiple environments. When developing new models and transformations, you need to ensure that your changes won’t break anything in your production environment, but still keep the flexibility for testing and developing. By using dbt Cloud and BigQuery, you can manage your transformations pipeline in a more efficient and effective way, having multiple environments and automated deployment.
In this article, we’ll walk through the steps of using one single dbt Cloud project to manage separate GCP projects for two distinct environments: preprod and prod.
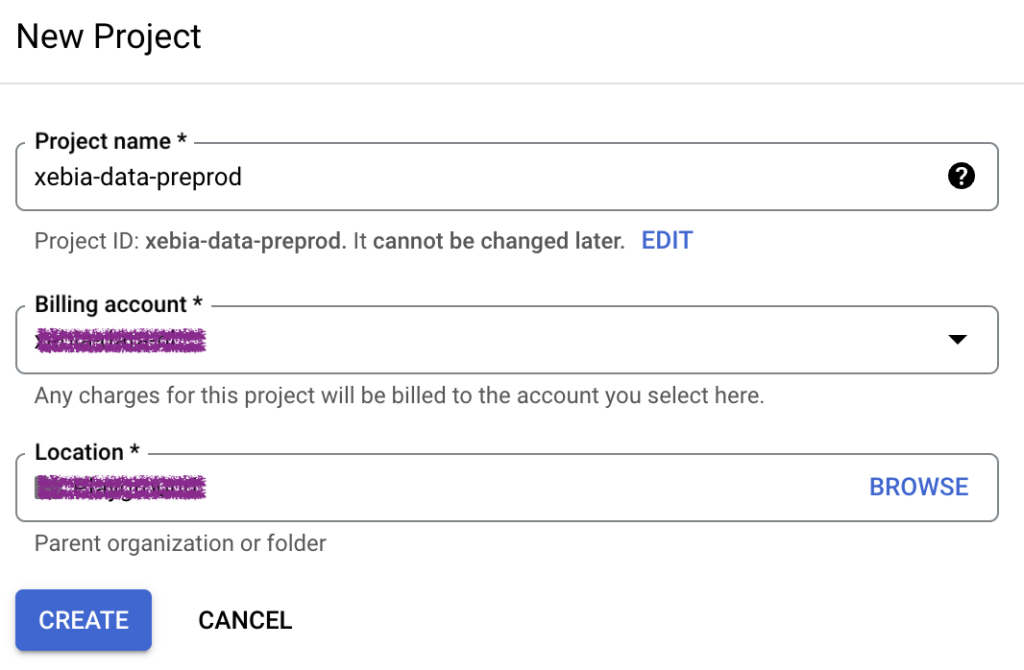
To start with, we must create two different GCP projects. We will call them xebia-data-preprod and xebia-data-prod.
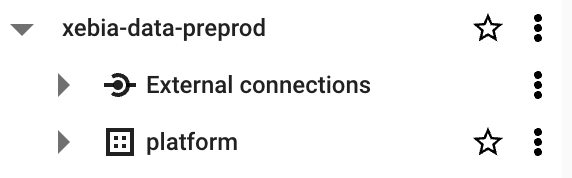
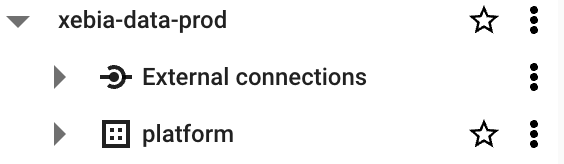
Our BigQuery console should look something like this, for both projects, where platform is the dataset with the data we want to transform.
Note: For this article, we are not looking into the Extract and Load part of ELT, therefore we will consider that both projects have the data we are using for the models. There are several ways this can be done and is really case-specific.
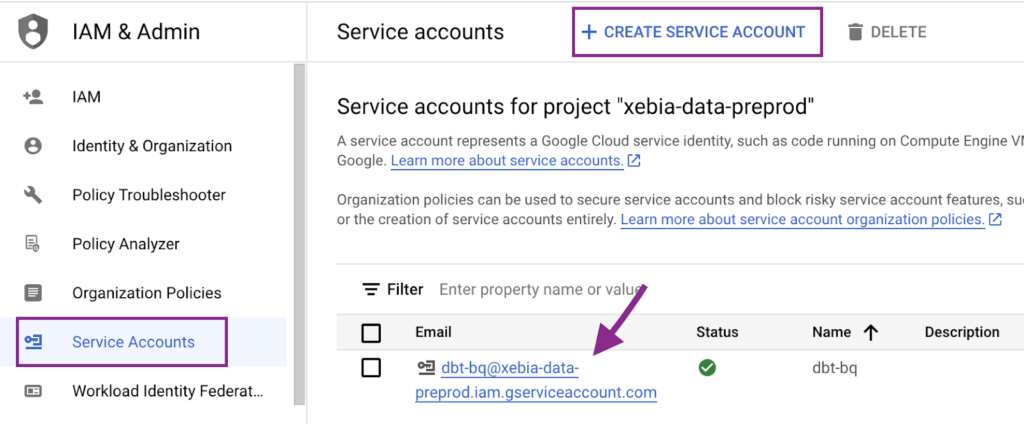
To connect dbt Cloud with both projects, we need to provide a Service Account that has access to them.
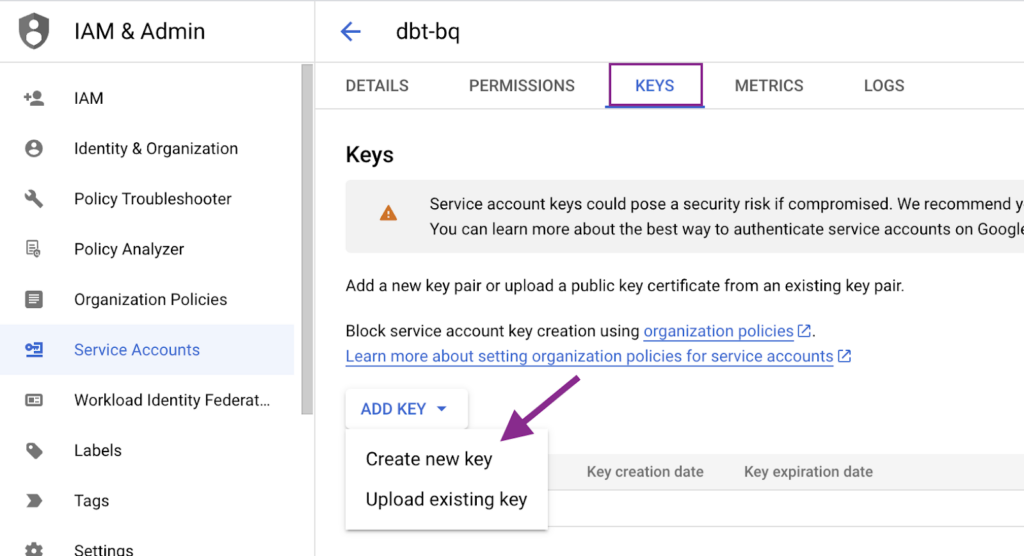
First, we will create the Service Account in our xebia-data-preprod project:
Next, we will generate a JSON key to be used at dbt Cloud. To do so, we must click in the created Service Account, navigate to the Keys tab and create the JSON key. A file will be generated and downloaded to your computer.
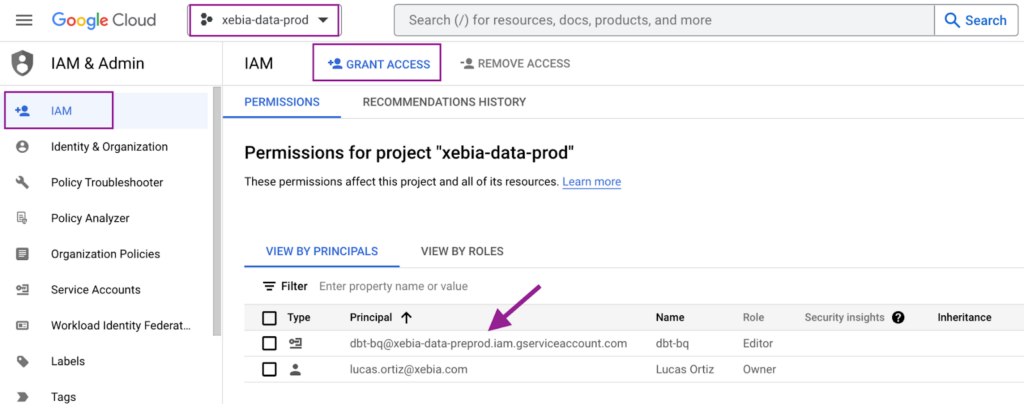
Finally, we will copy the email from the created Service Account and provide access to the other project (xebia-data-prod).
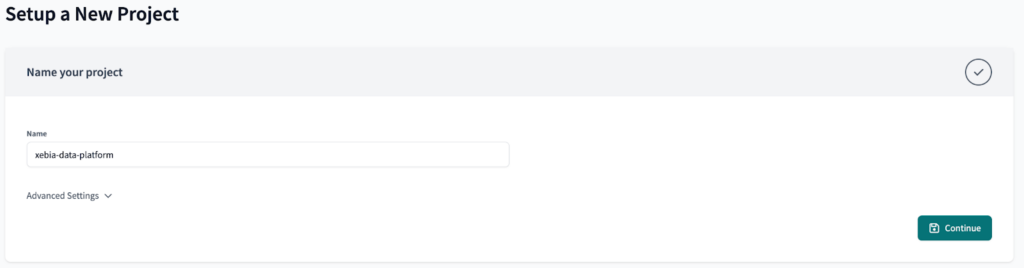
From the dbt Cloud side, let’s begin by creating our new project. We will name it xebia-data-platform.
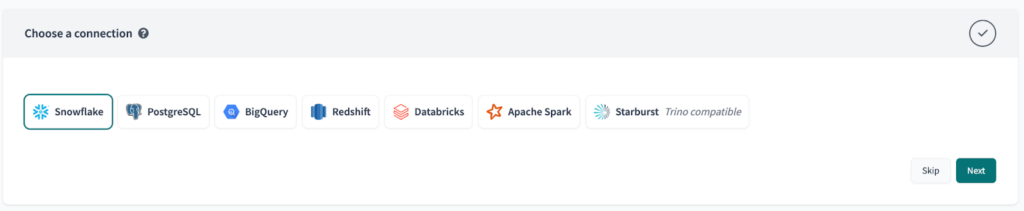
At first, we won’t set the connection to BigQuery, since we would have to update it later on to use a Environment Variable, generating rework. Just click the ‘Skip’ button for now.
Once you do it, the next step (Configure your environment) will be automatically skipped.
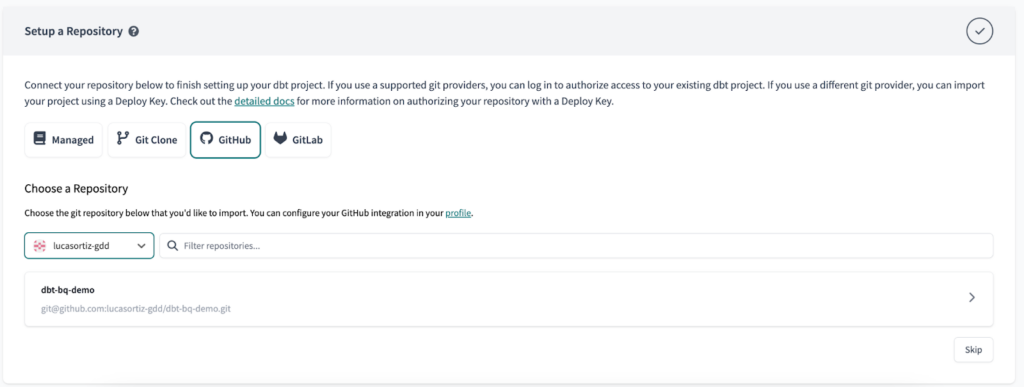
Finally, setup your repository with your preferred git platform.
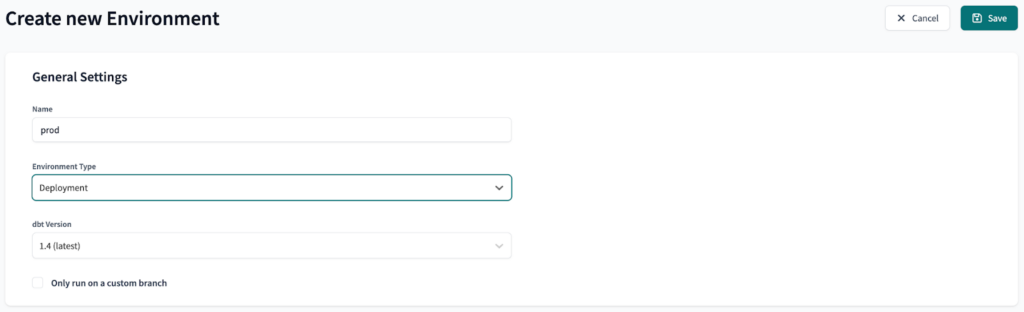
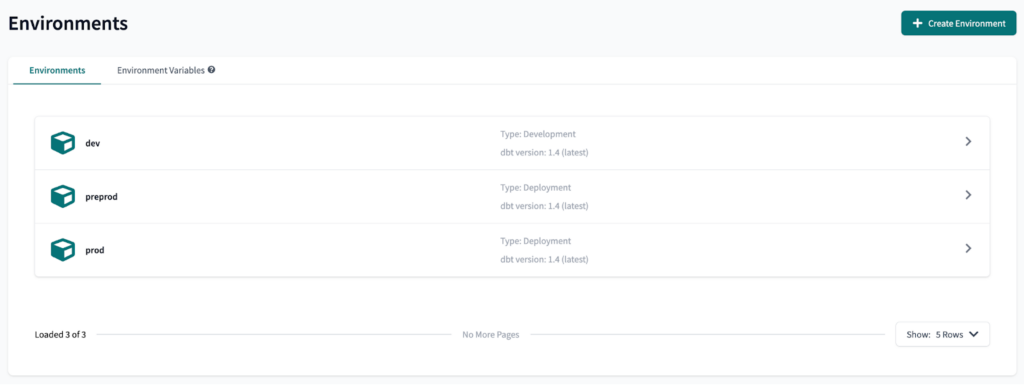
Next, we will create three environments: dev, preprod and prod. Dev is a development environment, while preprod and prod are deployment environments.
The final result should look like this:
The next step is to create an Environment Variable to each environment. This will allow us to use the xebia-data-preprod GCP project in the preprod dbt Cloud environment, and the xebia-data-prod GCP project in the prod dbt Cloud environment.
To create an Environment Variable is pretty straight-forward: on the Environments page, select Environment Variables and click on ‘Add Variable’.
We will call our Variable DBT_GCP_PROJECT and set the values as follows:
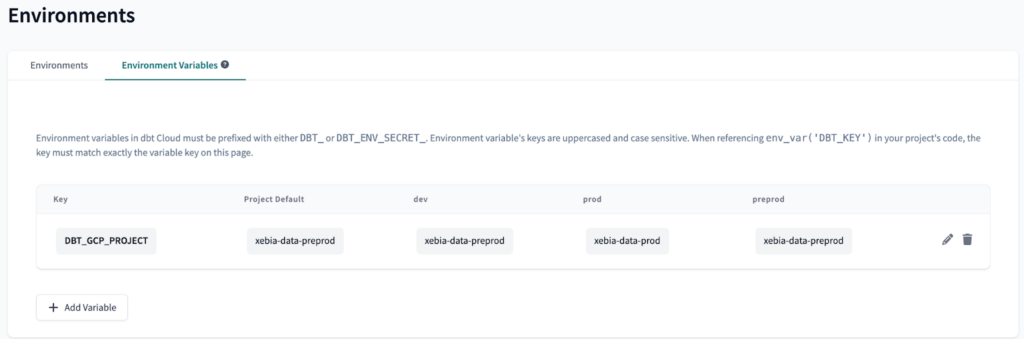
Since we only have two GCP projects, we will use the same project for preprod and dev, however, it is possible to implement the same logic with three or more projects.
Once the variable is set, we can setup the connection with BigQuery, using the newly-created variable to switch between projects depending on the environment in use.
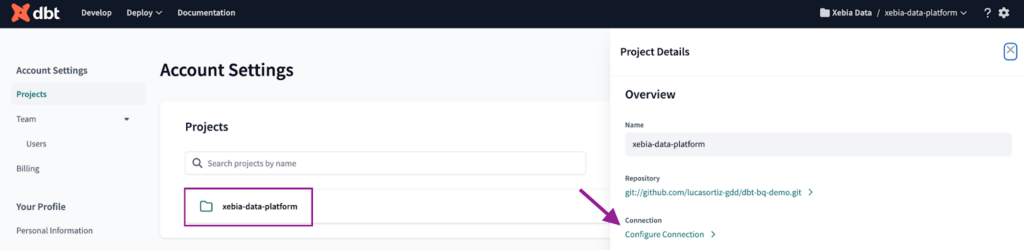
To set the connection with BigQuery, first we must navigate to the Account Settings. There, we can find all our projects. We will click on the project we just created and then on ‘Configure Connection’.
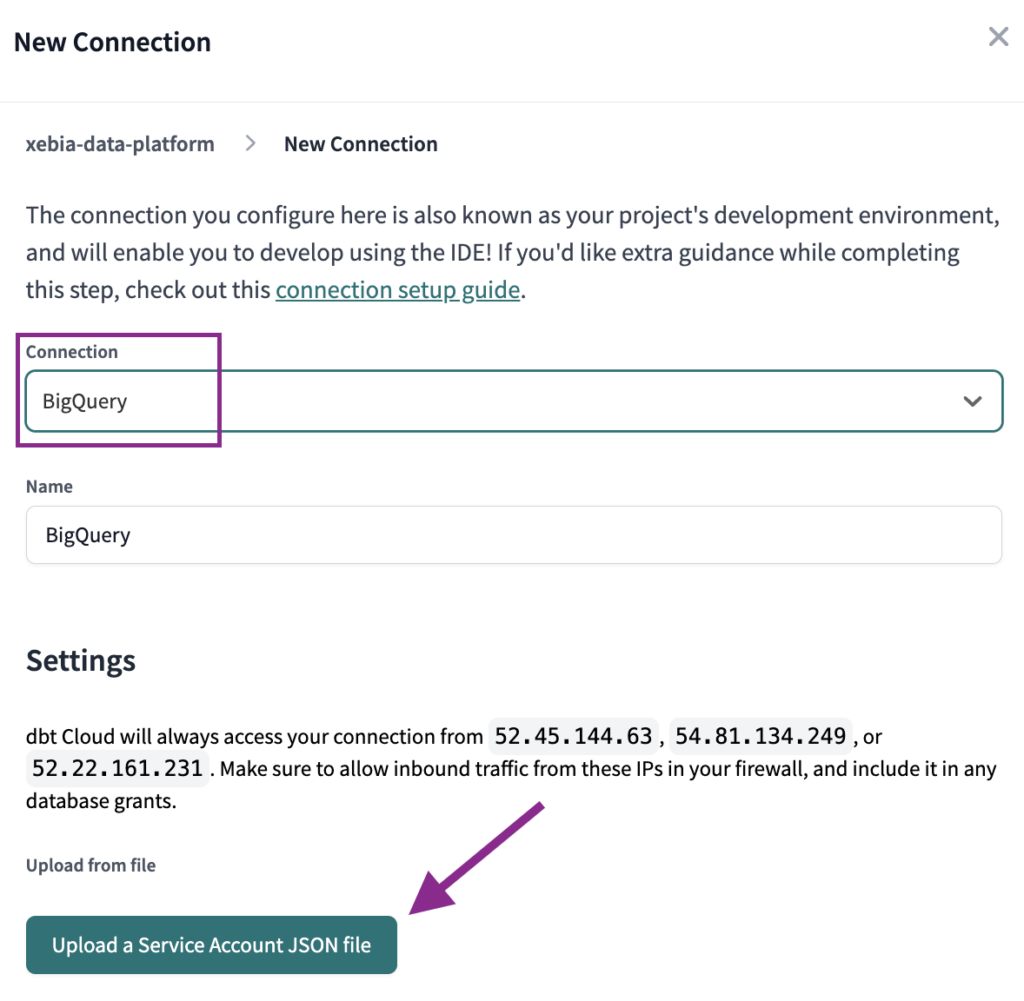
The next step is to set the Connection type to BigQuery and import the JSON file we generated from the Service Account. Once this is done, all other information should be filled.
Finally, we will replace the Project ID that was auto-filled with the variable we created:
{{ env_var("DBT_GCP_PROJECT") }} 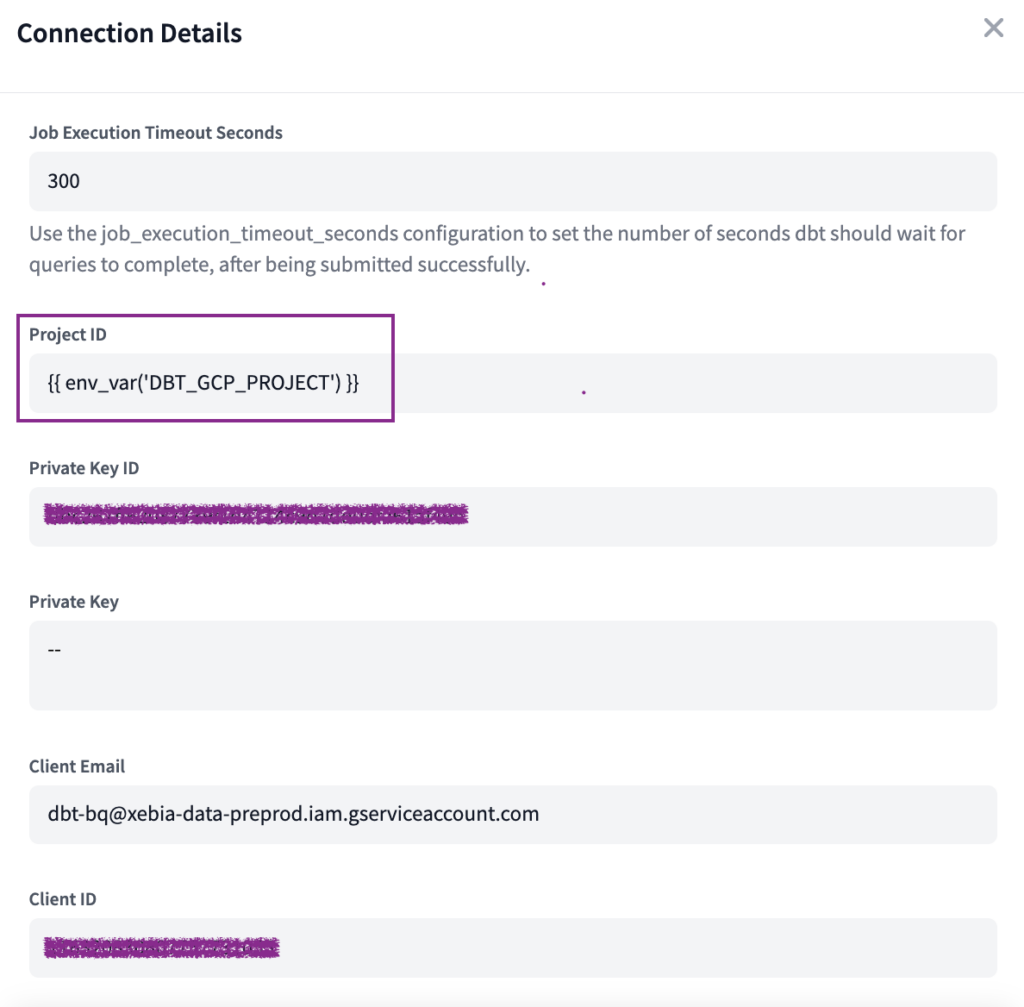
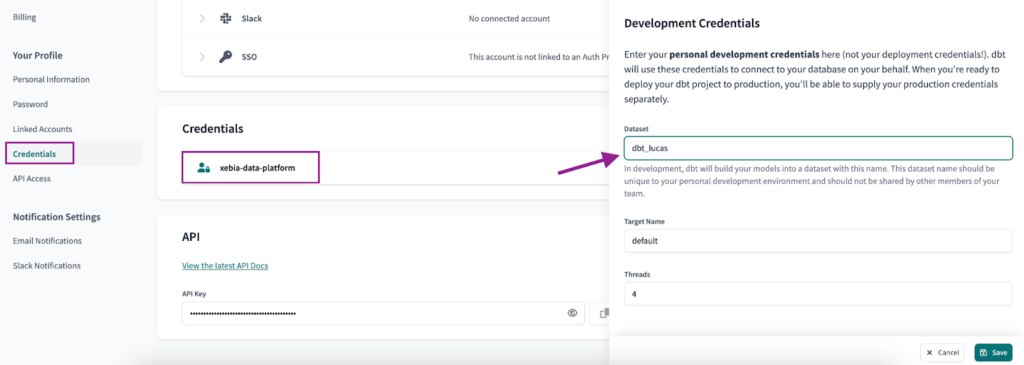
As an additional step, we will setup the Development Credentials. To do so, navigate to the ‘Credentials’ page, select the project and choose a ‘Dataset’ name unique to you – dbt_lucas in my case.
From now on, your dbt project should already be working with two different GCP projects. All that is left to do is set your deployment pipeline for each individual environment.
Edit: You can follow the steps on how to set up your deployment pipeline in this new article (CI/CD in dbt Cloud with GitHub Actions: Automating multiple environments deployment).
Since the purpose of this article is not about the best practices of setting up the deployment, we will not dive deeper into this. Some general tips:
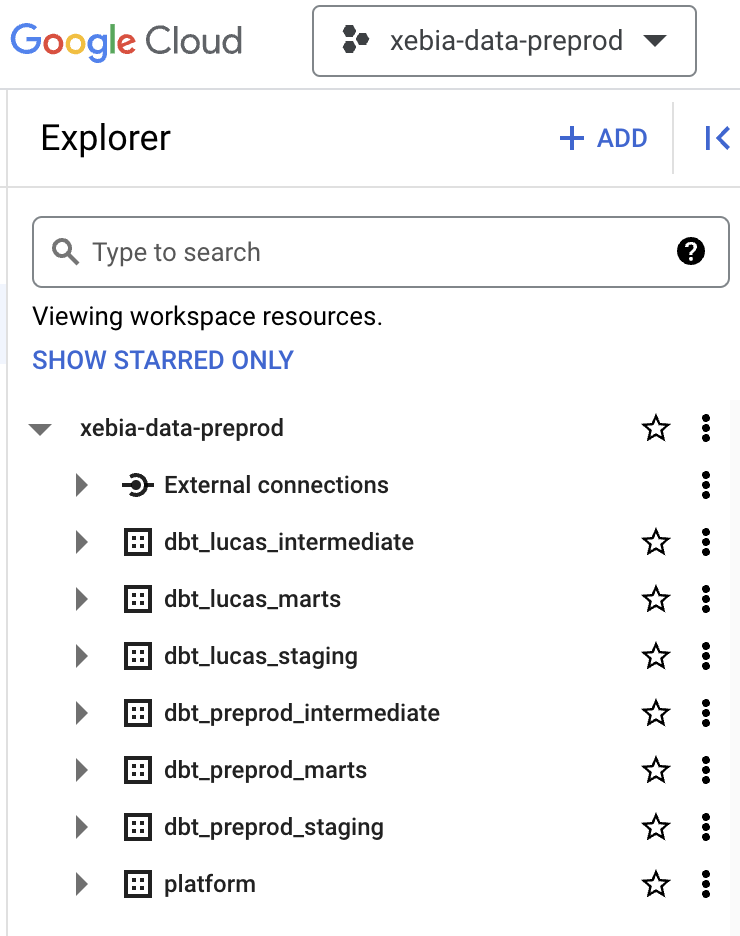
After building the models for each environment, and also in the Develop IDE, you should have two projects that look like the images below:

By implementing this setup, with one single dbt Cloud project and two separate GCP projects, you can achieve greater maintainability, scalability, and security for your data platform, making it ready for the growth of the data team.
With multiple environments and automated deployment, you can easily manage different stages of development and production, reducing the risk of errors and minimizing the time spent on manual tasks. This way, you and your team can focus more on creating valuable insights and outcomes from your data, while reducing the time and effort spent on maintenance and management tasks.
