In the course of one of our recent projects, we encountered a noteworthy challenge that arose from a customized rich text rendering solution. To enhance our Sitecore SXA capabilities, we developed a customized rendering by cloning an existing Sitecore SXA out-of-the-box component. The entire process was meticulously documented for the benefit of content authors, providing guidance for both the Content Editor and Experience Editor workflows.
However, a significant hiccup emerged when content authors, initially working in the Content Editor, inadvertently added the required rendering to the Shared Layout. This realization struck after the fact, leading to the addition of this rendering across a staggering 700+ pages.
Upon learning about this predicament, our development team embarked on a quest to find a solution. After exploring various approaches, we zeroed in on the PowerShell script as the optimal choice. In this blog post, I will delve into the intricacies of the problem statement, the challenges faced by content authors, and, most importantly, unveil the PowerShell script we crafted to seamlessly move renderings from the Shared Layout to the Final Layout. What sets our script apart is its user-friendly design, allowing content authors to submit their parameters for processing, ensuring a smooth transition for their requests.
How to Move a Sitecore Rendering from Shared Layout to Final Layout
Using these selections, we’ve orchestrated the execution in the PowerShell script. The script is equipped with multiple features:
- Authors can remove the rendering from the Shared Layout.
- Authors can move the rendering from the Shared Layout to the Final Layout with or without the Data Source.
- Authors can selectively add the rendering to the Final Layout with or without Data Source without impacting the Shared Layout.
You can download or copy-paste the PowerShell script from this link. If you dive into the script, you’ll find that we’ve structured it to collect essential parameters from content authors. These include the root item, template name, rendering ID (to be moved from Shared Layout), placeholder key (indicating the placeholder from which to remove the rendering in Shared Layout and add it to the Final Layout), rendering path (specifying the rendering to be added in the Final Layout), language (language version), and a few confirmations for removing the rendering from Shared Layout, adding it to Final Layout, and utilizing the same Data Source in Final Layout if it’s available in the Shared Layout.
To execute this script, content authors need to follow the steps outlined below.
Step 1: Open Sitecore PowerShell ISE.
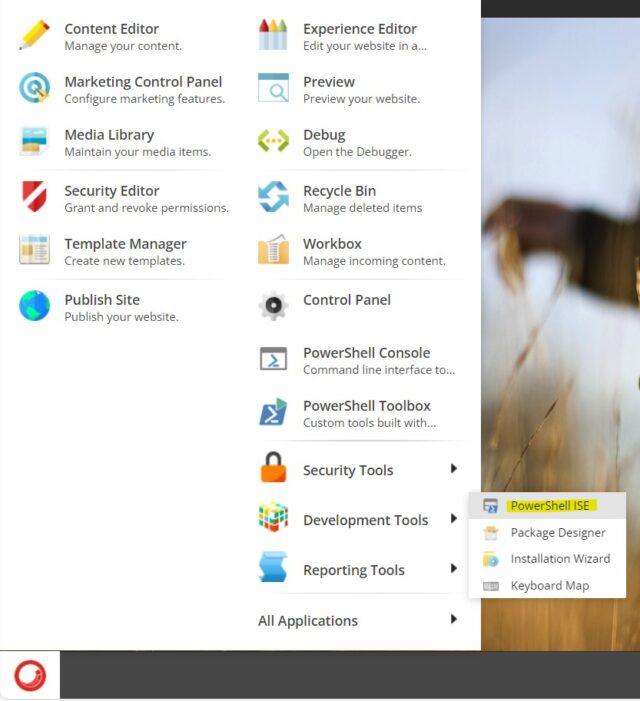
Step 2: Either open the downloaded PowerShell script or copy-paste the script content into ISE.
Step 3: Execute the script (which requires administrator rights).
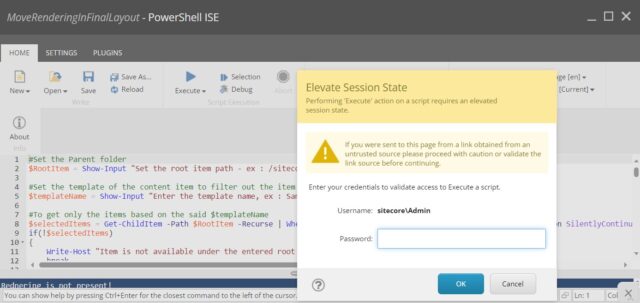
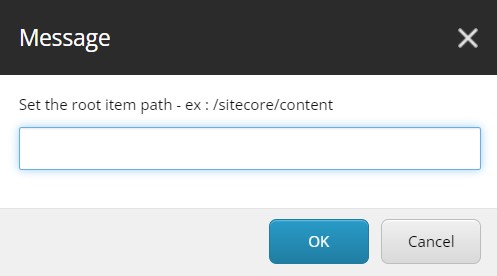
Step 4: Once you hit the execute button, a dialog box will open, prompting you to specify the Root item.
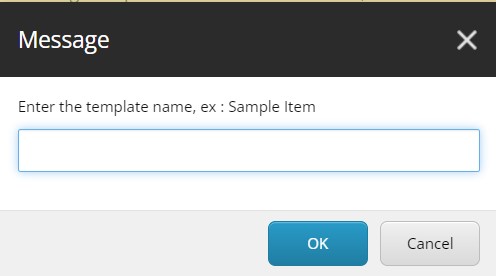
Step 5: Next, it will ask for the template name of the content items.
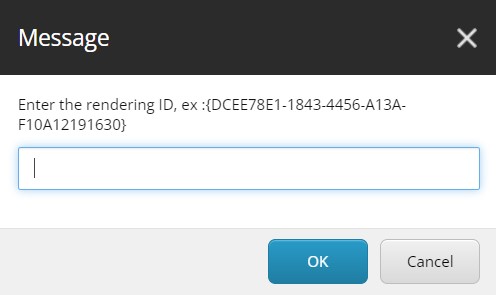
Step 6: After that, it will request the rendering ID.
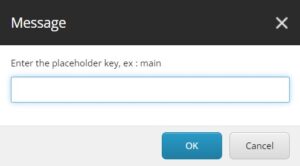
Step 7: Enter the placeholder key in the dialog box.
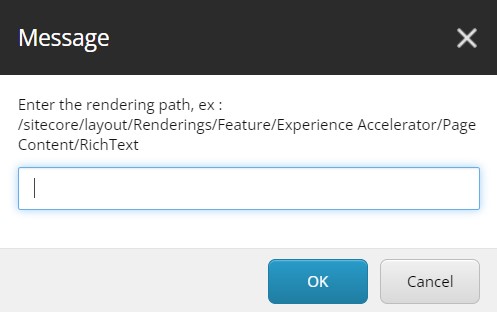
Step 8: Input the path of the rendering that needs to be added to the Final Layout.
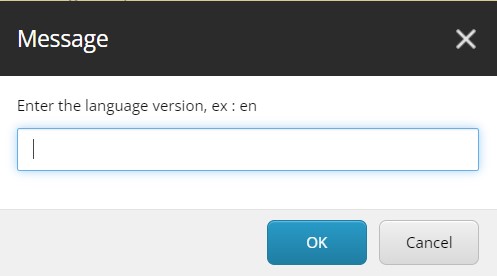
Step 9: Enter the language version.
Step 10: Press OK if you want to remove the given rendering from the Shared Layout.
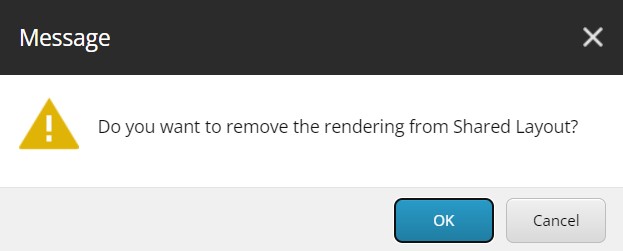
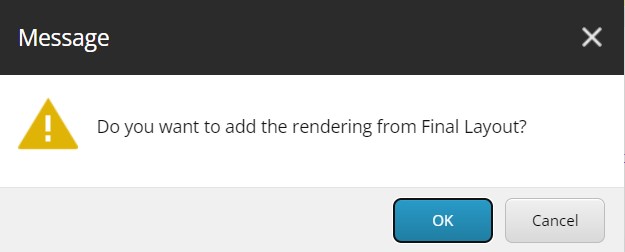
Step 11: Press OK if you want to add the given rendering to the Final Layout.
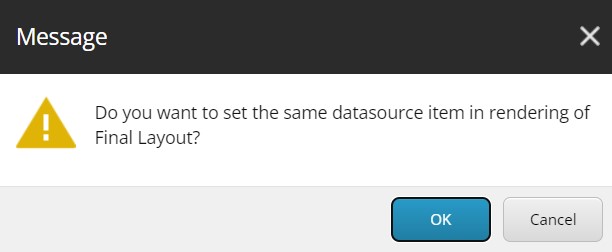
Step 12: Press OK if you want to use the same data source in the Final Layout.
As we explored the nuances of the problem statement and the script’s capabilities, we witnessed the transformative impact it had on our development process. The script’s user-friendly design, coupled with its ability to handle diverse scenarios, proved to be a valuable asset for our team. It not only simplified the transition process from Shared to Final Layout but also empowered content authors with a newfound agility in rendering adjustments. As we conclude this exploration into Sitecore rendering with PowerShell scripting, we encourage fellow developers and architects to embrace the power of automation. The script shared here is not just a technical solution; it’s a testament to the adaptability and innovation that can thrive within development teams.
I plan to share a few more PowerShell scripts in my next couple of blogs that solved our problems in the project, so please stay tuned. Your continued engagement and feedback are invaluable as we navigate the exciting landscape of Sitecore development.
Happy Scripting!


Excellent post! It captivated me from start to finish. I’m always on the lookout for such informative and well-structured content.