Developers use Next.js to create production-grade applications. Features like routing, code-splitting, bundling, TypeScript, and built-in CSS support are provided out-of-the-box by Next.js. For many developers, this ease of use is what makes Next.js their preferred React.js framework for production.
In this tutorial, I’ll show you how to set up continuous integration for your Next.js applications so that you can add features with confidence, knowing that automated tests will prevent any bugs from reaching production.
After you’ve completed this tutorial, be sure to check out the companion piece on continuous deployment for Next.js projects.
Prerequisites
To follow this tutorial, you will need:
- Basic knowledge of Javascript
- Node.js (version >= 18.17) installed on your system
- A CircleCI account
- A GitHub account
With all of these installed and set up, you can begin the tutorial.
Creating a new Next.js project
To begin, create a new Next.js project by running this command:
npx create-next-app@latest next-app-testing
You will get these prompts:
✔ Would you like to use TypeScript? … No / Yes
✔ Would you like to use ESLint? … No / Yes
✔ Would you like to use Tailwind CSS? … No / Yes
✔ Would you like to use `src/` directory? … No / Yes
✔ Would you like to use App Router? (recommended) … No / Yes
✔ Would you like to customize the default import alias (@/*)? … No / Yes
This creates a Next.js application inside a next-app-testing folder (you can give the folder any name you choose). Once the scaffolding process is done, go into the root of the project and run the application:
cd next-app-testing
npm run dev
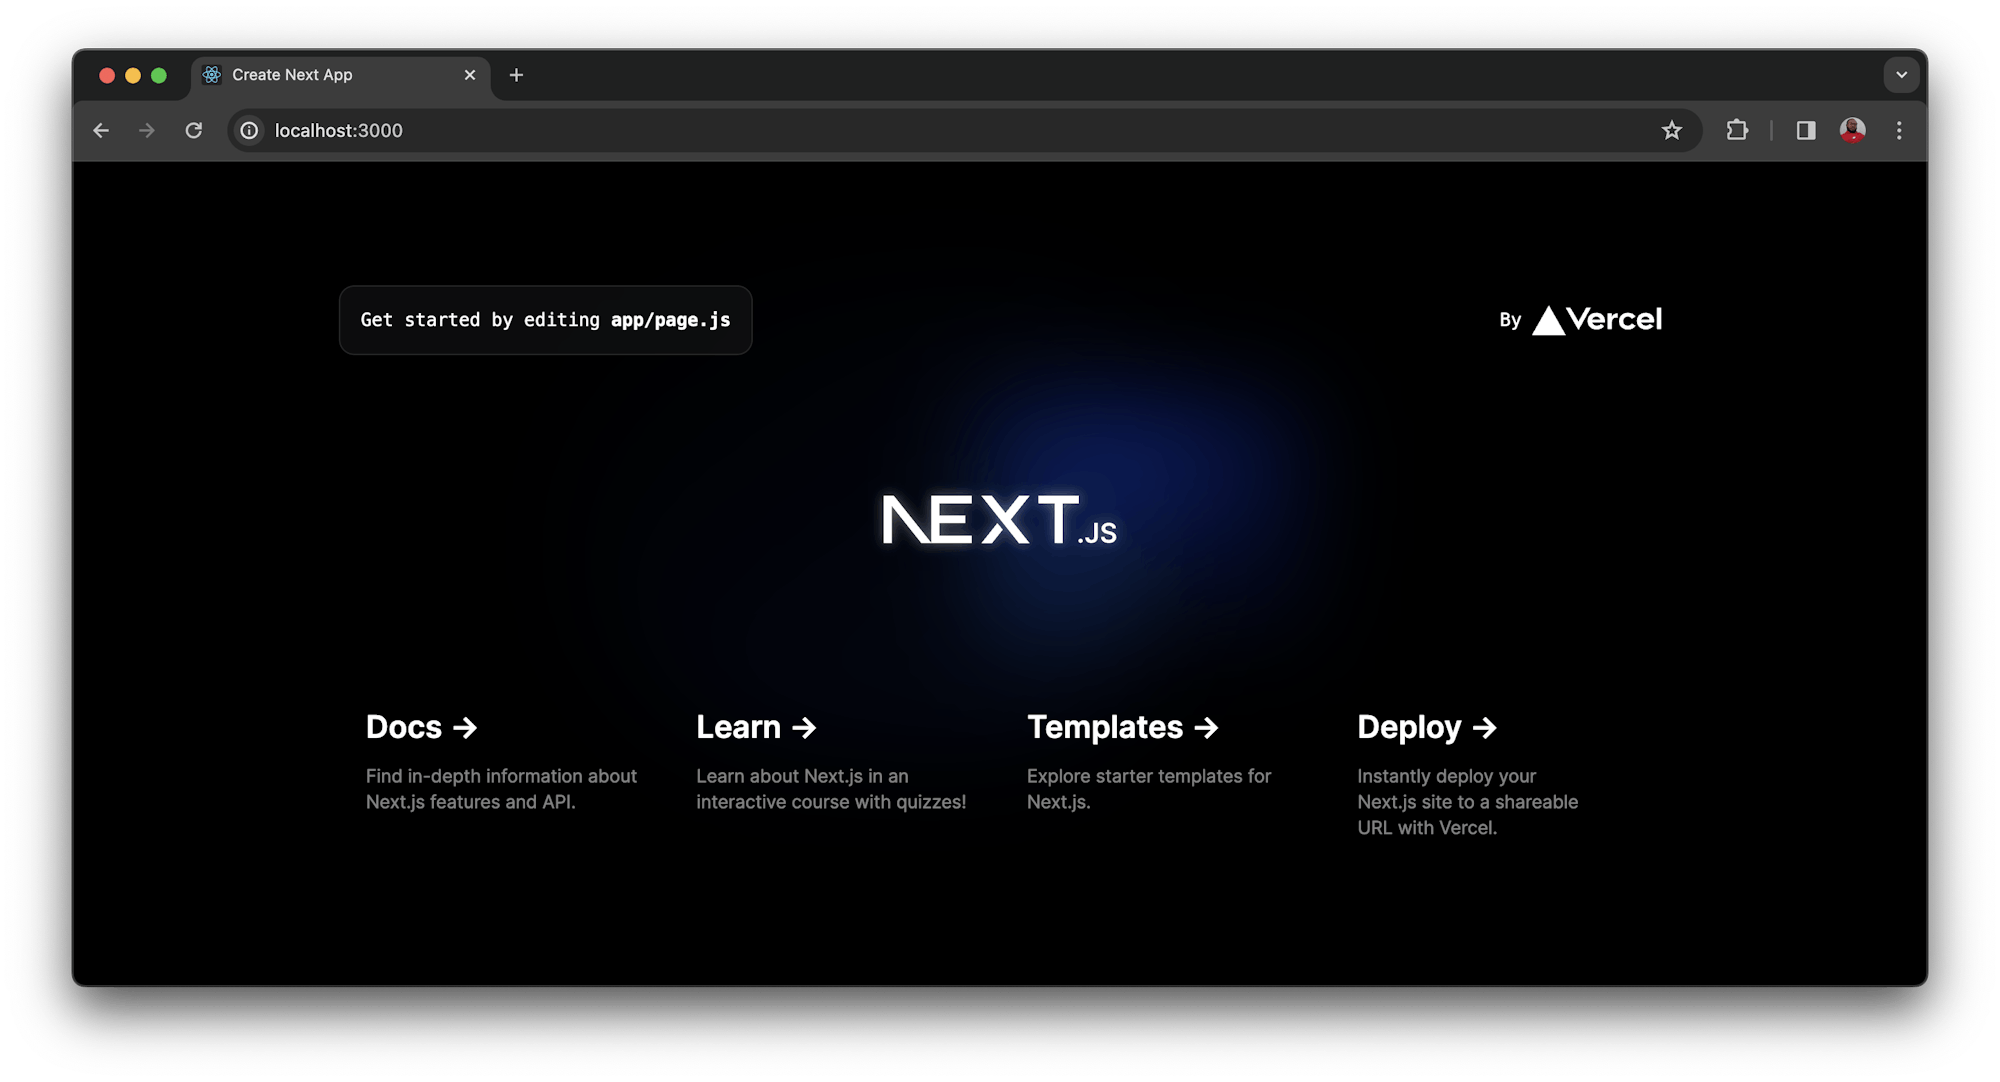
This will boot up a development server that serves the application at http://localhost:3000. Load this URL in your browser.
Installing and setting up Jest for testing
Your next step is to set up the testing framework and the utilities needed to run tests. You will be using Jest as a testing framework and installing some utilities to keep your tests runnning smoothly. These are the packages you will be installing:
jest: The testing framework@testing-library/jest-dom: Extendsjestby providing custommatchersto test the state of the DOM@testing-library/react: The React testing library provides simple and complete React DOM testing utilitiesbabel-jest: Used for transpiling Javascript in our test suites
Install these packages at once using this command:
npm install -D jest jest-environment-jsdom @testing-library/react @testing-library/jest-dom babel-jest
Generate a basic Jest configuration file by running:
npm init jest@latest
You will get a series of prompts to configure Jest for the project. Respond as shown here:
✔ Would you like to use Jest when running "test" script in "package.json"? … yes
✔ Would you like to use Typescript for the configuration file? … no
✔ Choose the test environment that will be used for testing › node
✔ Do you want Jest to add coverage reports? … no
✔ Which provider should be used to instrument code for coverage? › babel
✔ Automatically clear mock calls, instances, contexts and results before every test? … yes
This will create a jest.config.js file, modify your package.json file to include Jest as a dependency, and also updates the test script.
Once these have been installed, the next step is to create a .babelrc configuration file to instruct babel-jest to use the custom preset for Next.js. Create the .babelrc file at the root of your project and enter this configuration:
{
  "presets": ["next/babel"]
}
Next, configure jest to use babel-jest to transpile Javascript in the tests. To do that, update the config object within jest.config.js file:
/**
 * For a detailed explanation regarding each configuration property, visit:
 * https://jestjs.io/docs/configuration
 */

/** @type {import('jest').Config} */
const config = {
  clearMocks: true,
  testEnvironment: "jsdom",
  transform: {
    "^.+\\.(ts|tsx|js|jsx)$": "babel-jest",
  },
};

module.exports = config;
Rendering React.js components
Now you can begin writing tests. The project contains everything it needs to run them.
Create a __tests__ folder. This is a special folder where jest looks for test files at the root of the project. Add a test file named home.test.jsx. Enter this code in the file:
import "@testing-library/jest-dom";
import { render } from "@testing-library/react";
import Home from "../app/page";

describe("Home Page", () => {
  it("check for relevant text", () => {
    const { getByText } = render(<Home />);

    expect(getByText("Get started by editing")).toBeInTheDocument();
    expect(
      getByText("Find in-depth information about Next.js features and API.")
    ).toBeInTheDocument();
  });
});
The render object from the React testing library is imported here to render React.js components. The Home component that you will be testing from /app/page.js is also imported.
A test is then included that renders the Home component (<Home />), and checks to see if some text that displays on the page is indeed present in the component.
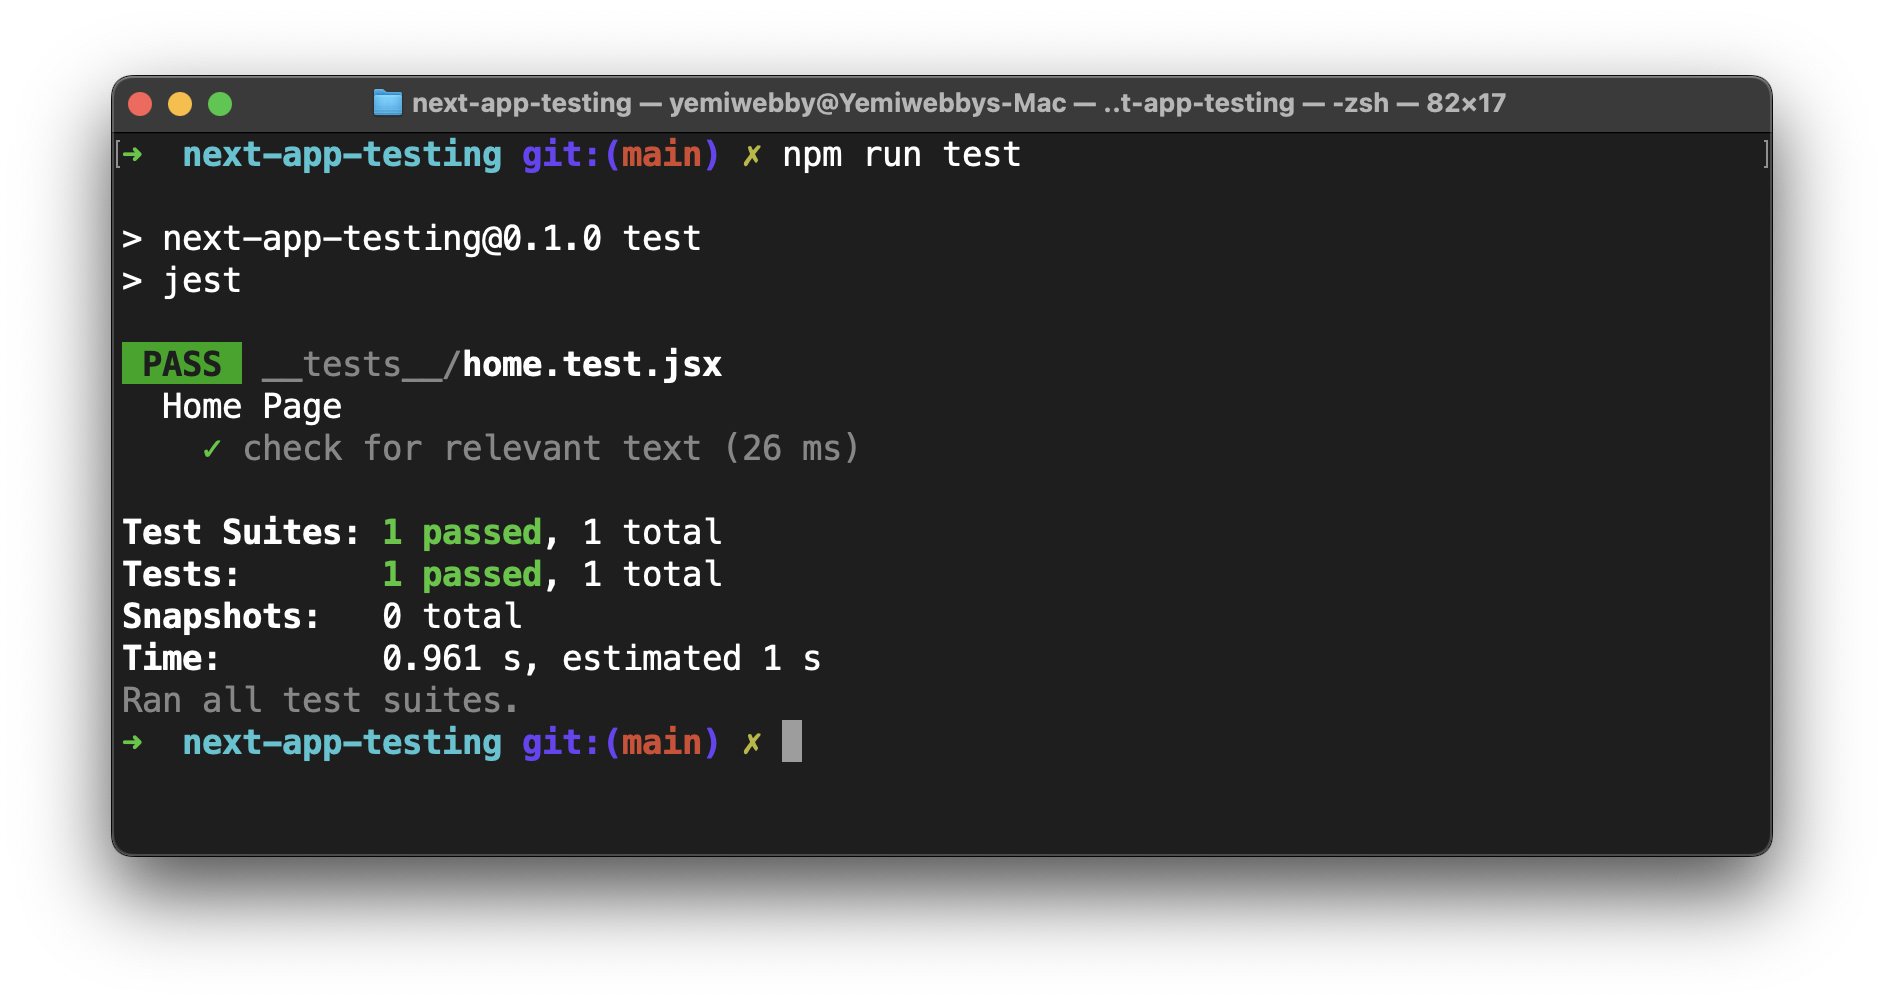
Run this test by running this command:
npm run test
Automating tests for continuous integration
Your tests are running, and things are good. But you can make things even better by using continuous integration to automate running your tests. With automation, your tests will run every time you push updates to your repository.
Begin by creating a folder named .circleci at the root of the project. Add a configuration file named config.yml to it. In this file, enter this code:
version: 2.1
orbs:
  node: circleci/node@5.1.1
jobs:
  build-and-test:
    docker:
      - image: "cimg/base:stable"
    steps:
      - checkout
      - node/install
      - node/install-packages
      - run:
          command: npm run test
workflows:
  build-and-test:
    jobs:
      - build-and-test
This pipeline configuration imports a Docker image with the required Node.js version for running Next.js applications. Then, it updates npm and installs dependencies, caching them so subsequent builds are faster.
Lastly, all tests contained in the project are run with the npm run test command.
Review pushing your project to GitHub to deploy your project to Github.
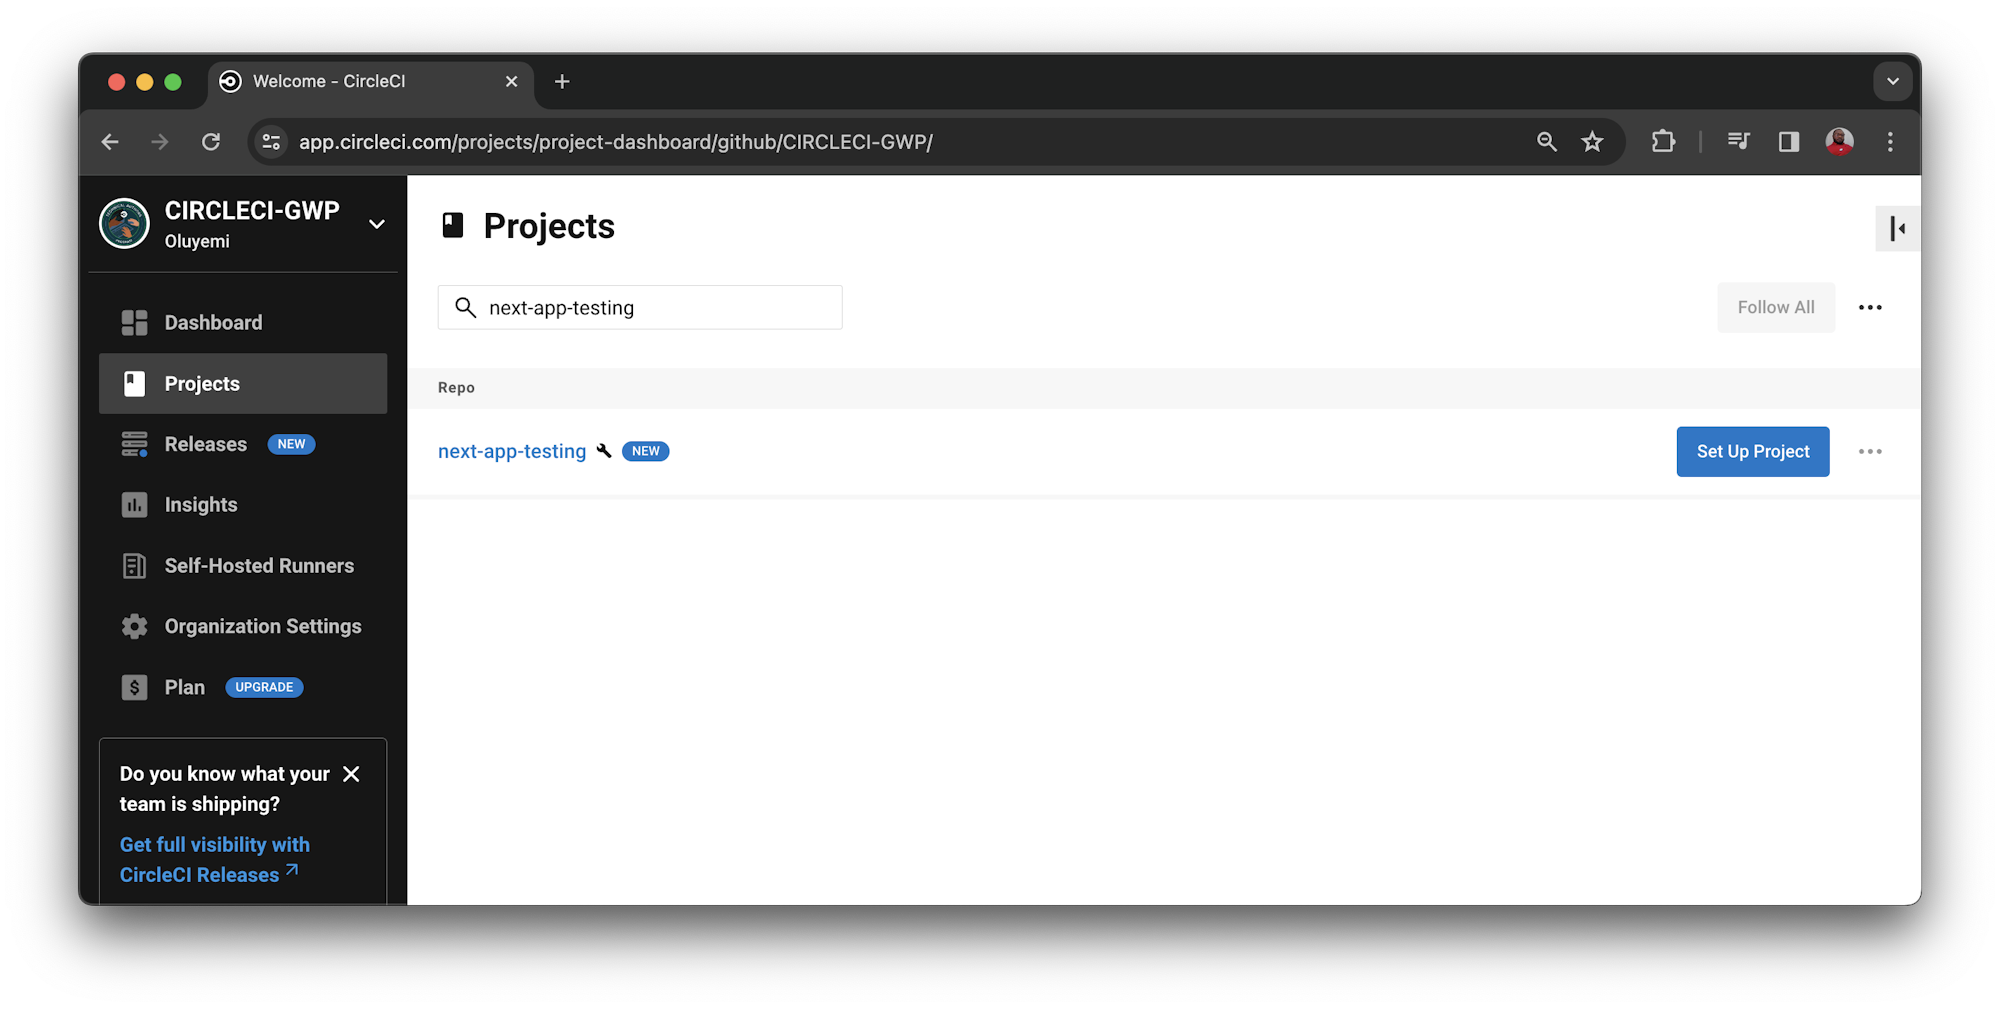
Next, log into your CircleCI account. If you signed up with your GitHub account, all your repositories will be displayed on your project’s dashboard.
Next to your next-app-testing project, click Set Up Project.
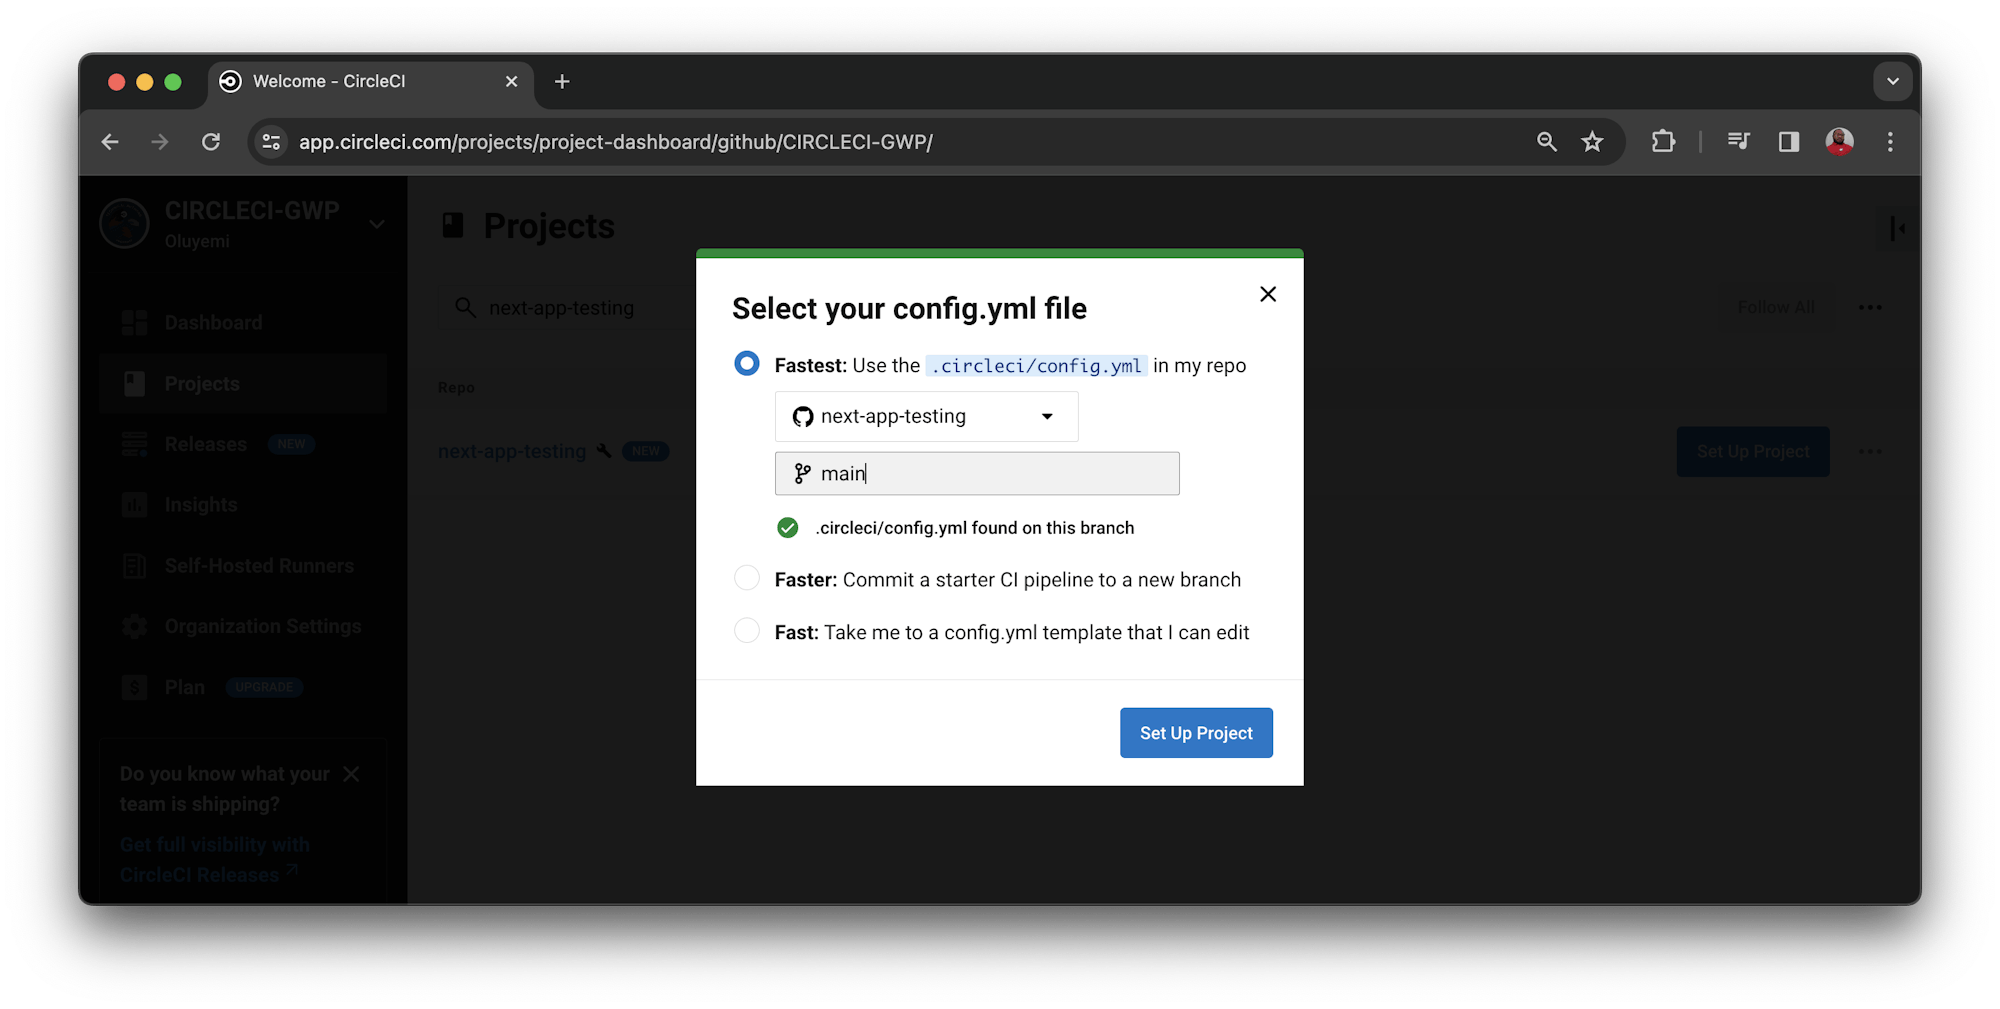
Enter the name of the branch your configuration file is on and click Set Up Project.
This triggers the pipeline and builds successfully.
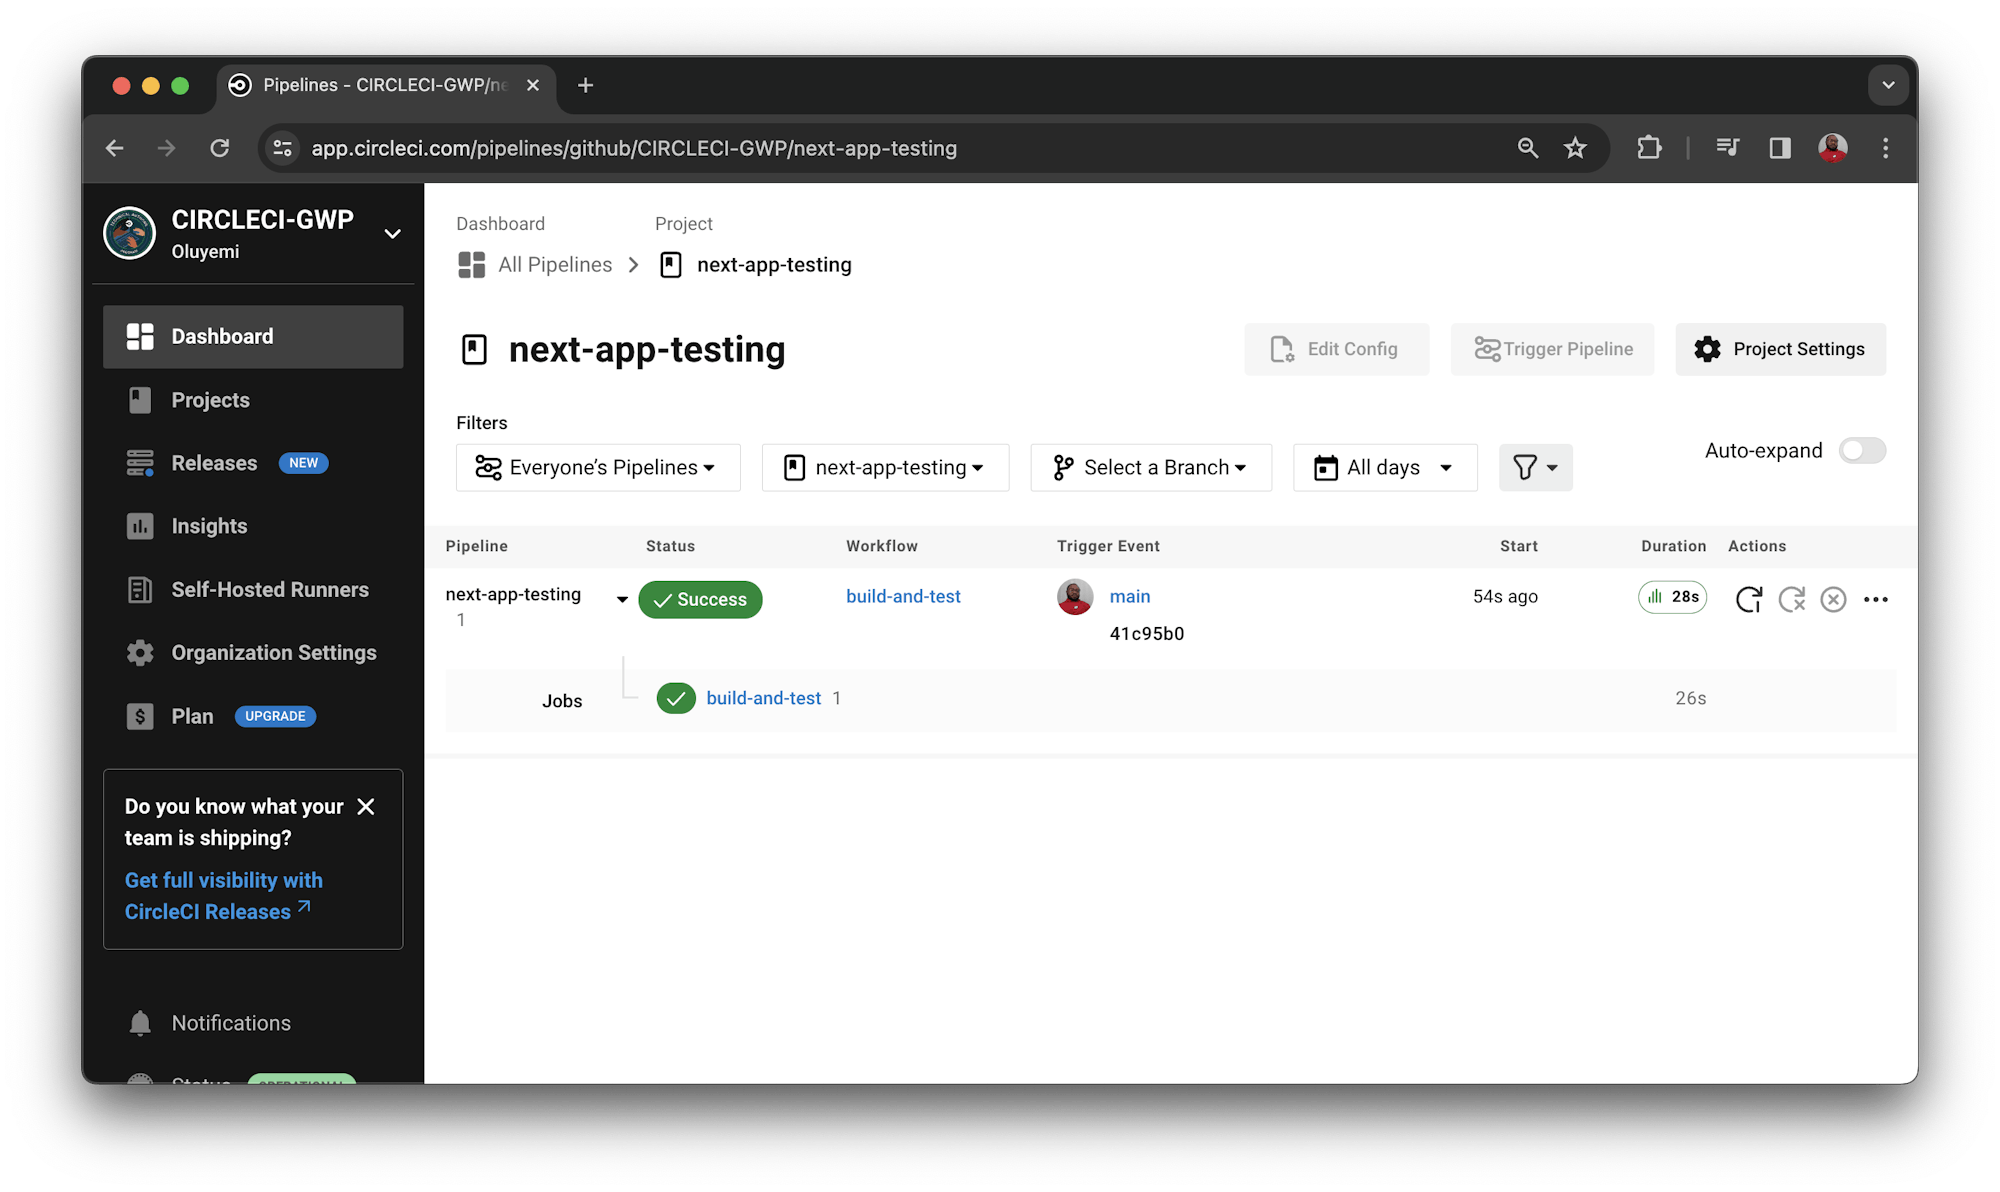
Good work!
Conclusion: Reducing the burden of boilerplate code
Next.js is an impressive framework for building production applications, in large part because it provides features that reduce the burden of boilerplate code. You don’t want to find broken code once your app is in production. In this tutorial, you learned how to test your features and ensure that the tests run automatically every time you push new code. This goes a long way in making sure that defective code is not pushed to any deployment environment.
With this knowledge, you’re now ready to set up a continuous deployment pipeline so that your well-tested updates are automatically deployed to your production environment. You can learn how to do that in Continuous deployment for Next.js applications.
You can access the full sample project from this tutorial on GitHub.
Happy coding!
Fikayo Adepoju is a LinkedIn Learning (Lynda.com) Author, Full-stack developer, technical writer, and tech content creator proficient in Web and Mobile technologies and DevOps with over 10 years experience developing scalable distributed applications. With over 40 articles written for CircleCI, Twilio, Auth0, and The New Stack blogs, and also on his personal Medium page, he loves to share his knowledge to as many developers as would benefit from it. You can also check out his video courses on Udemy.