
Embarking on creating my first Sitecore JSS app has been a journey filled with exploration, learning, and a few challenges along the way. In this blog post, I will guide you through the step-by-step process of setting up the Sitecore JSS backend and configuring the front end using Next.js. Join me as I share my experiences, insights, and the solutions I discovered during this exciting development venture.
Step 1: Setting Up the Sitecore Backend
1.1 Installing Sitecore 10.3
My journey began with installing a Sitecore instance, and since I didn’t have a Sitecore 10.x instance on my machine, I opted for Sitecore 10.3. To guide me through this process, I referred to an article that proved to be incredibly helpful. The installation, although crucial, was made straightforward with the detailed instructions provided in the article. During installation, I encountered an error with the below message. After some research, I found the solution and documented it in my previous blog post.
[IdentityServer_StopWebsite]:[Stop] <InstanceName>identityserver.dev.local
The property 'Value' cannot be found on this object. Verify that the property exists.
1.2 Installing the Headless Service
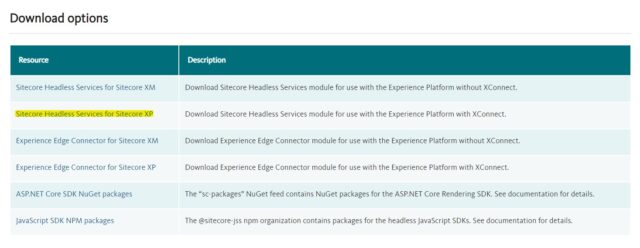
The next step involved downloading and installing the Headless Service. This essential package can be found in the Sitecore downloads section. I opted for the “Sitecore Headless Service for Sitecore XP” and smoothly followed the installation wizards of Sitecore. The process was seamless, thanks to the well-structured installation steps. This laid the foundation for building my JSS app.
1.3 Creating a Headless SXA Site
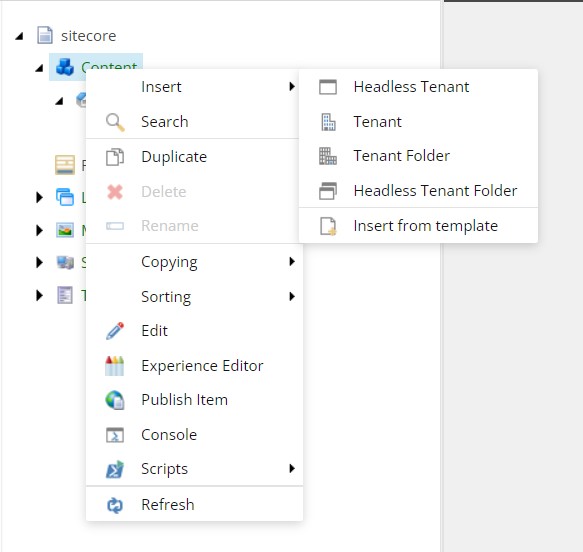
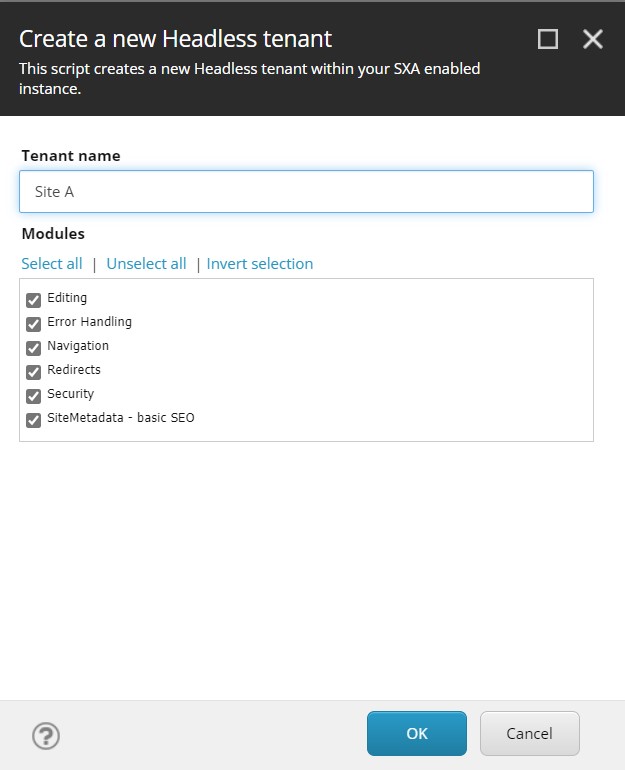
The next crucial step in our journey is to create a Headless SXA Site. To initiate this process, navigate to the insert menu and select “Headless Tenant.” Clicking on this option will open a window titled “Create a new Headless Tenant” – refer to the accompanying screenshot for a visual guide.
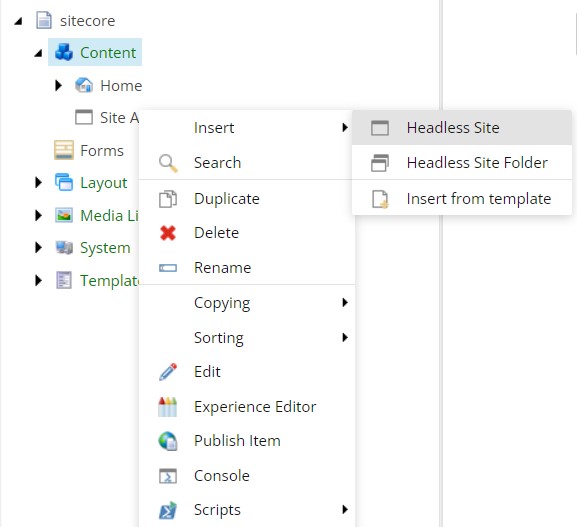
Now that we have successfully created a Headless Tenant, the subsequent task is establishing a Headless Site. Right-click on the recently created Headless Tenant, hover over the insert menu, and you’ll find the option labeled “Headless Site” – refer to the screenshot below for visual guidance. Clicking on this option opens a dialog box titled “Create a new Headless Site,” presenting three tabs: General, Modules, and Site Settings.
In the General tab, configure essential details such as the name of your Headless Site, host name, virtual folder, and language version. For a more comprehensive understanding, please refer to the screenshot provided.

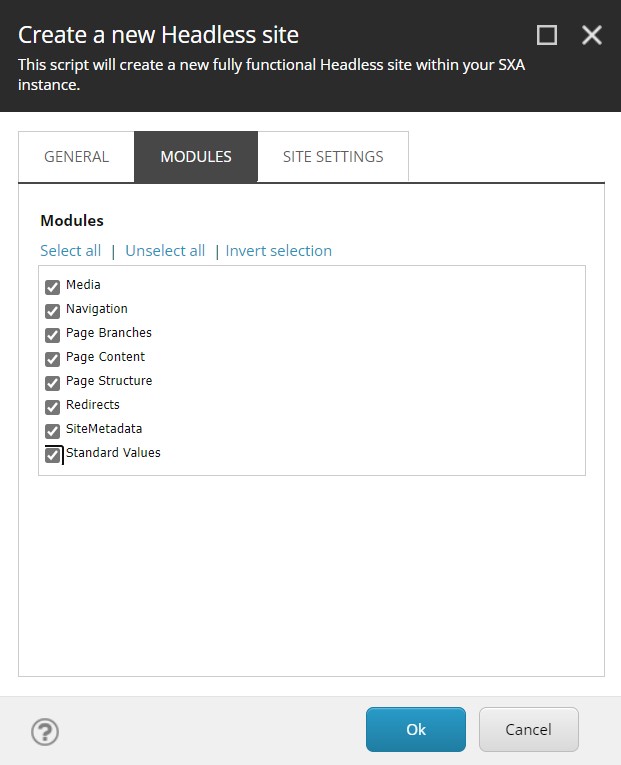
Proceed to the Modules tab, where you need to select the modules required for building the complete website. As depicted in the screenshot, I opted to select all the modules available in the list to ensure a robust foundation for my JSS app.
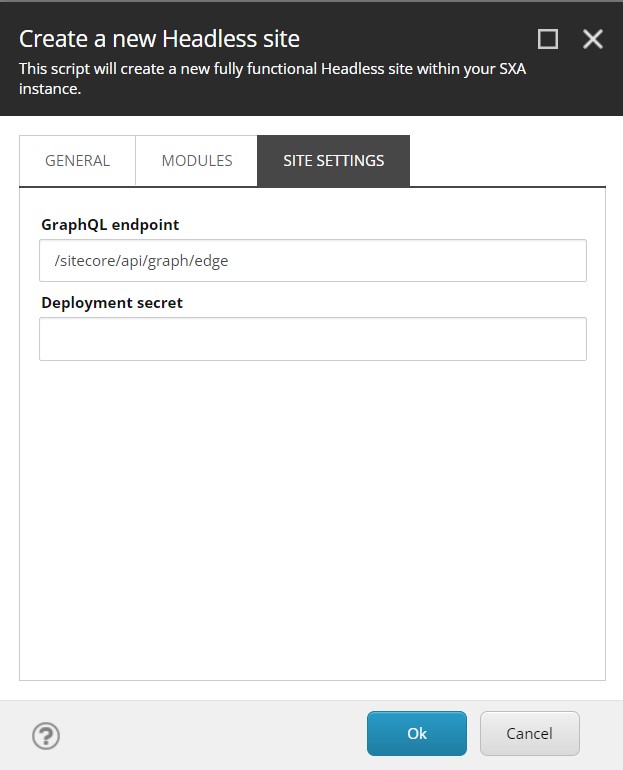
The third tab, Site Settings, involves configuring parameters like the GraphQL endpoint and Deployment Secret. If, like me, you were initially unfamiliar with these terms, rest assured – you can refer to the screenshot below to observe my configuration, where I maintained the default settings for the time being.
Once satisfied with your configurations in all three tabs, click the “OK” button. The system will take some time to process and configure all the specified settings within the existing Sitecore tree. For a visual representation, you can refer to the screenshot below to observe the Sitecore tree after the successful creation of your Headless Site

1.4 Configuring the Handshake
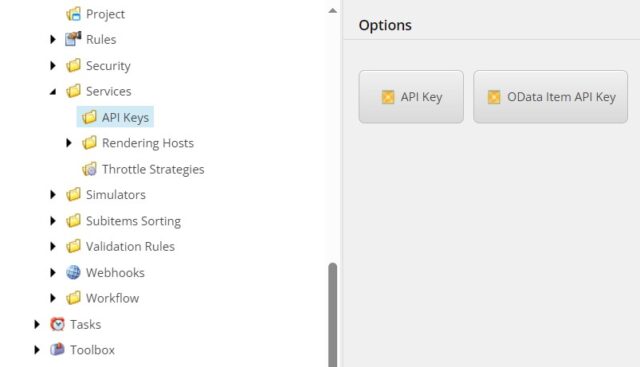
The subsequent step is crucial as it involves configuring the handshake between your Sitecore site and the front end. To establish this connection, we must create an API key in the following path: “/sitecore/system/Settings/Services/API Keys.”
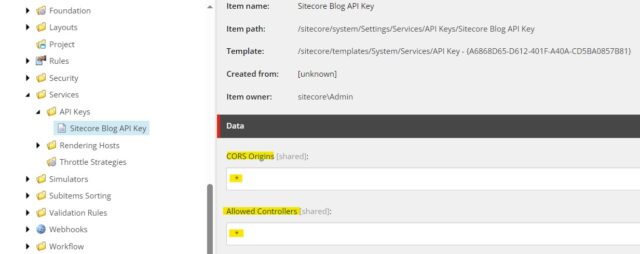
Upon creating the API key, it’s imperative to set “*” for both the CORS Origin and Allowed Controller fields. You can find a visual representation of this configuration in the accompanying screenshot. Additionally, make sure to copy the Item ID of the newly created API key, as it will be a necessary component during the frontend setup.
By navigating to “/sitecore/system/Settings/Services/API Keys” and implementing these configurations, you lay the foundation for seamless communication between your Sitecore instance and the front end. This handshake is a pivotal step in ensuring the successful integration of both components in your Sitecore JSS app development journey.
Step 2: Setting Up the Frontend
2.1 Installing Node.js and Sitecore CLI

The subsequent phase involves setting up the front end. Familiarize yourself with the headless terminology; in this context, the front end operates independently from the back end, signifying a loosely coupled architecture. Communication between the front end and back end occurs through APIs. Now that we have successfully configured the Sitecore backend, it’s time to embark on the frontend setup.
To initiate the frontend setup, ensure you have the LTS version of Node.js installed. If you don’t have it installed, you can refer to this link to download the LTS version of Node.js. Once Node.js is installed, the next step is to set up the Sitecore CLI. Execute the below command in your terminal. This command will install the necessary tools for managing your Sitecore JSS app.
"npm install -g @sitecore-jss/sitecore-jss-cli"
2.2 Configuring Next.js
I have opted to use Next.js as the frontend framework. To configure Next.js, I created a dedicated folder where I can organize all the necessary code and configuration files. Navigating to this designated folder via the command prompt, I ran the following command to initialize the setup:
"npx create-sitecore-jss --templates nextjs,nextjs-sxa --appName food-blog --hostName <your-sitecore-instance-name>.dev.local --fetchWith GraphQL"

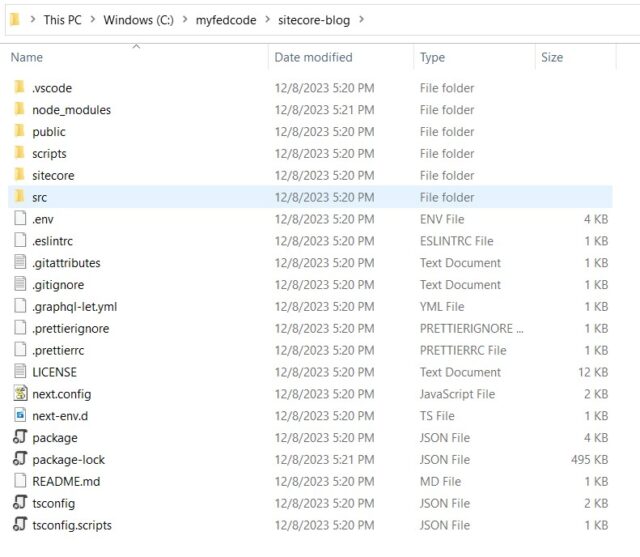
Following a successful installation, take a look at the folder you’ve created. There, you’ll encounter the front end code structure. Please refer to the attached screenshot for a visual representation of the organized code within the folder. This structure forms the foundation for your Next.js front end, providing insight into the organization and layout of your newly configured environment.
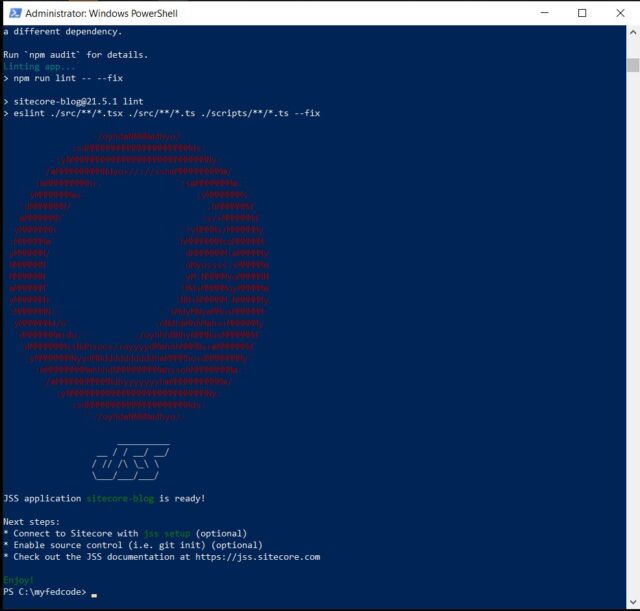
Please refer to the accompanying screenshot for a visual representation. If you receive a response similar to the one shown in the screenshot, it indicates a successful installation.
2.3 Finalizing Frontend-Backend Connection
Now, we’ve reached the final stage, where we connect the front end with the Sitecore instance. To achieve this, open the Next.js code generated in the previous step using Visual Studio Code. In the VS Code terminal, run the following command:
"jss setup"
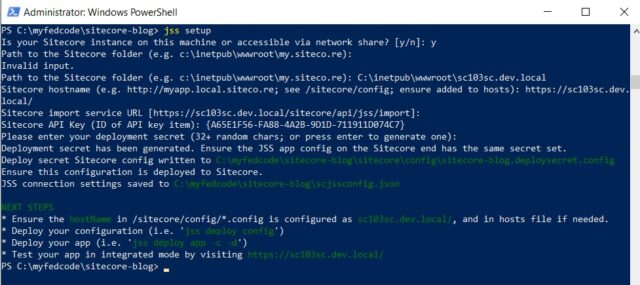
Executing this command initiates a series of questions that require your input. For a better understanding of the responses used during this setup, please refer to the provided screenshot. This crucial step establishes the necessary configuration for seamless communication between your Next.js front end and the Sitecore instance, marking a significant milestone in the development process.
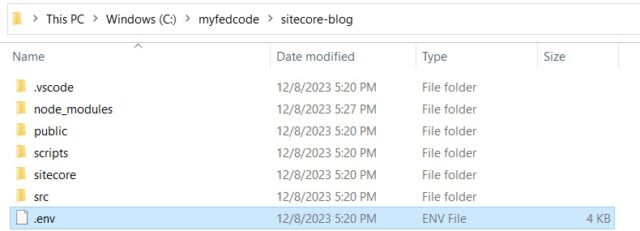
After successfully completing the setup, the next task is to update the .env file, specifically for the JSS_EDITING_SECRET field with a random 32-character GUID. For detailed guidance on this update, please consult the screenshot provided below. This step is essential for configuring the editing secret, ensuring a secure and functional connection between your Next.js frontend and the Sitecore instance. The information in the screenshot offers a clear reference point for making the necessary updates in your project environment.

In the culmination of our setup journey, the final step involves deploying all configurations. To execute this, utilize the following command:
"jss deploy config"
Executing this command ensures that all the configurations, including those established during the setup process, are deployed seamlessly. This step finalizes the integration between your Next.js front end and the Sitecore instance, paving the way for a fully operational and interconnected JSS app.

Finally, to initiate the front end server and bring your JSS app to life, run the following command:
"jss start:connected"
With that, we conclude the essential configurations and setup for Sitecore JSS. This journey has encompassed the installation of the Sitecore instance, deployment of the Headless service, and the meticulous configuration of the backend and frontend components.
In wrapping up this blog post, the journey of building my first Sitecore JSS app has been both enlightening and rewarding. From the initial installation of the Sitecore instance to the intricacies of frontend setup with Next.js, each step provided valuable insights and a deeper understanding of JSS app development.
Encountering and overcoming challenges, coupled with utilizing helpful resources, has contributed to a holistic learning experience. The successful deployment and connection of the frontend server mark a significant milestone, bringing the JSS app to life.
While I had initially planned to delve into component creation in a subsequent blog, I stumbled upon an excellent resource authored by Mahima Patel. For a detailed exploration of component creation with JSS, I recommend referring to Mahima’s insightful blog link.
This series serves as a documentation of my journey, sharing experiences, challenges, and solutions. I hope it proves beneficial to others venturing into the world of Sitecore JSS app development. The blog concludes here, but the knowledge gained and lessons learned will undoubtedly shape future endeavors in this dynamic and evolving field.
Happy Coding!