AWS | Cloud | Cloud Engineering | Technology
Club Cloud Stories 
Jacco Kulman 25 Oct, 2021


As a consultant I am used to a certain level of quality that I need to deliver to our customers. For this reason I have built a landing zone for my own website, initiatives and experiments. By using the same structure that our customers have, I can test and build my ideas and apply them in customer environments if they are successful.
At first it might feel like a massive overkill to set up a complete landing zone. But once you have set it up you will be capable of performing experiments very easily.
For my landing zone I used the Customizations for AWS Control Tower (CfCt) project. When I created my landing zone the Landing Zone Accelerator was not yet available. I still need to evaluate if I can switch, but my initial concerns are the cost of running it. CfCt has low costs and depending on your usage it might even fit in the free tier. The Landing Zone Accelerator comes with VPCs and transit gateways and some other services that will generate costs regardless of what you are doing with the landing zone.
A default landing zone typically has the following accounts:
Next to the default accounts I have some additional accounts setup:
For the rest I have some workload accounts that have an account per environment. Each workload has at least a development account, but it can be extended to have a test, acceptance and production account as well.
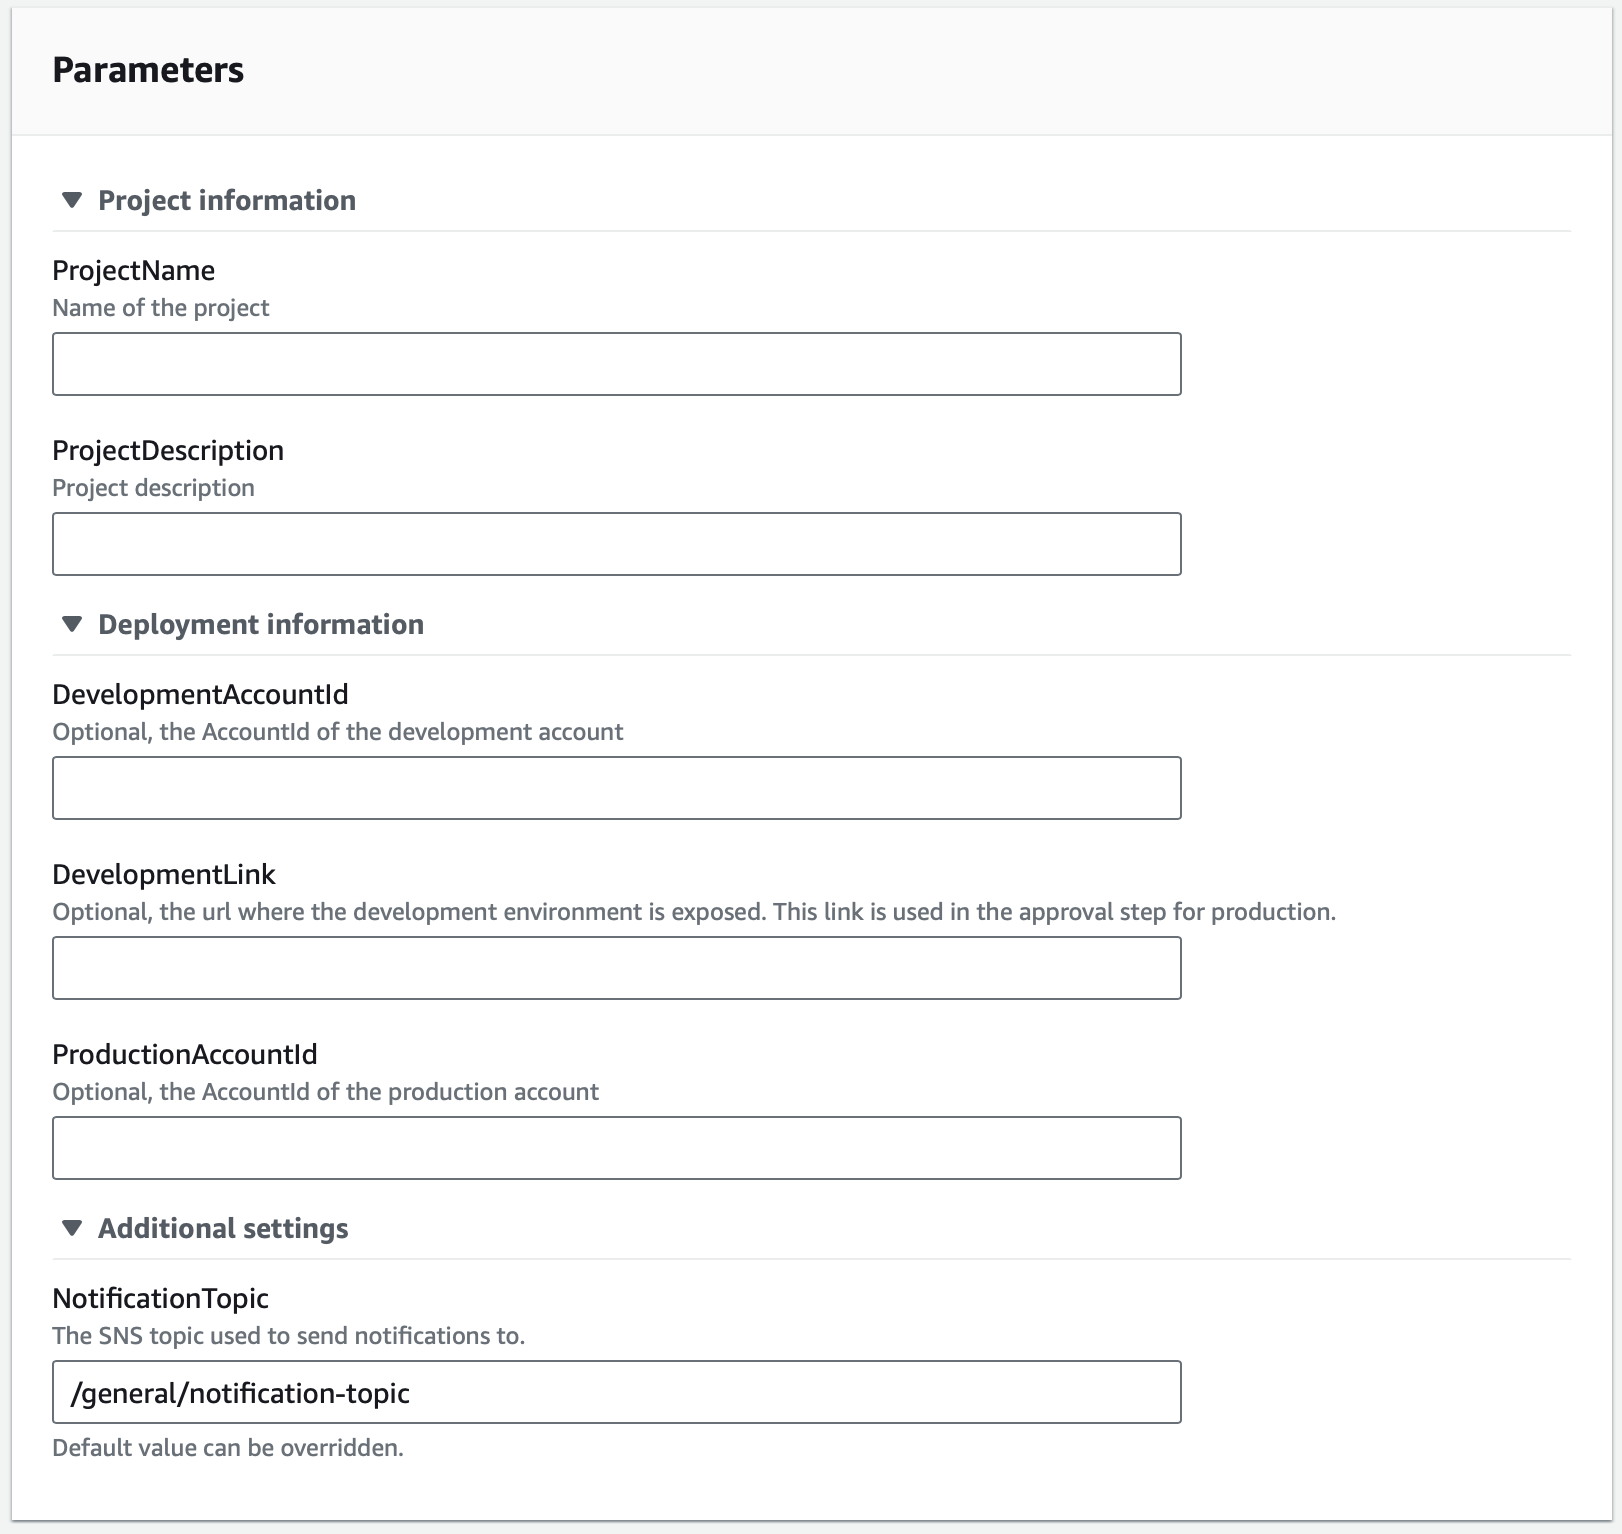
When I want to build something new, I need a new development account. For account creation I use aws-samples/aws-control-tower-automate-account-creation. I altered the solution to directly inject a record into the DynamoDB table that triggers the account creation process. I have a simple command that I can run on the command line that requires the following arguments: workload name, description and the environment type.
After I created a development account I login to the build account and navigate to the Service Catalog service. Depending on the idea I require a different product but up until now I created the following products:
I use these Service Catalog products to create the CI/CD pipelines to host for example, my own website Conijn.io.
The CodeCommit repository will be pre-filled with the following files:
.pre-commit-config.yaml – contains the cfn-lint and cfn_nag pre-commit hooks.buildspec.yml – installs the aws-sam-cli and builds and packages the template.parameters-development.json – The CloudFormation parameters, tags and policies for the development environment.parameters-production.json – The CloudFormation parameters, tags and policies for the production environment.README.md – Initial read me file.template.yaml – Initial CloudFormation template.After the Service Catalog product has been successfully launched. I only need to execute the following command:
git clone codecommit::<AWS_REGION>://<MY_PROFILE_NAME>@<PROJECT_NAME>
And I am ready to start building, I can start with adding resources to my template. If I need to use parameters I can use the parameters-development.json file. If I need to do additional steps I can add them in the buildspec.yml. When I commit the changes and push them to the remote repository CodePipeline will be triggered and deploy the changes into the development account.
For visibility of the pipelines I have set up a NotificationTopic, this topic is a SNS Topic that has AWS ChatBot as a subscriber. Chatbot will then send the updates to my Slack workspace that I have set up. This way when the pipeline is triggered I will get the notifications on my phone and laptop.
Setting up your own landing zone is quite some work, but you will learn a lot from it. And, when you have one it makes it very easy to start a new initiative in an empty AWS Account.
Photo by Vincent Albos

