
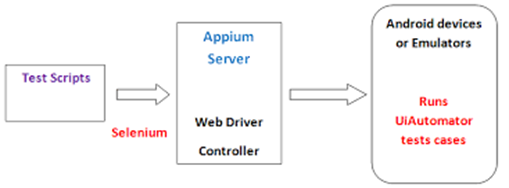
Appium is an open-source, cross-platform test automation tool for native, hybrid, mobile web, and desktop apps. Initially created to automate iOS and Android mobile applications. Appium has grown to a full-featured platform that provides WebDriver-based automation possibilities for a whole set of different mobile and desktop platforms.
Why Appium?
- Use the Selenium WebDriver API to write tests in any WebDriver-compatible language, including Java, JavaScript, Python, Ruby, and C#, using your preferred development tools. For other languages, there are numerous third-party client implementations available as well.
- Any testing framework is acceptable.
- Certain drivers, such as uiautomator2 and xcuitest, include support for hybrid apps and mobile web. With WebDriver, the web automation industry standard, you can easily transition between WebView and native app automation within a single script.
- Appium Inspector makes it possible to visually debug automated tests, which is quite helpful for novices.
Appium Framework for Android
Prerequisites for Appium:
- Java: Ensure you have Java version 8 or higher installed on your system.
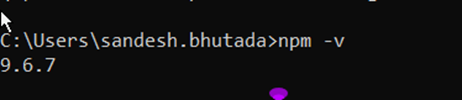
- NodeJS: Install NodeJS by visiting Nodejs.

- js Version Check: Open your command terminal and verify your Node.js version by running the command “npm -v”.
- Appium Installation: Install Appium on your system using the command “npm install appium”

- Appium Driver: Install the Appium driver by executing “appium driver install uiautomator2”

To connect with Mobile, follow these essential steps:
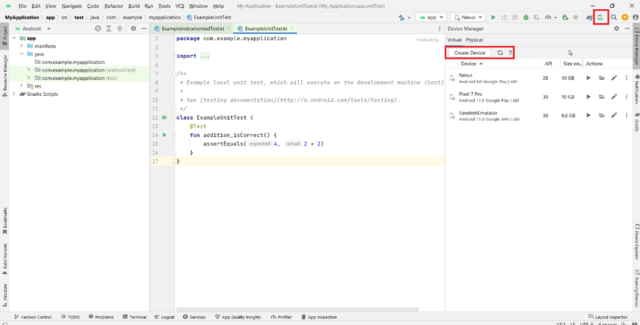
- Approach 1 (Using Emulator): Download and install Android Studio and create virtual devices for testing. (Android Studio).
- Approach 2 (Using Cable): Connect your mobile device via a USB cable. Ensure that developer mode and USB debugging are enabled on your mobile device.
- Note: Remember to disable developer mode after completing your Appium automation for security reasons.
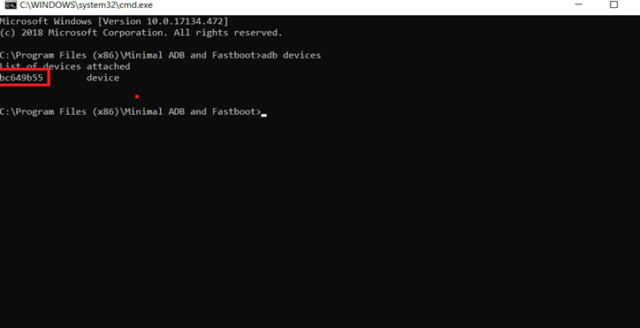
- In both approaches, use the “adb devices” command in your command terminal to obtain the UDID (Unique Device Identifier) you will need in your code.
To get started with Appium Server, follow these essential steps:
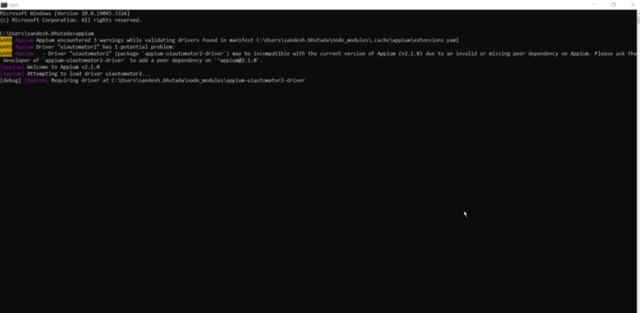
- Approach 1: To start the Appium server in CMD use the command “appium”
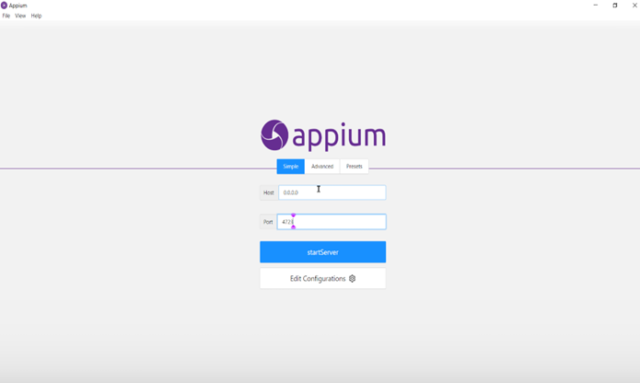
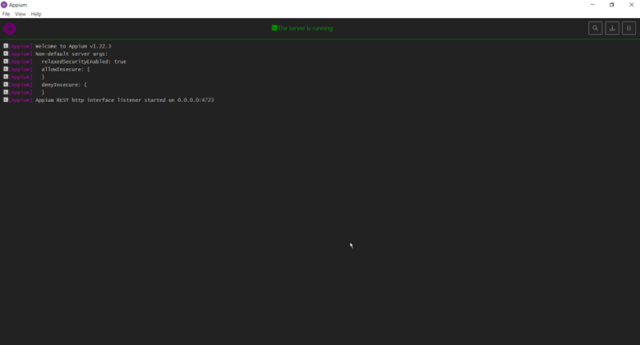
- Approach 2: You can use Appium Server GUI to start the Appium server
Exploring Your First Appium Test Case:
Let’s take a closer look at creating your first Appium test case. In this example, we’ll open the calculator app.
Example: (Open calculator app)
static AppiumDriver driver;
public static void main (String[] args) throws Exception {
opencalculator();
}
public static void opencalculator() throws Exception {
// Create an instance of DesiredCapabilities to set up the automation configuration
DesiredCapabilities cp = new DesiredCapabilities();
// Specify the device name to be used (you can customize this)
cp.setCapability(“deviceName”, “Sandesh M33”);

// Set the UDID (Unique Device Identifier) of the device to be used for testing
cp.setCapability(“udid”, “RZCT40J3MLA”);
// Specify the platform name (in this case, Android)
cp.setCapability(“platformName”, “Android”);
// Define the platform version (e.g., Android version 13)
cp.setCapability(“platformVersion”, “13”);
// Specify the automation name (UiAutomator2 is used in this example)
cp.setCapability(“automationName”, “UiAutomator2”);
// Set the package name of the calculator app
cp.setCapability(“appPackage”, “com.sec.android.app.popupcalculator”);
// Define the main activity of the calculator app
cp.setCapability(“appActivity”, “com.sec.android.app.popupcalculator.Calculator”);
// Define the URL of the Appium server (in this case, it’s hosted locally)
URL url = new URL(“http://127.0.0.1:4723”);
// Initialize the AppiumDriver with the URL and DesiredCapabilities
driver = new AppiumDriver(url, cp);
}
Conclusion:
In this blog, we’ve provided you with a step-by-step guide to setting up your Appium test environment. This includes installing essential components such as JDK, Android SDK, Appium, Node.js, and other required tools and software. With these prerequisites in place, you’re well-equipped to embark on your journey into Appium and mobile app automation testing.


This beginner’s guide to Appium installation and mobile app testing is an empowering resource. It’s a great starting point for anyone looking to enhance their app testing skills.
I also use Appium installation and mobile app testing for my Air conditioning Appliances.