
One of our client requirements was to post a multiperiod journal. In the Consolidation process, this kind of request is uncommon; however, this request was from a Planning process perspective. In the following document, I describe the steps to create a multiperiod journal with OneStream XF.
Create a Journal Template
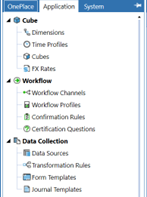
Navigate to and select Application -> Data Collection -> Journal Template and create a journal template.
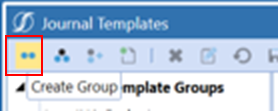
The first step is creating a Journal Group to organize the journals better. Click on the two blue dots to create a Group.
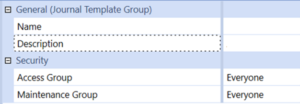
Add a name and description, define the security (Access Group and Maintenance Group), and save.
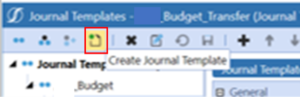
Then, we need to create the journal template. Click on the “Create Journal template” icon.
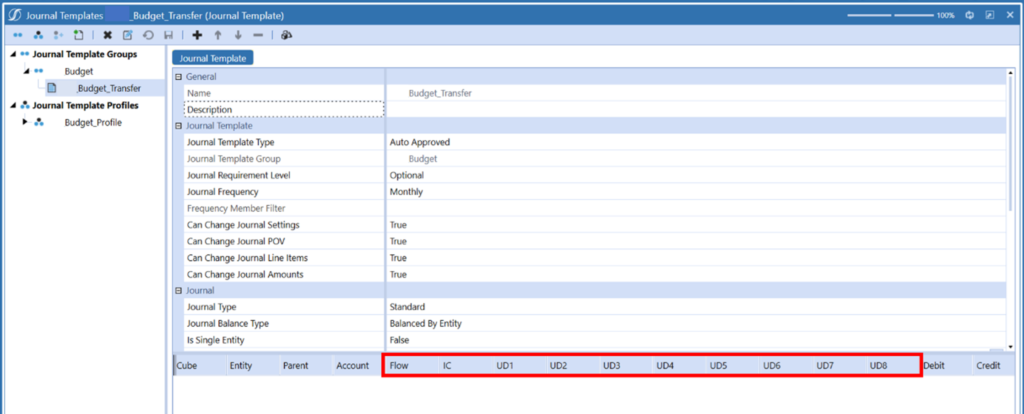
Add a name and description, and fill out the journal template depending on the requirements. Choose the journal template type. “A Journal template can either be a Standard or Auto Approved. If it is auto-approved, a user can create a Journal from the template with limited editing ability, meaning permission to change name, description, and so forth.1”
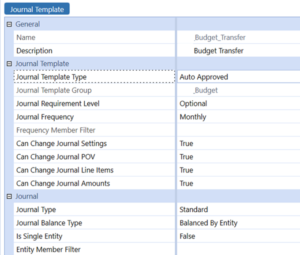
For illustration purposes, we left the journal template Type as “Auto Approved.”
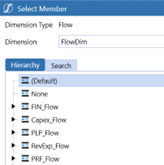
To add a dimension, go to the Point of View section. Select the dimension you want to add, and click on the ellipsis.
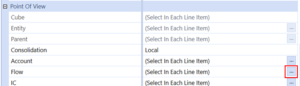
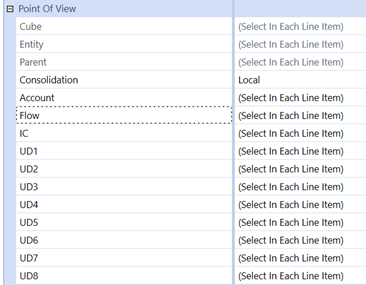
Select (Default) member and click “OK,” and repeat for each dimension.
After the selections, you can see the dimensions displayed in each journal line.
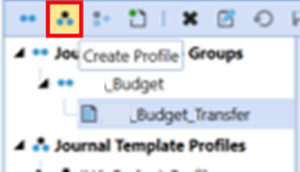
Once we have created the Journal template, we must create a Journal Profile. For that, click on the three dots icon.
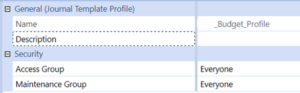
Add a name and description, define the security (Access Group and Maintenance Group), and save.
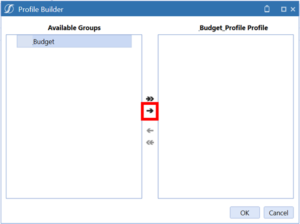
Once we have created the Journal Template profile, we need to add the journal template to the Journal profile. Select the Profile and click the “Manage Profile Members” icon to do so.

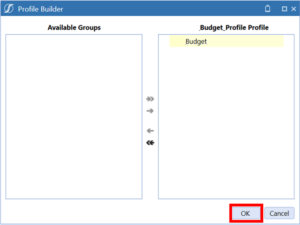
In the profile builder, select the group you want to add to the Profile and click “Add item.”

Modern Accounting: How to Overcome Financial Close Challenges
Improvements in each of the following period-close core tasks can provide transformative change and are reviewed in this guide include closing the books and external reporting, periodic reconciliations, and managing the period-close process.
Once you have added the group, click “OK.”
Now, you will see the journal template in the Profile.

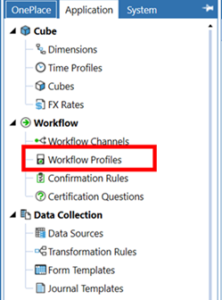
Navigate to and select Application -> Workflow -> Workflow profile and select the Workflow “WF” where you want to create the journal template profile.
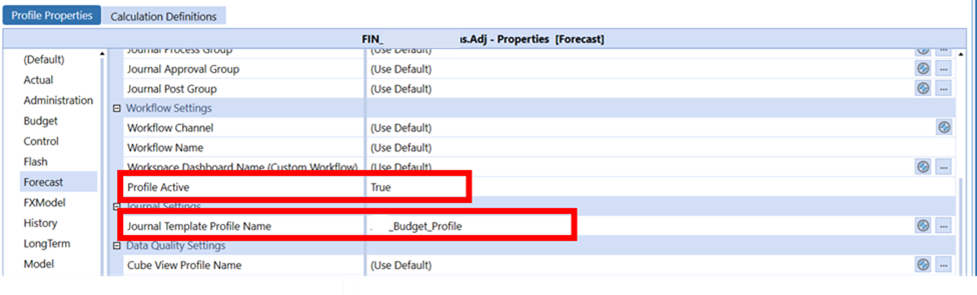
Once you select the WF, activate the step by selecting TRUE in “Profile Active.” In the Setting section of the WF, assign the Journal Template Profile Name to the WF on the “Journal Template Profile Name” line in the Journal Settings section.
Create a Journal CVS Template
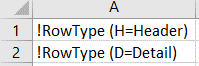
Open an MS Excel file. In the first two rows of Column A, create two Row Type Parameters specifying the Header and the Detail !RowType (H=Header) and !RowType (D=Detail). These tags the corresponding rows with H or D, identifying the Header and Detailed information in the CSV file.
Then, we need to enter the Journal Column Headers. The required headers are the following (make sure you put each title in one specific cell):
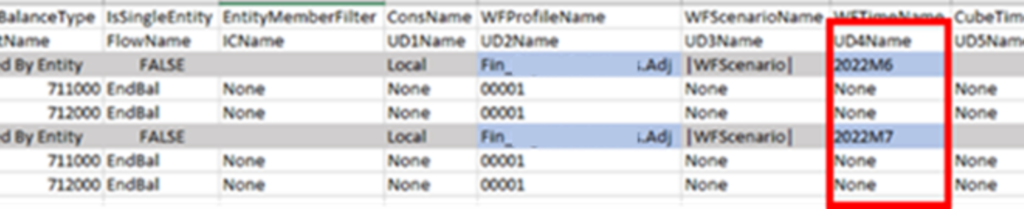
JournalName, OriginiatingTemplateName, JournalDescription, JournalType, JournalBalanceType, IsSingleEntity, EntityMemberFilter, ConsName, WFProfileName, WFScenarioName, WFTimeName, and CubeTimeName.

Add the detail in row two, and enter the Journal Detail Headers. The required Journal Detail Headers are:
JournalName, CubeName, EntityName, ParentName, AccountName, FlowName, ICName, all UDNames, DebitAmount, CreditAmount, and LineDescription.

The file will identify the rows depending on the first column tags. H = Header or D = Detail.
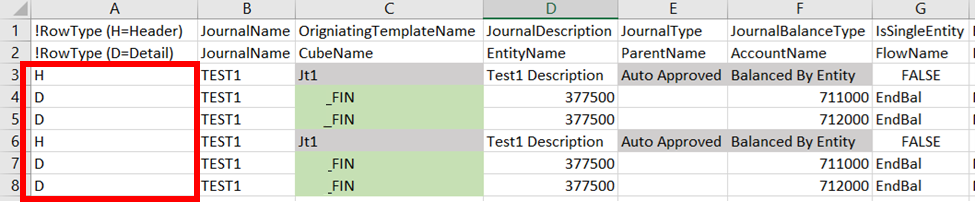
NOTE: You must add an H Row (Header) for each journal you want to post.
In this case, I want to affect two periods (2021M6 and 2021M7).
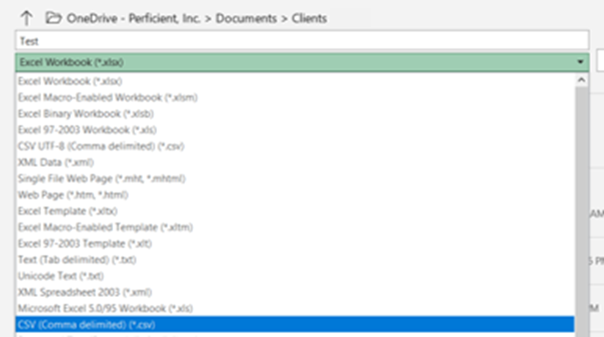
Once you have created the MS Excel file, save it as CVS (Comma Delimited).
Load the Journal via WF
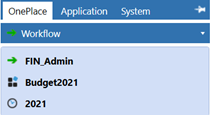
Go to OnePlace and select the WFProfile, Scenario, and Time member to load the journal. In this case, FIN_Admin, Budget2021, 2021
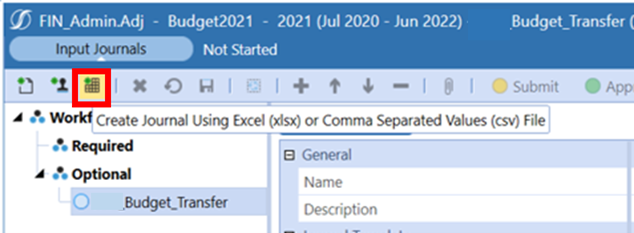
Create the journal using the .cvs file.
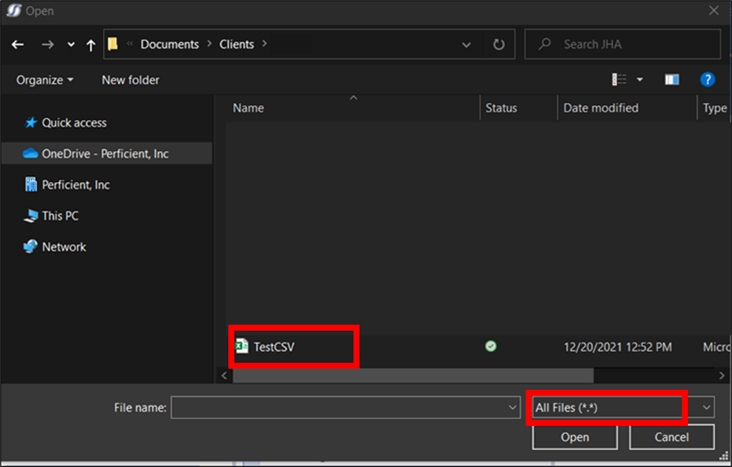
Select the journal CSV file to load (make sure you can see “All files.) and click Open.
Once you load the .cvs file in the journal step, OneStream creates two journals.

Click the check box to Select ALL journals, and click on post. ![]()
You will be able to post all the journals with a single post.
Note: Depending on security, you could create, upload, and post the journal, or different persons can manage this separately, e.g., one can upload, and another can post it.

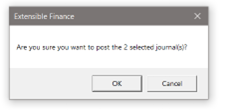
Click “OK” to confirm the posting.
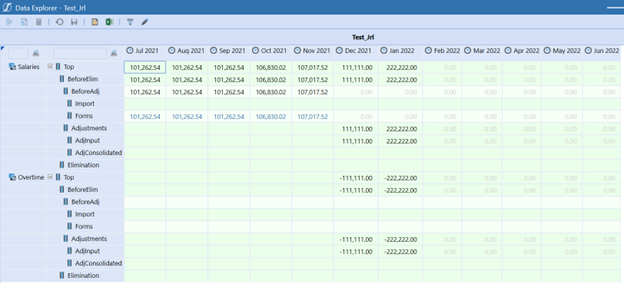
Create a CubeView “CV” or QuickView to validate data. In this case, I used a CV.
Reference
- Design and Reference > Data Collection > Journal Templates > Journal Template Properties