


Microsoft Visual Studio Code is a flexible, cross-platform editor that can be transformed into a full-blown IDE for most any language or workflow. Over the past few years, it has exploded in popularity. Thanks to Microsoft's Python extension for Visual Studio Code, VS Code has also become one of the best tools for working with Python. The Python extension provides not only syntax highlighting, but linting tools, environment management, and lots more, all tailored for the Python programming language.
In this article, we'll walk through how to get started with VS Code's Python tools, whether for new projects or existing ones.
Install VS Code and the Python extension
If you haven't already set up and familiarized yourself with Visual Studio Code, that's your first step. Check out InfoWorld's guide to setting up VS Code.
You should also have an instance of Python installed and be familiar with how Python works, especially the mechanics of Python virtual environments. If you're using the Anaconda distribution of Python, you can use that in conjunction with VS Code, too.
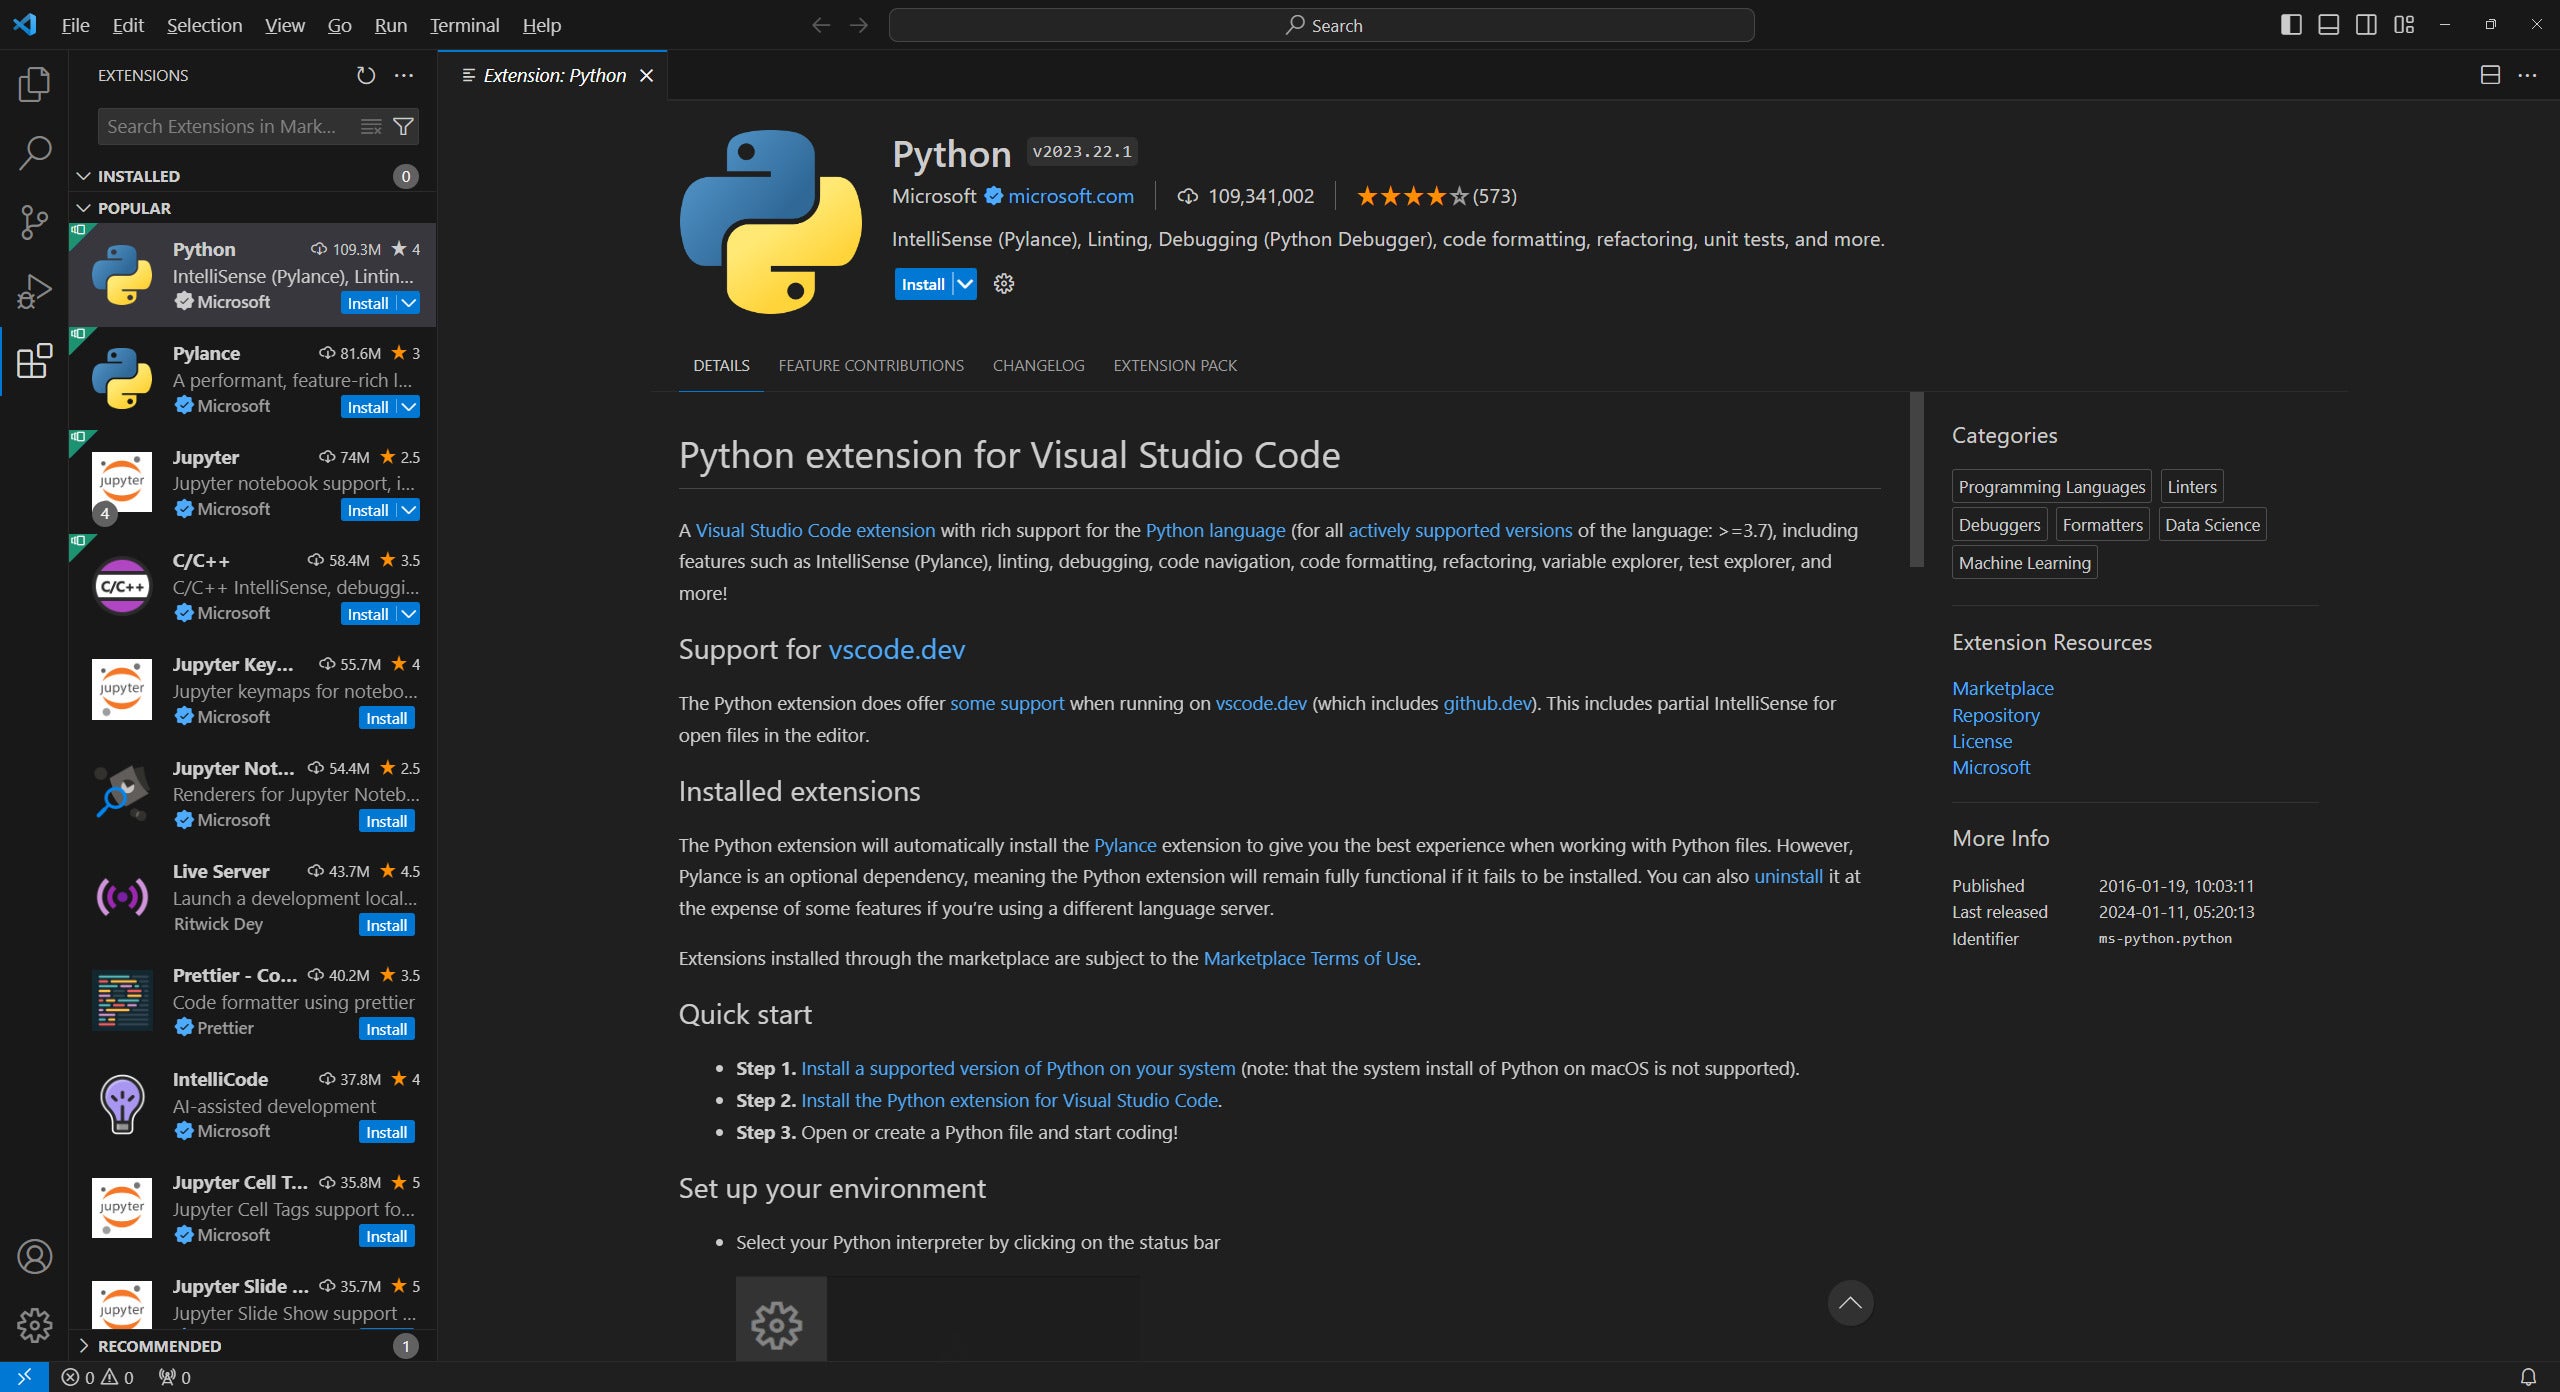
The core functionality you need to use Python in VS Code comes from Microsoft's Python extension. This extension provides syntax highlighting, debugging tools, code navigation, refactoring, and test runners. It doesn't provide linting, IntelliSense completion, or type checking. Those functions are provided in another extension automatically installed along with the Python extension, called Pylance. The two are kept separate so they can be developed independently, but you will almost always want to use them together.
 IDG
IDG
Figure 1. The official Microsoft-authored extension for Python in VS Code also bundles the Pylance linting and type-checking extension.
In addition to the Python and Pylance extensions, several other extensions are recommended for Python developers:
- Black Formatter adds automatic formatting of source code with the de facto standard formatter for Python,
black. You don't need to installblackinto the virtual environment where you're doing your development work to use it; the extension comes with its own, independently updated copy. - Another formatter for Python, ruff, is gaining attention for being written in the Rust language, and so it runs much faster than
black. It's still earlier in its development thanblack, so you may want to stick withblackfor the sake of correctness, but you can always install and toggle between the two extensions. - If you use Jupyter Notebook with Python, you can add support for it directly in VS Code with the Jupyter extension.
- If you're on Windows and using the Windows Subsystem for Linux to run your Python code, you can use the WSL extension to perform your development work directly in WSL.
- The Python extension has some provisions for working with virtual environments (more on this soon), but they are relatively minimal. If you want broader-scale management for Python environments, grab the Python Environment Manager extension—it allows sophisticated operations like managing Conda-based environments, or automatically activating a
venvfor a given console session. - By default, the Python extension for VS Code doesn't have a feature for inaugurating or setting up a new, blank Python project. Some third-party Python project management tools like
poetryorhatchset up a new Python project directory and scaffolding from the command line, but VS Code's Python extension doesn't yet support those functions directly. A third-party extension for working withpoetrydoes exist.
See the InfoWorld video tutorial, Setting up the Python extensions for Microsoft Visual Studio Code, for further setup instructions.
Setting up a new Python project in VS Code
When you set up a new Python project, there generally are two basic steps:
- Create a directory to hold the project.
- If needed, create a virtual environment for the project and install requirements into it.
The Python extension for VS Code doesn't handle the first part by itself. You create the directory you want for your project, then set up scaffolding in it and populate it with other things if needed. In theory, you can start a Python project with nothing but an empty directory, or as little as a directory with a single (empty) main.py file.
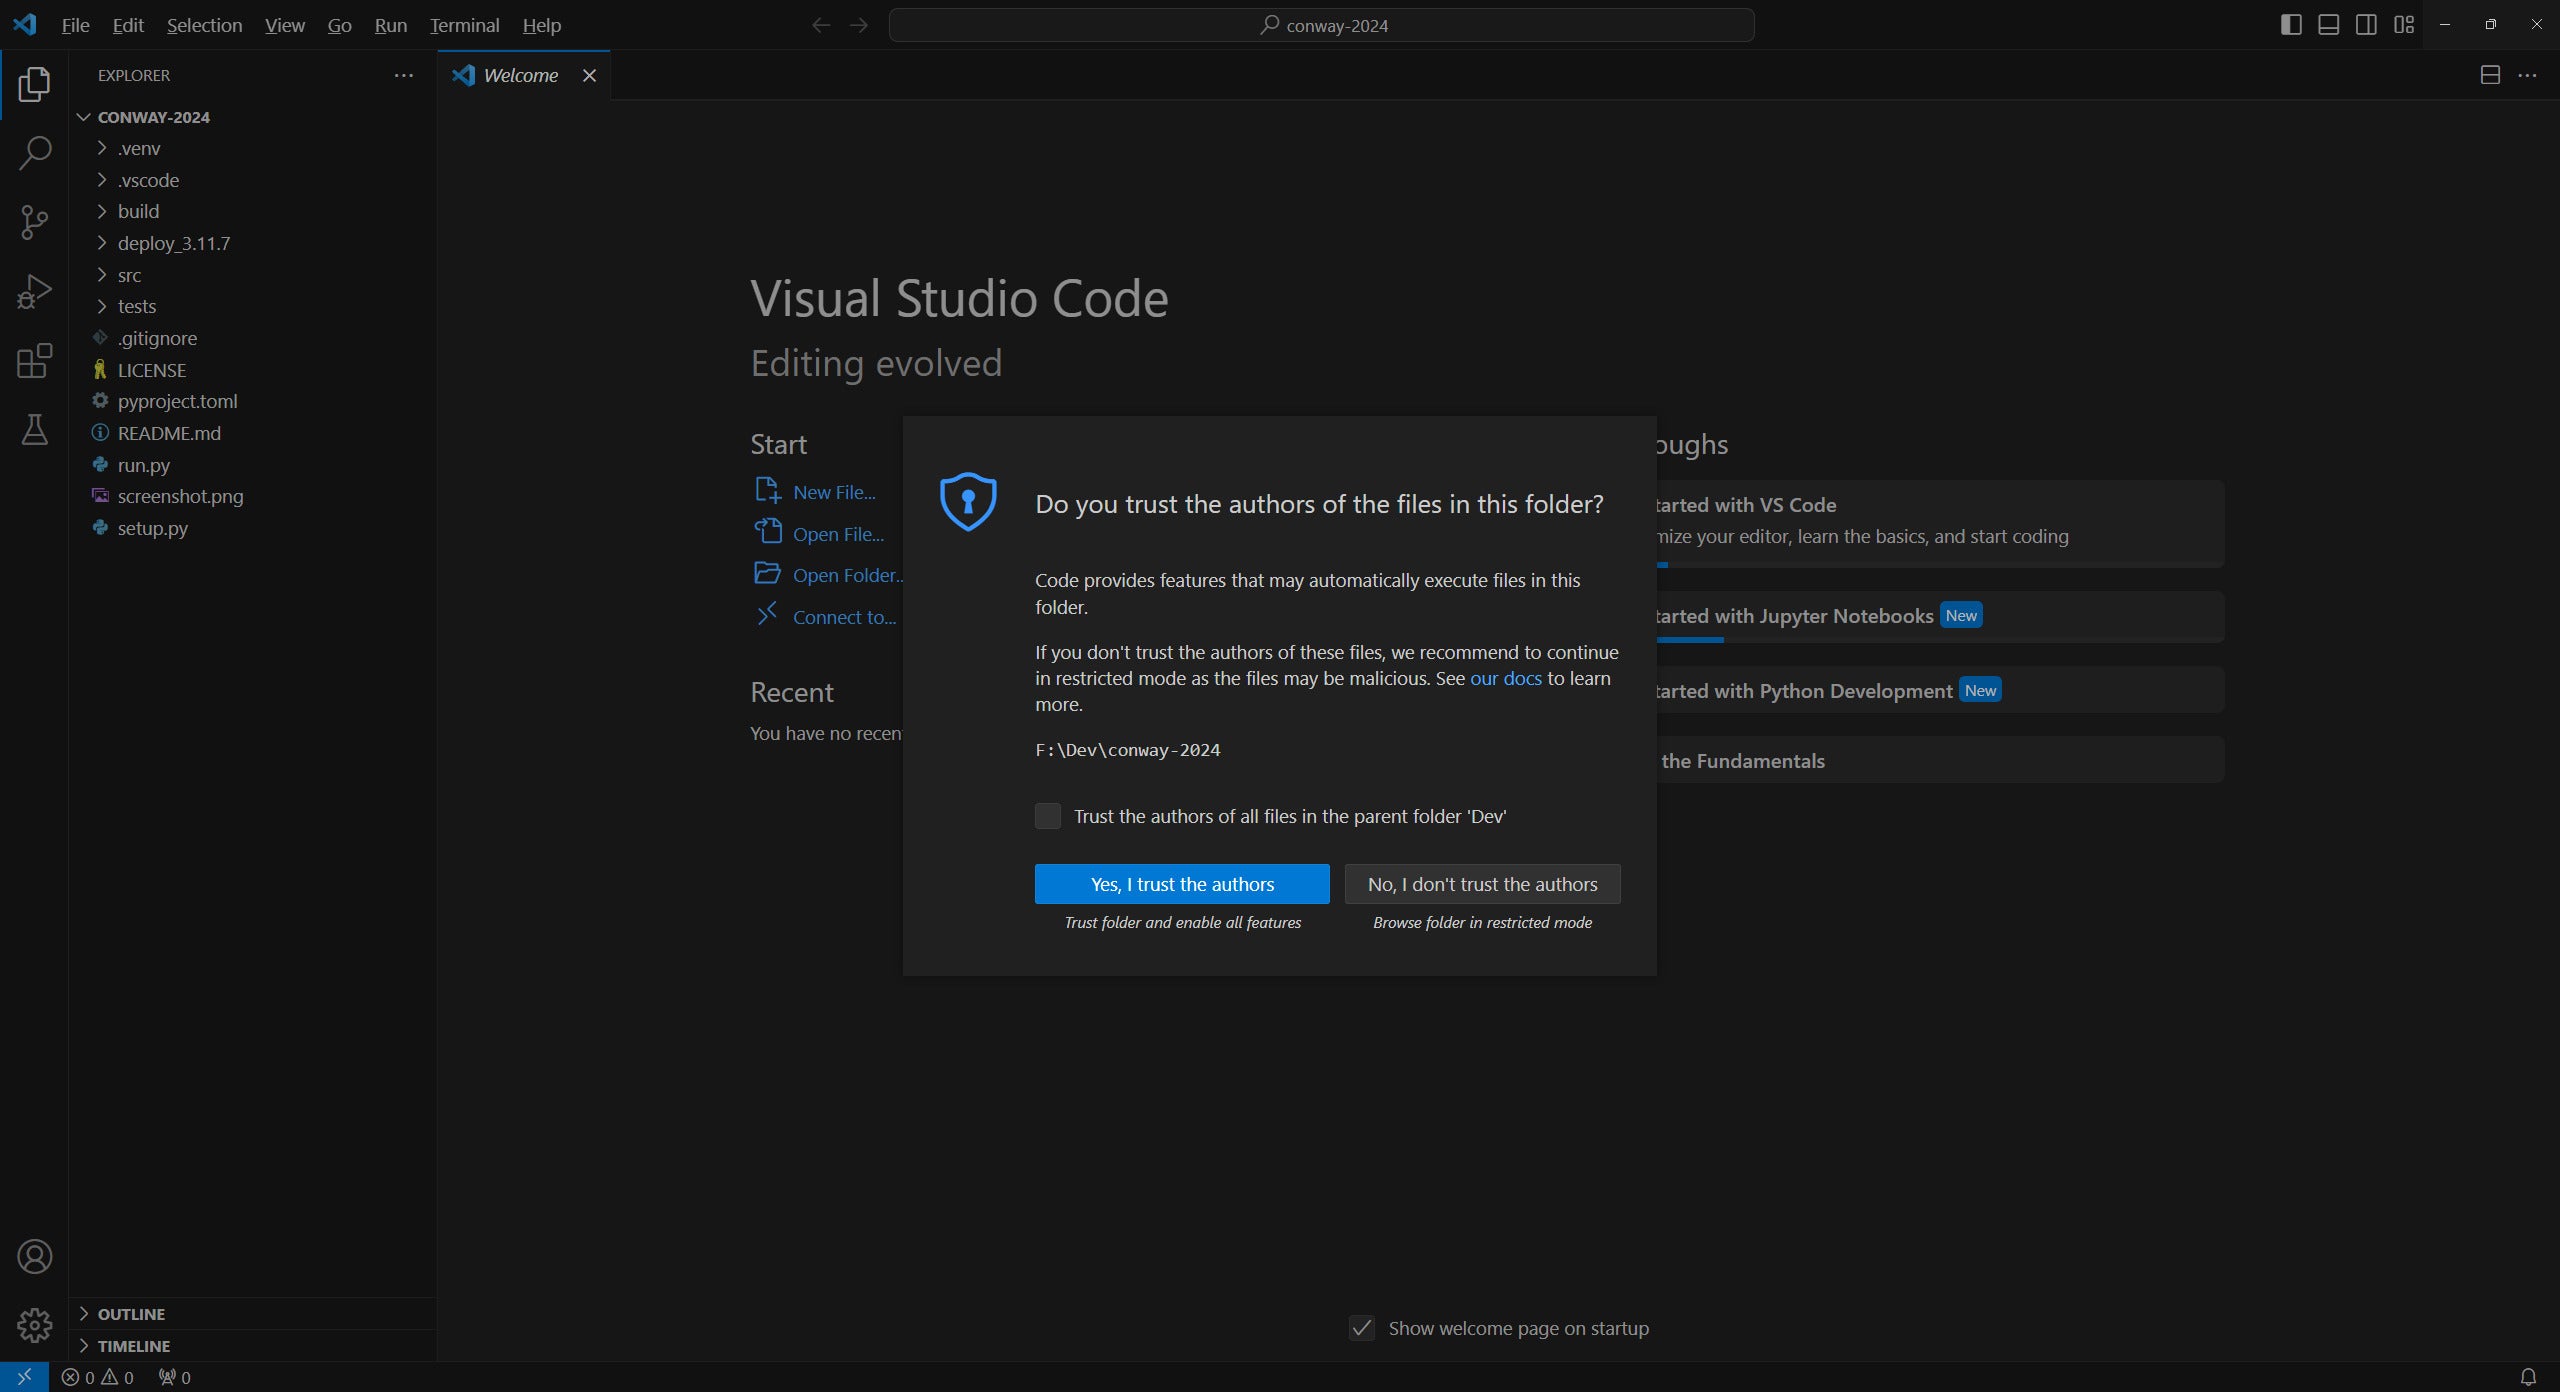
The first time you open a project directory with VS Code, you'll be greeted with a dialog that asks if you trust the authors of the files in this directory. Click "Yes, I trust the authors." This lets VS Code know you're not opening the directory provisionally—you want to use it as an actual project directory.
If you're using a tool like hatch or poetry to manage projects, create the project directory with those tools first before opening the directory in VS Code. This is more because it's better to get that kind of housekeeping out of the way first than because you'll run into problems. It's easier to configure a project for VS Code after the manual configuration work outside of VS Code is already done.
 IDG
IDG
Figure 2. When opening a directory for the first time with VS Code and the Python extension, you'll need to affirm the contents can be trusted.
Python virtual environments in VS Code
One key thing the Python extension can handle for you is managing virtual environments for Python projects. You can set up a venv for a project, and automatically install requirements for it depending on how you have things configured:
- In the VS Code command palette (Ctrl-Shift-P), select "Python: Create Environment".
- Select an environment type. This is typically
venvor Conda, the environment used by the Anaconda Python distribution. Conda does not appear unless you have Anaconda installed, and the vast majority of the time you'll usevenv. - If an existing environment is detected, you'll be given the option to use the existing one as-is, or to delete it and create a new one.
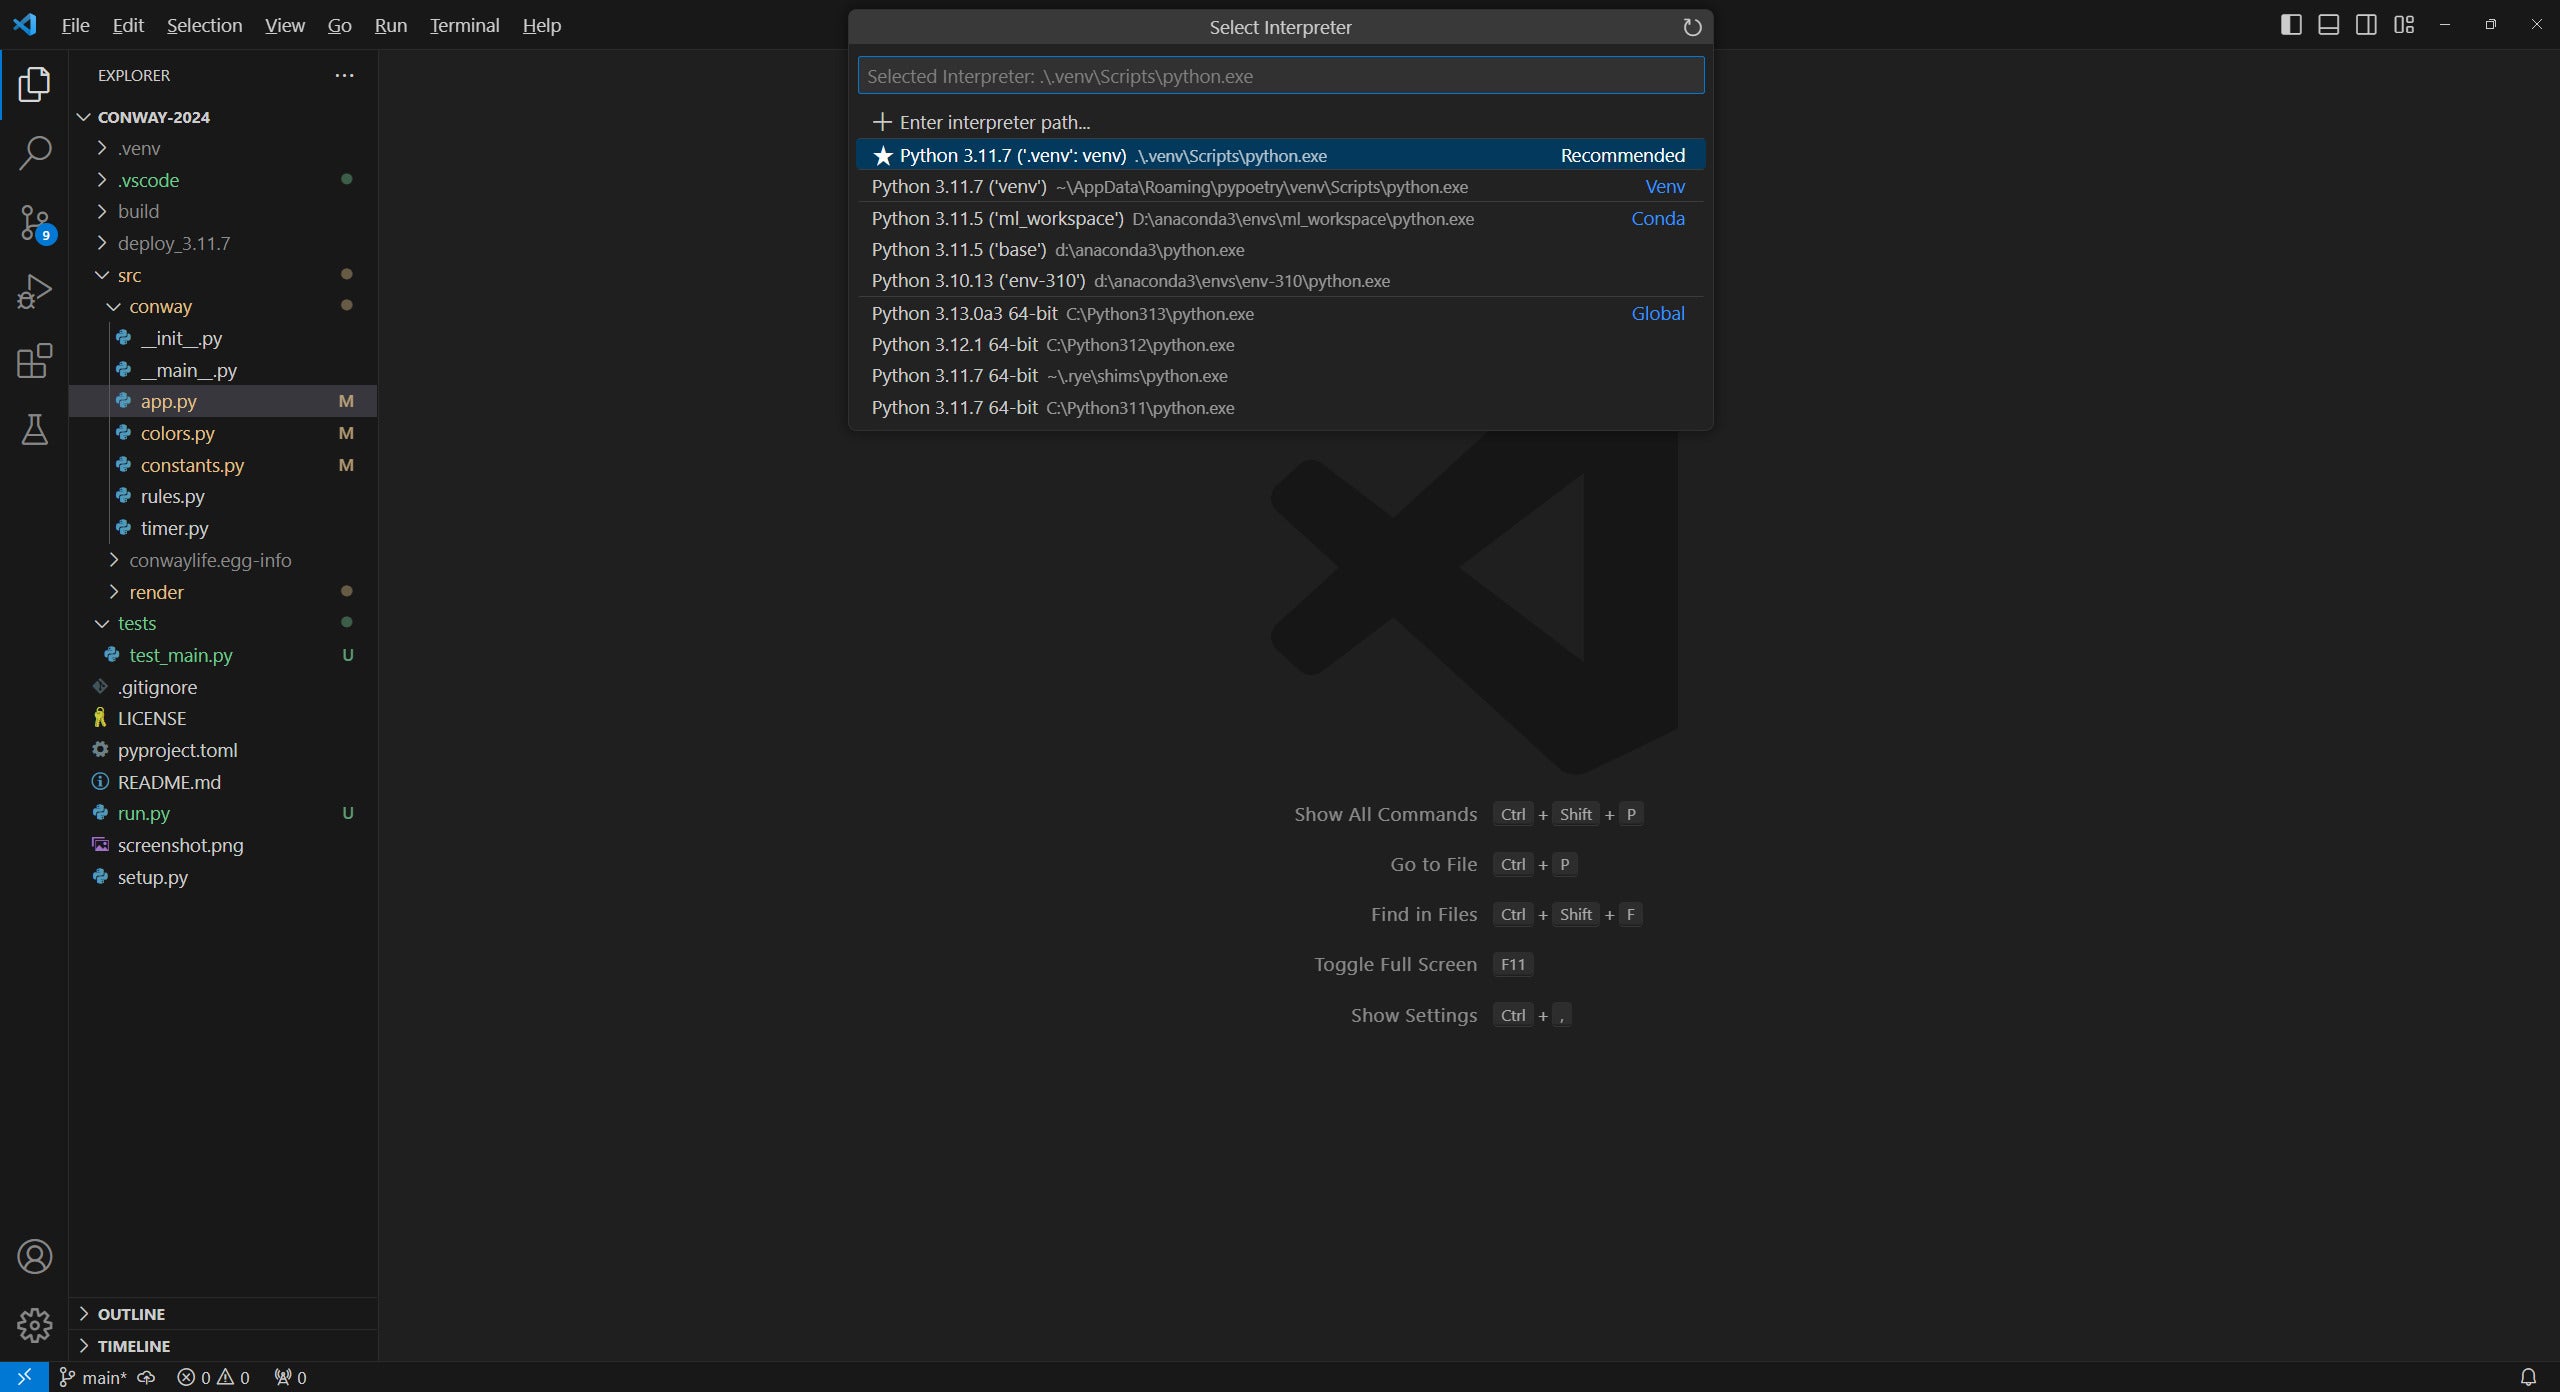
- Choose an interpreter. The Python extension will attempt to detect all the available installed instances of Python in your system. If the Python version you want to use doesn't show up, it may have been installed incorrectly. Pay close attention to the path to the interpreter you select —this can save you a lot of confusion about which one you're actually using. You can also type a path to an interpreter.
Once you've done this, the Python extension will create the virtual environment, update pip within the venv, and install any requirements it detects (for instance, through a pyproject.toml file in the project). You can click the Output tab in the VS Code console pane to see the logs from the setup process.
Setting up an existing Python project in VS Code
If you want to set up VS Code for an existing Python project, you generally do not have to do much more than open the project directory in VS Code, grant permissions, and select a virtual environment for it if needed.
Selecting a virtual environment
When you have a Python project open in VS Code, you can freely switch between what virtual environment you use for it. To do this, you can:
- Click on the version of the interpreter at the bottom right of the VS Code window.
- In the command palette, choose "Python: Select Interpreter".
This brings up a list of available interpreters—both globally and in any virtual environments configured with your project. Again, pay close attention to the paths for the interpreters! Otherwise, you may end up selecting a global Python instance when you want a venv, or vice versa.
 IDG
IDG
Figure 3. Python in VS Code detects virtual environments automatically and allows you to choose from existing ones, create a new one, or supply a path manually to one.
Activate the Python extension before activating venvs
The Python extension in VS Code has a subtle behavior involving virtual environments that might trip you up if you're not aware of it.
When you open a Python project in VS Code, the Python extension does not activate until you do something specifically Python-related. The most common action in this vein is opening a Python file in your project.
Here's why this matters: If you have a virtual environment configured with your Python project, it'll activate automatically in a terminal session when you open the VS Code terminal pane. But if the Python extension isn't running when you do that, the venv will not activate, and any commands typed in that window will not involve the venv. Also, the venv doesn't get activated on already existing terminal sessions—only on newly opened ones.
To that end, get into the habit of opening a Python file of some kind when you open your Python project. This ensures the Python extension is active. You can also do something with the Python extension from the command palette to activate it. Any action will do in that case.
Launching VS Code for a Python project
The most basic way to run Python code in VS Code is to use the Run command on the file currently open in VS Code. This you can do from VS Code's menu (Run | Run without debugging), or by pressing Ctrl-F5, or by clicking the right-facing arrow at the top right of the code area.
 IDG
IDG
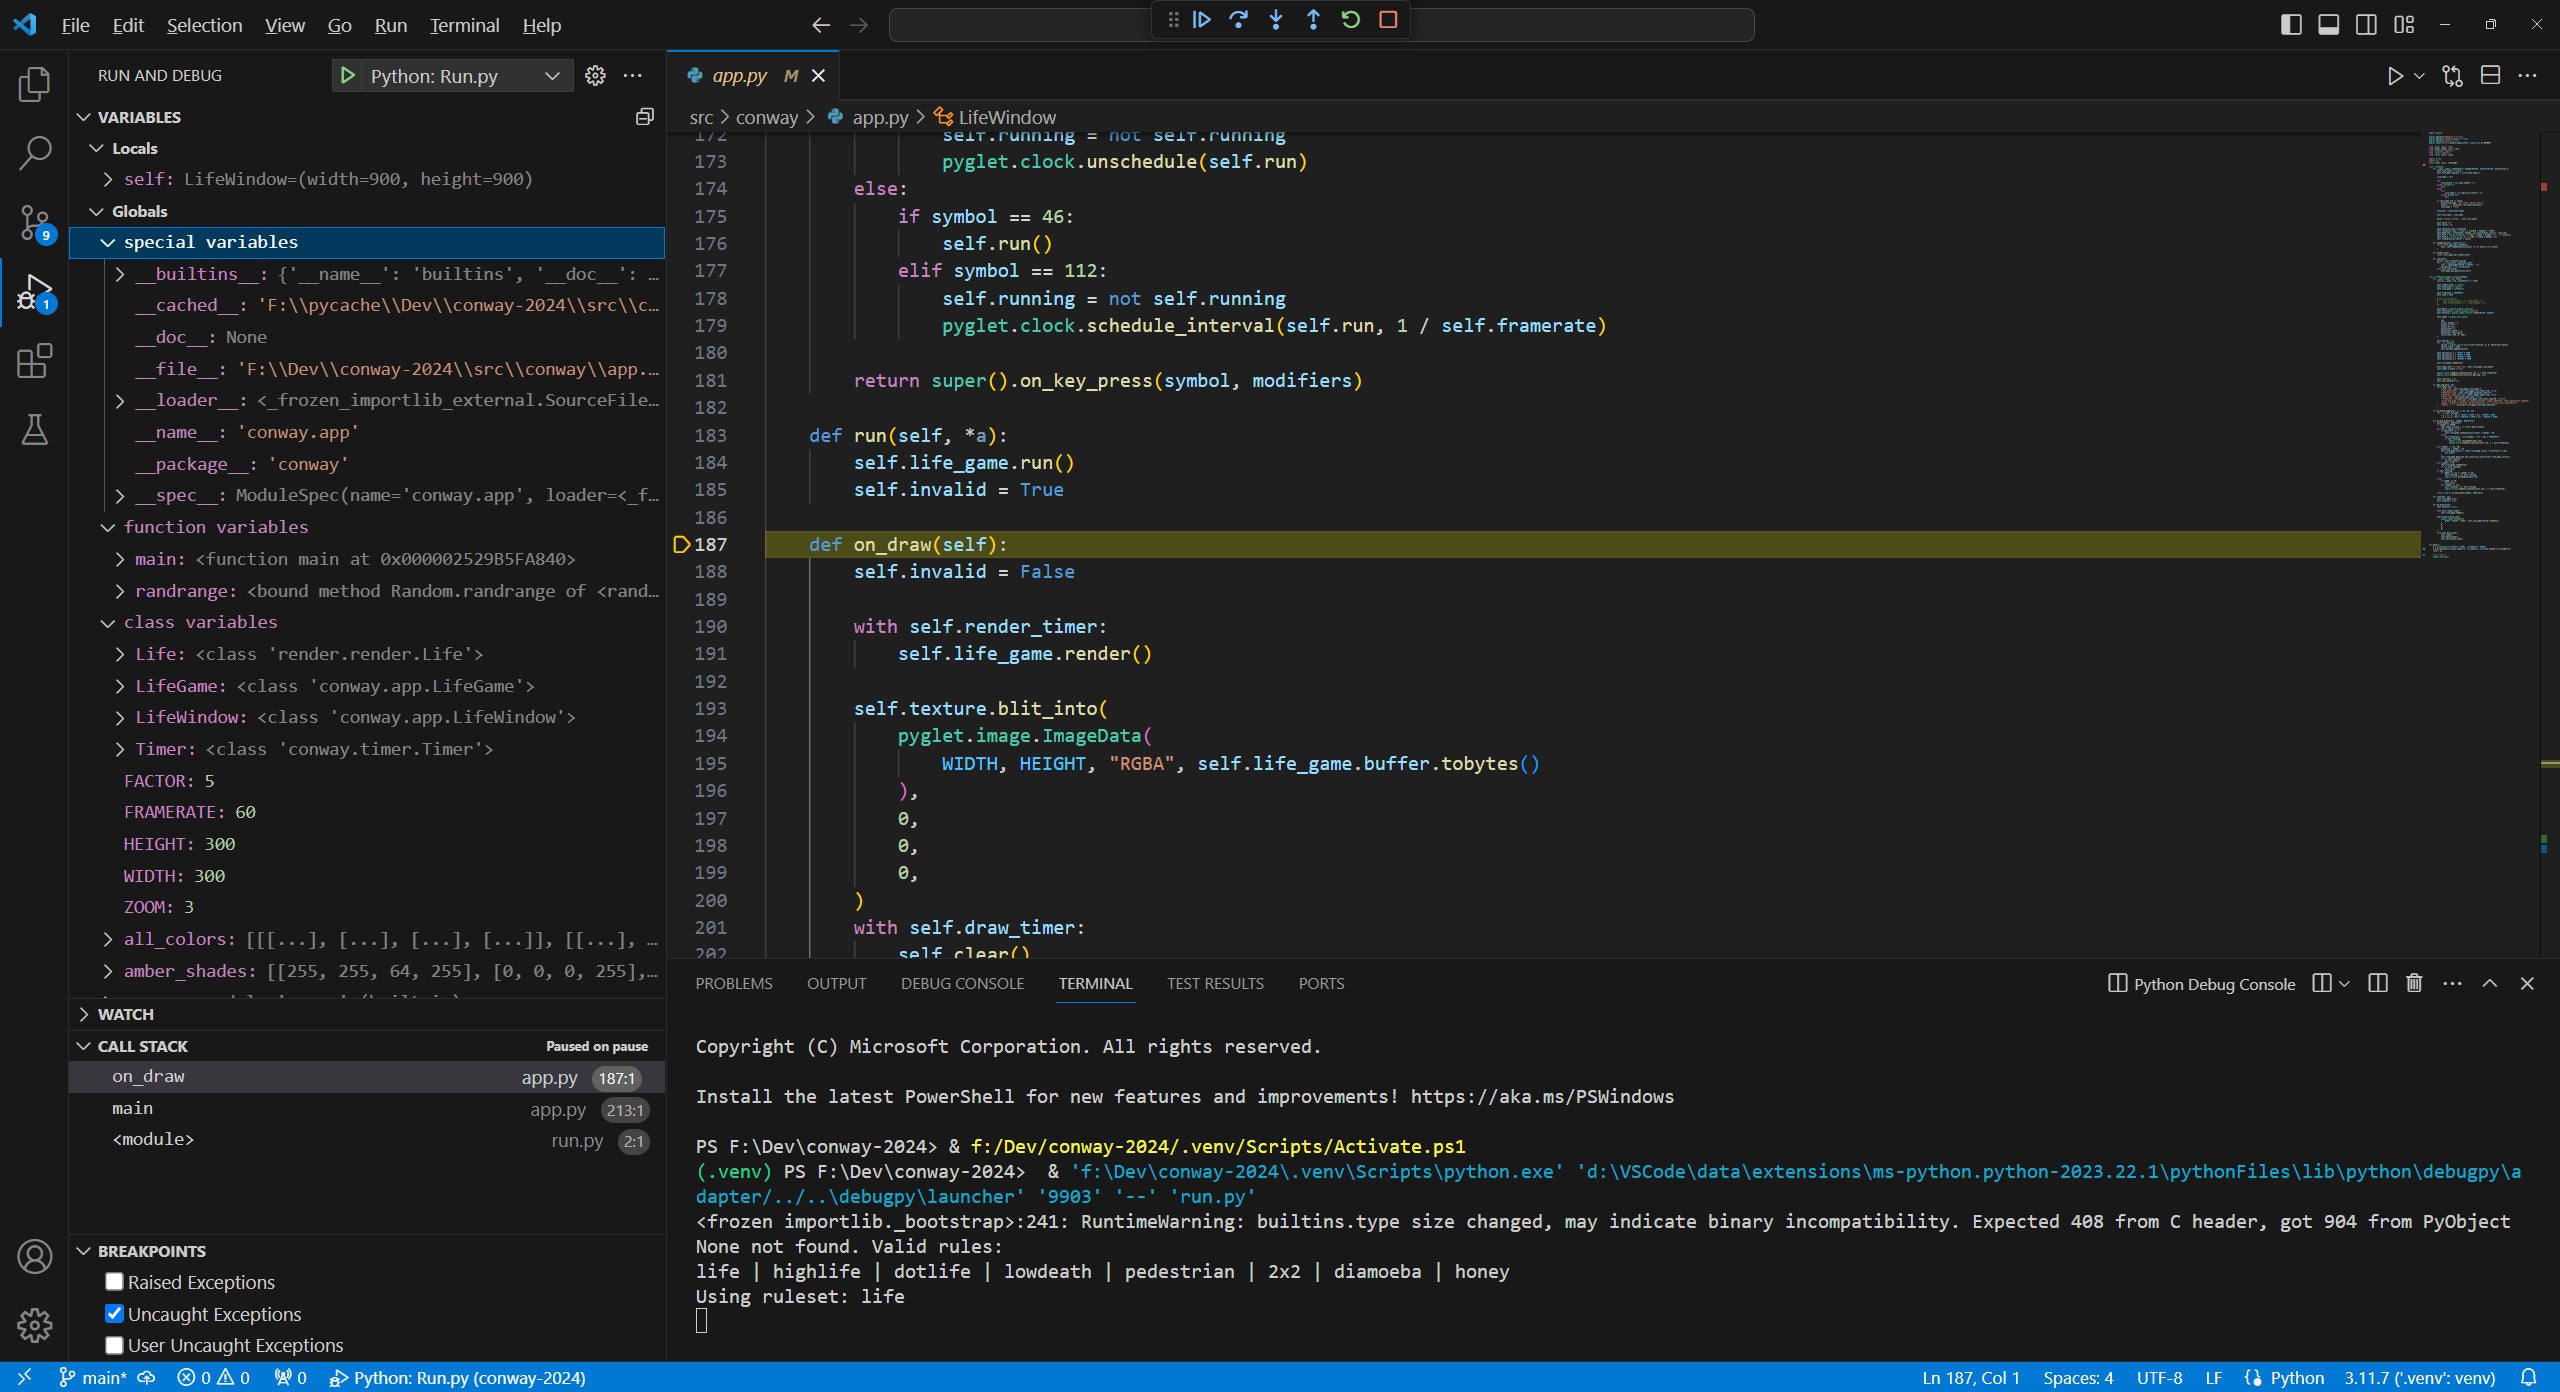
Figure 4. Launching Python code with the debugger lets you pause execution and inspect the program state interactively through VS Code's GUI.
If you want to set up more complex scenarios for running your code, you can select the Run and Debug action from the left-hand action panel (or press Ctrl-Shift-D) to create a new program runner configuration. This gives you a drop-down menu of possible ways to run your program in the Run and Debug section.
The configuration files are in .JSON format, and you can select the gear icon to the right of the drop-down menu to edit the file in VS Code itself. You can change which file to run, what kind of console to use, whether or not to attach a debugger, and so on.
Running Python through the debugger gives you insight into exactly what's happening in your code at any given moment. You can inspect the call stack, examine the state of local and global variables, and set breakpoints to automatically trigger the debugger.
Note that running Python through VS Code's debugger incurs a performance penalty. If you're gathering performance metrics on your code, be sure you run Python with debugging disabled (e.g., with Ctrl-F5).
Python linting and checking for VS Code
The Python VS Code extension includes the Pylance extension for linting and type-checking Python code. It also provides live feedback on code through its language server, for the sake of autocompletion and tooltips. As long as the extension is active and you have a Python file loaded in VS Code, it should run automatically.
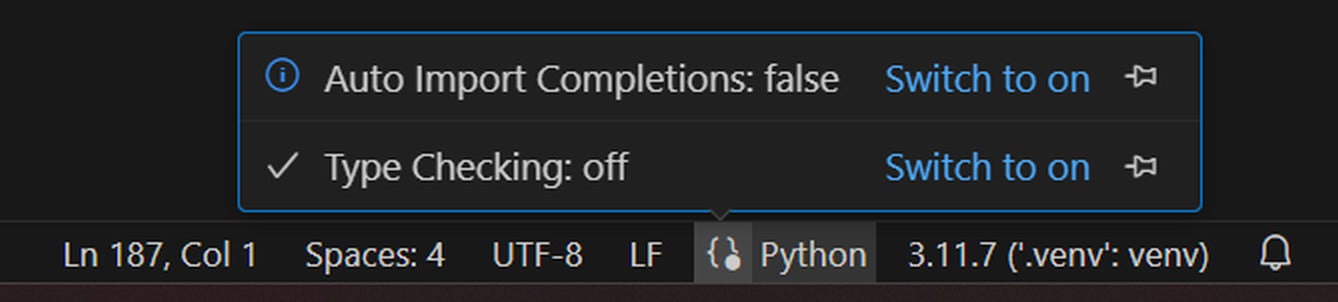
You can also configure two major options for Pylance right in the VS Code interface. At bottom right, click on the {} icon next to Python to expose those options:
- Auto Import Completions: If you write code that depends on something that needs to be imported, Pylance can add the
importstatements automatically. However, this can lead to imports being added by accident, so it's off by default. - Type Checking performs stringent type checks on your Python code. If you are working on a large project where type checking helps keep things correct, enable this. But it can be left off (the default) if you're only working on something small where correctness isn't essential.
 iDG
iDG
Figure 5. Auto-import completions and type checking can be toggled on or off through this element in the VS Code GUI.
Creating and managing Python tests with VS Code
Python test frameworks are generally written using one of two libraries—unittest in the standard library, and the third-party pytest. The Python VS Code extension can automatically discover and configure test runners for those libraries. You can also install extensions to handle other test frameworks or testing for special application setups (e.g., Django).
- Click the "testing" icon in the action bar at left, then select "Configure Python Tests" in the panel that appears.
- Choose either
unittestorpytestas your test framework (or another if an extension is there to handle it). - Select the directory where your tests reside (typically
tests). - Choose a filename pattern to find the tests, or supply one manually (e.g.,
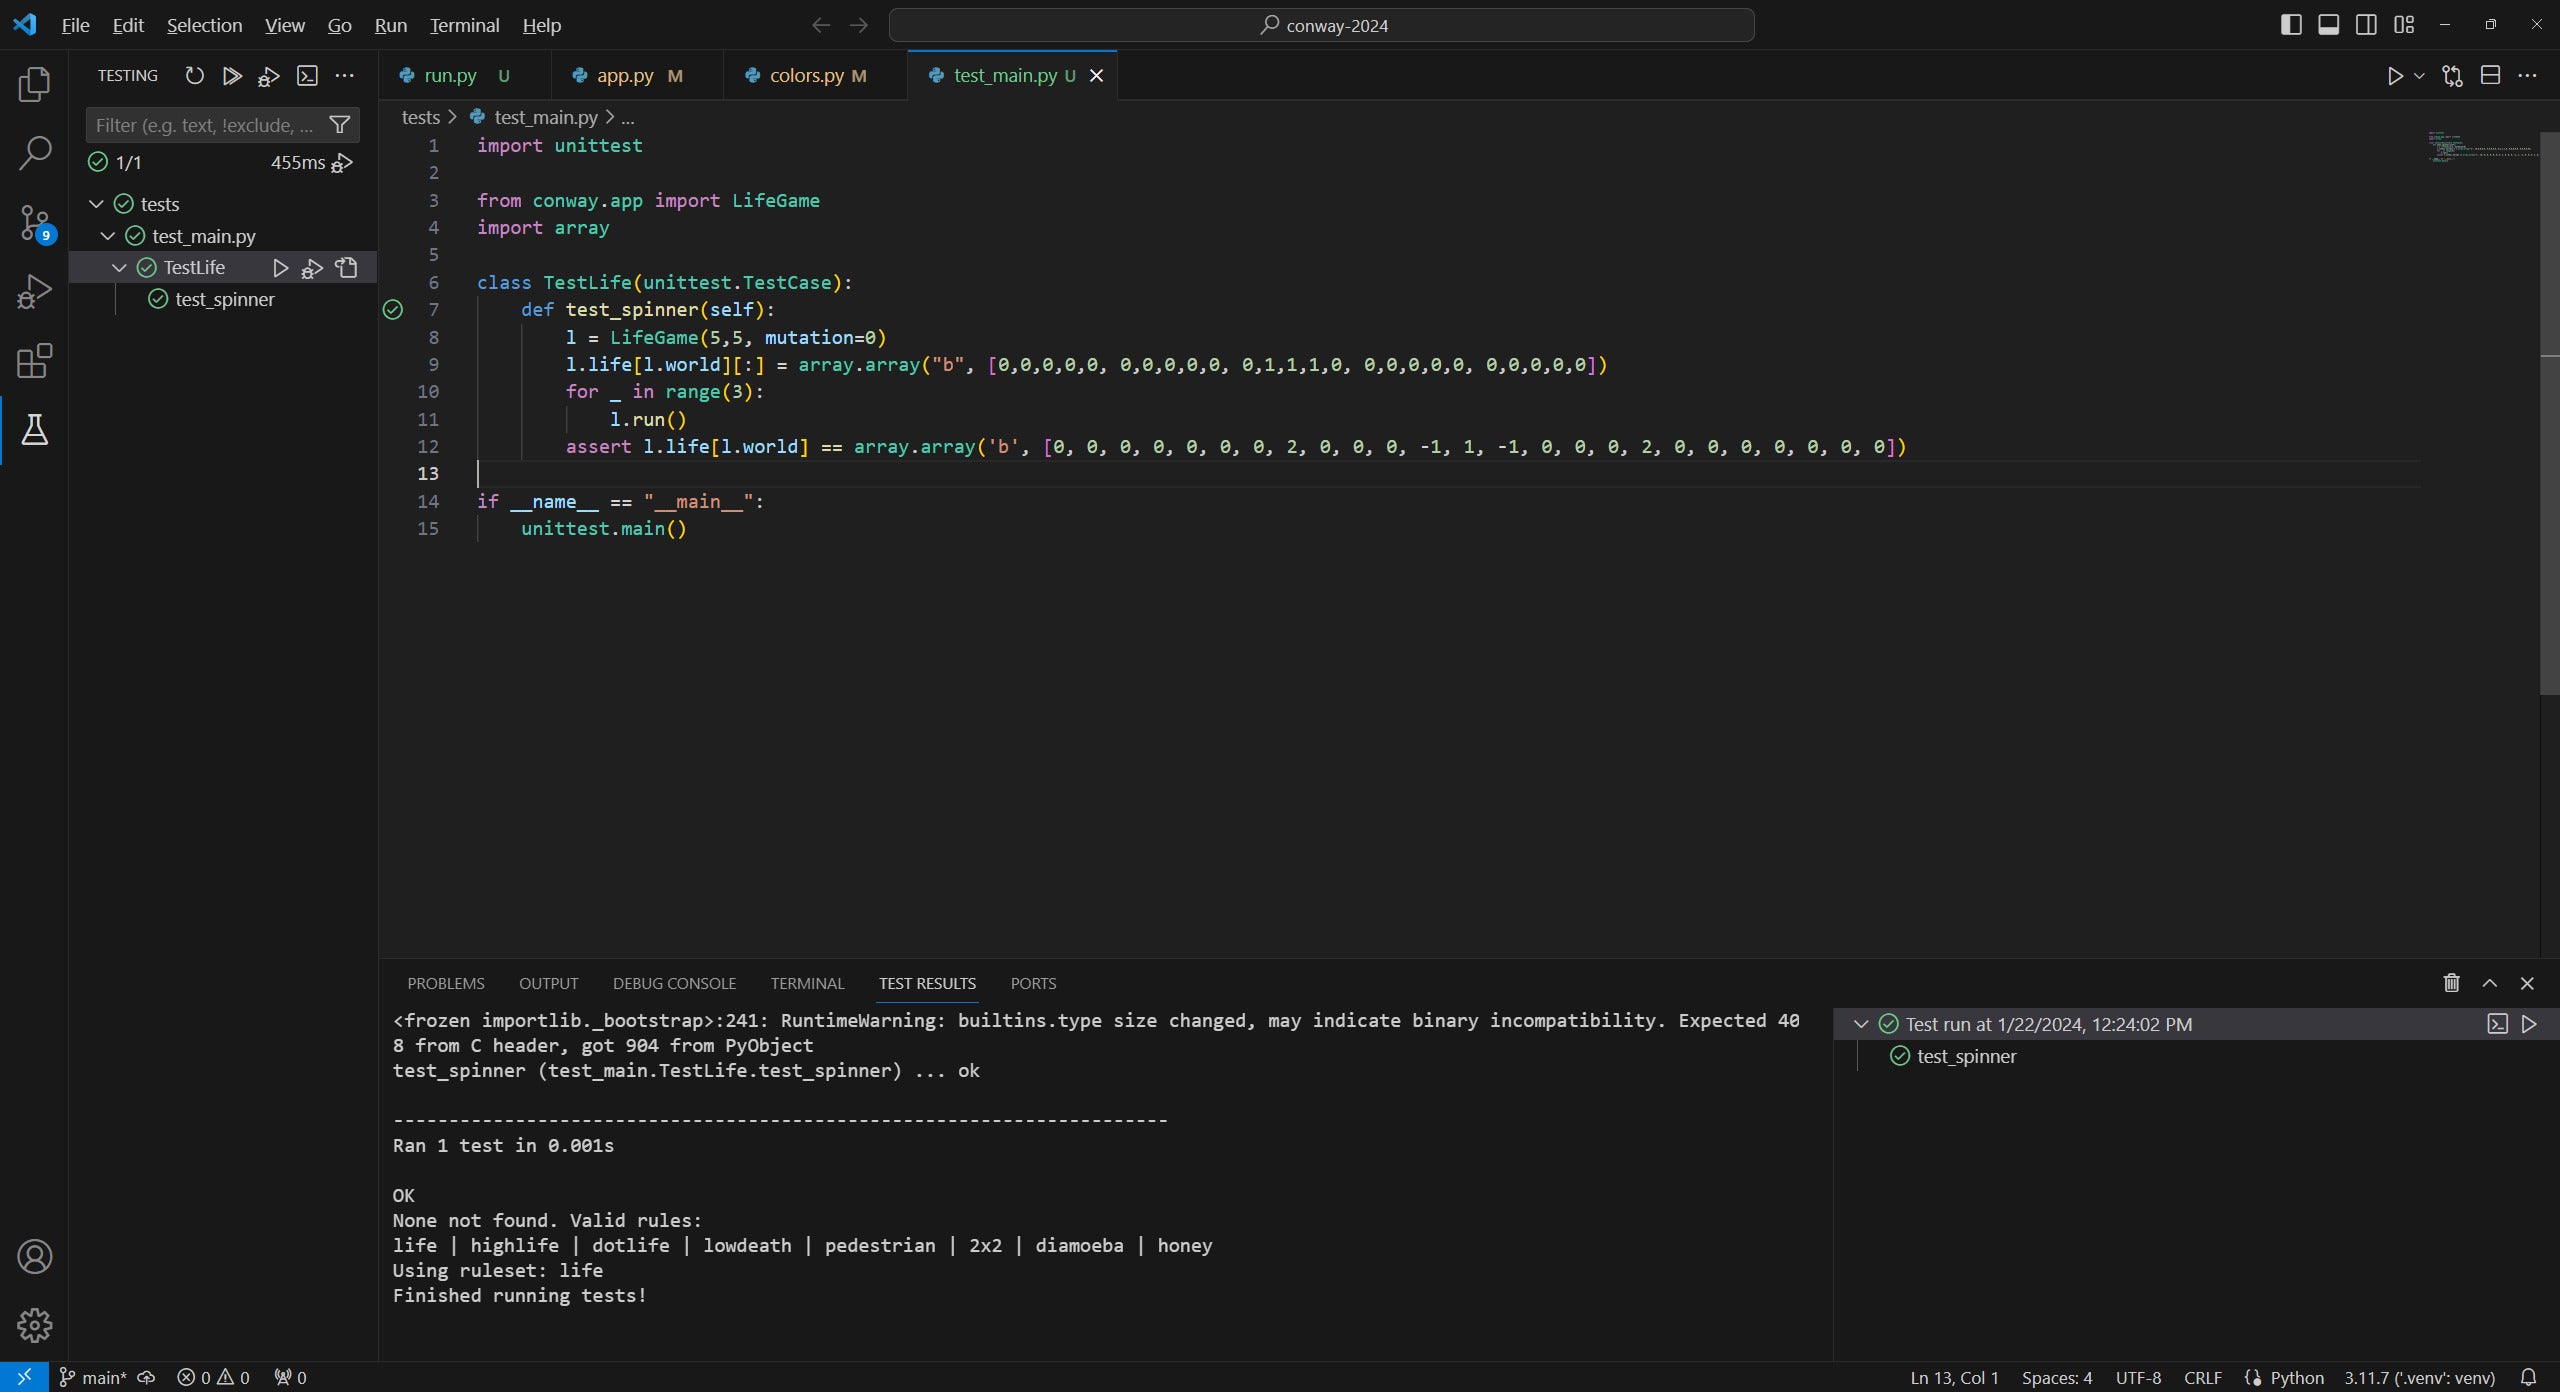
*.py). - To run all the tests configured, click the double arrow at the top of the
Testingpane at left. The results will be written to the "Test Results" tab in the terminal pane, and can also be examined as a tree or list in the Testing pane.
 iDG
iDG
Figure 6. Test suites for Python projects can be auto-discovered and executed through the Python extension.